How To Create This Rustic Tree Trunk Chopping Board
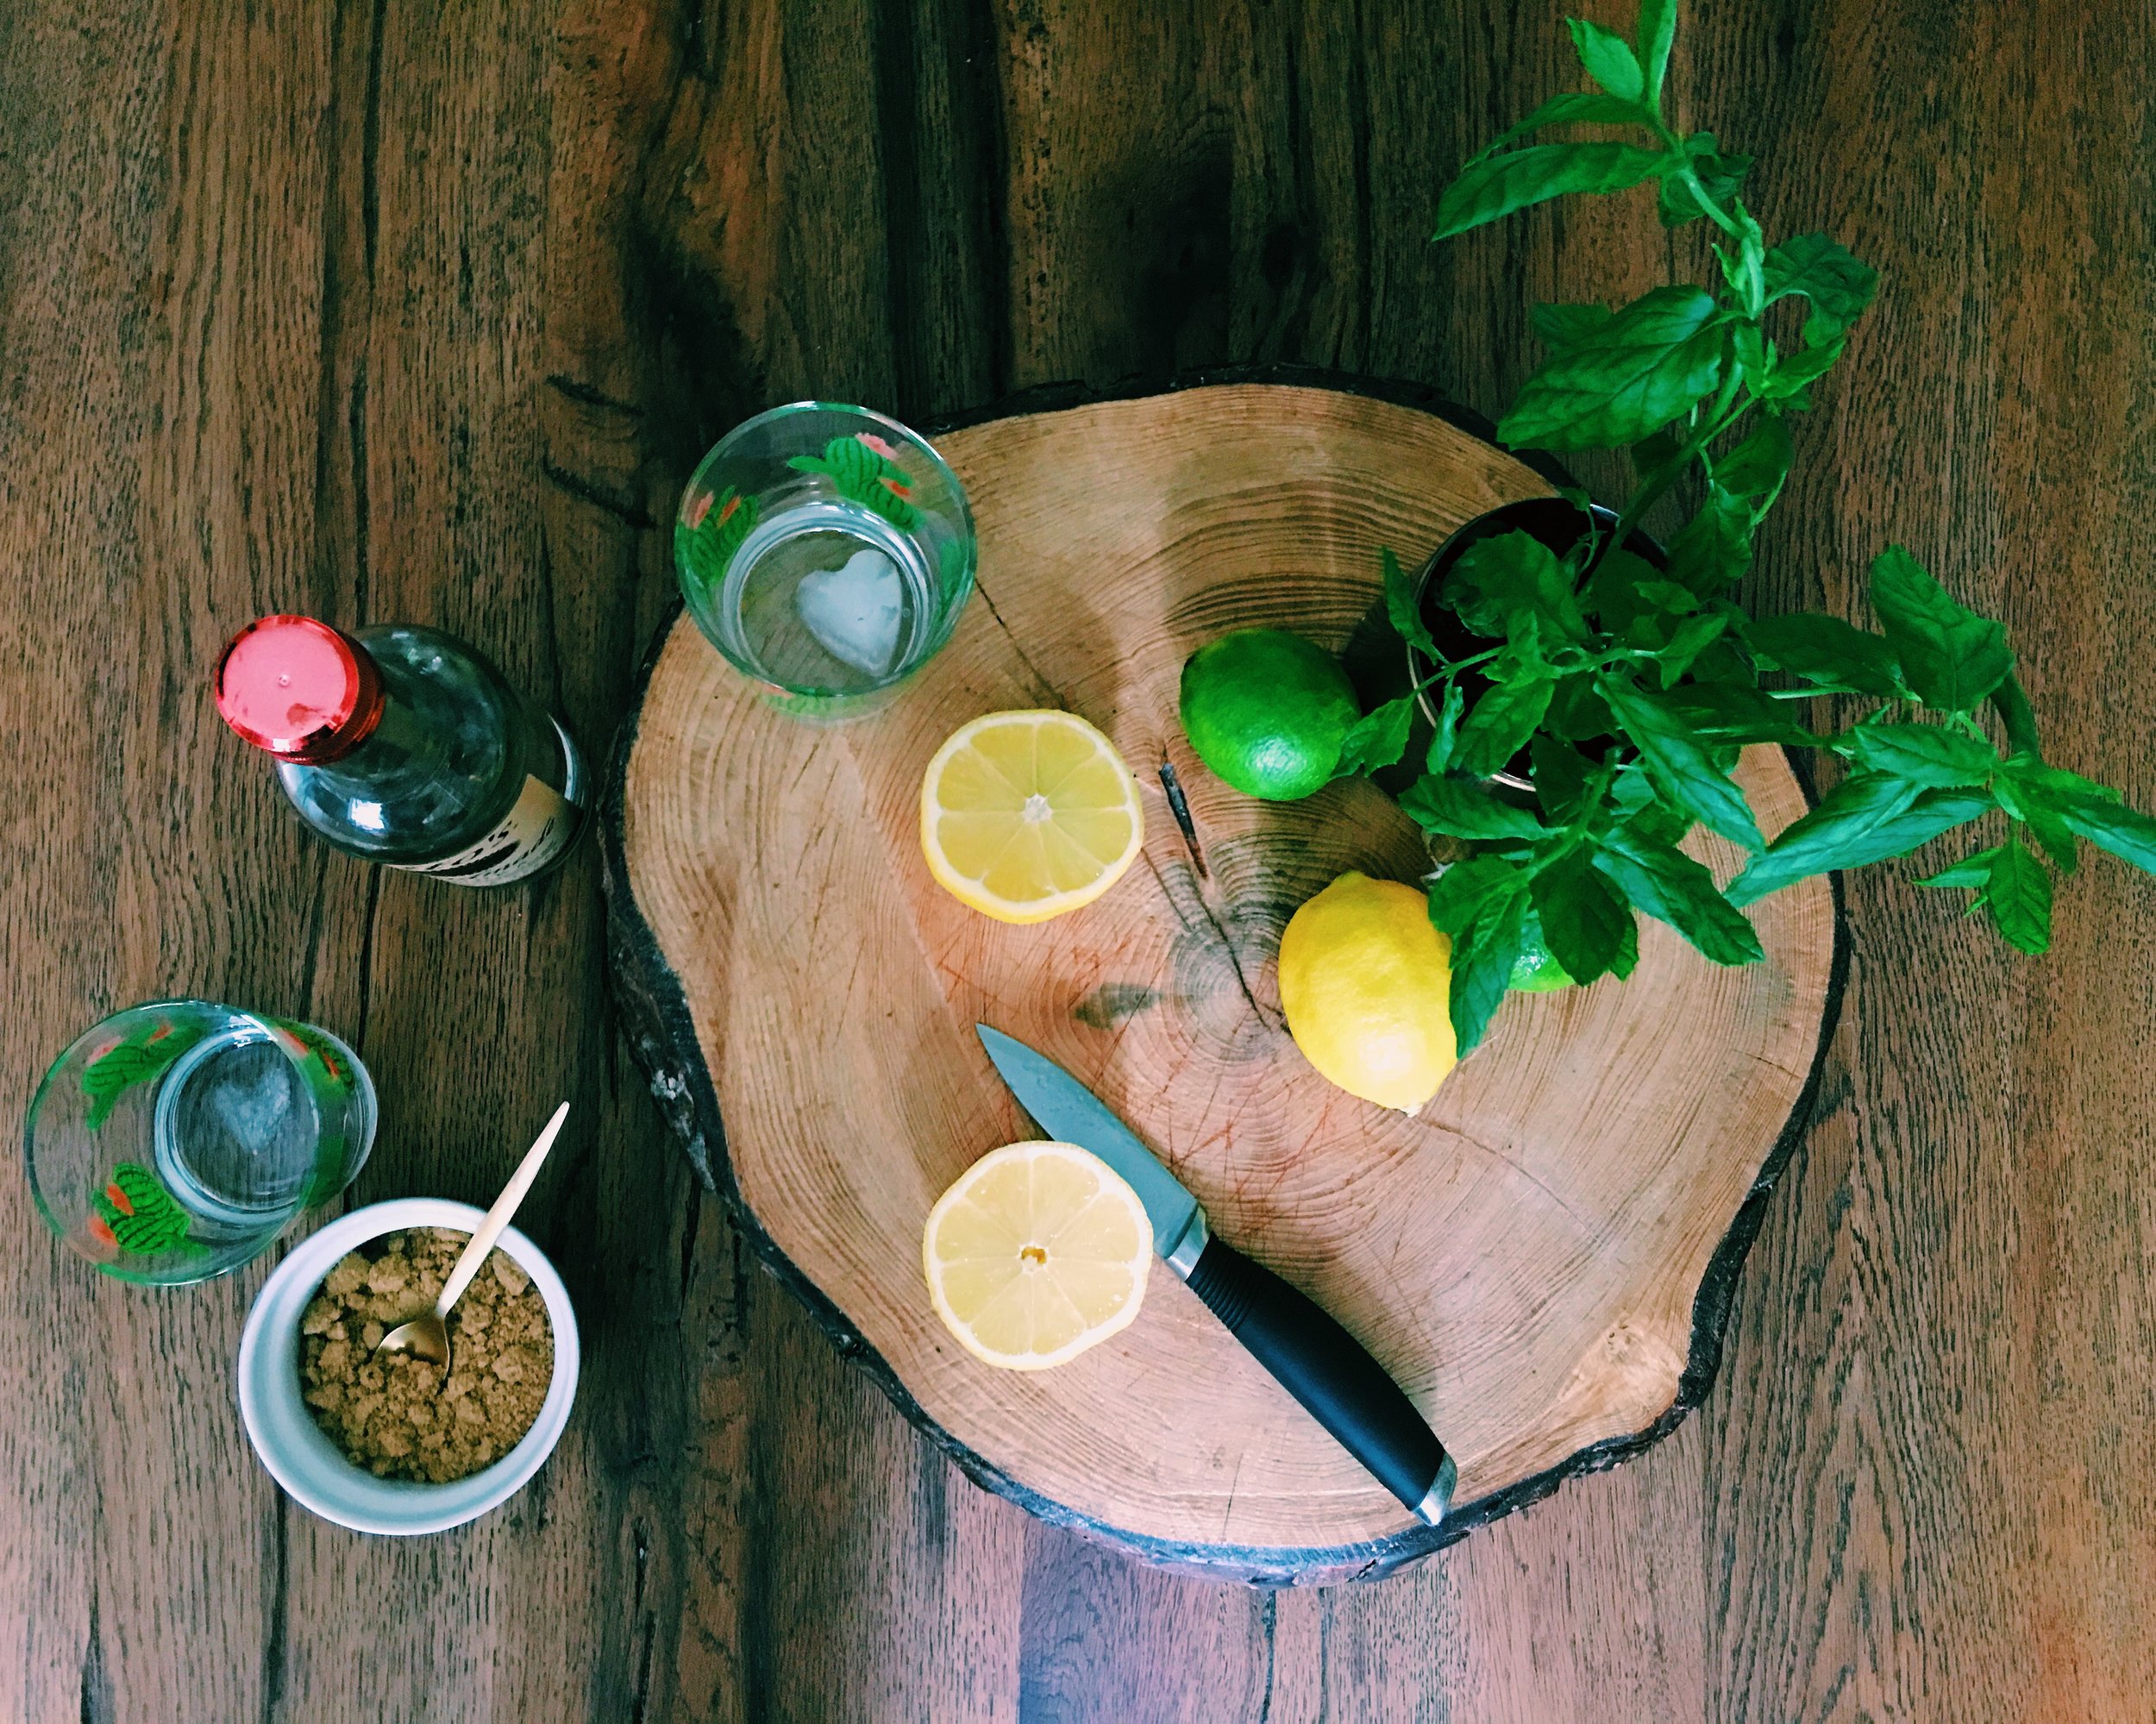
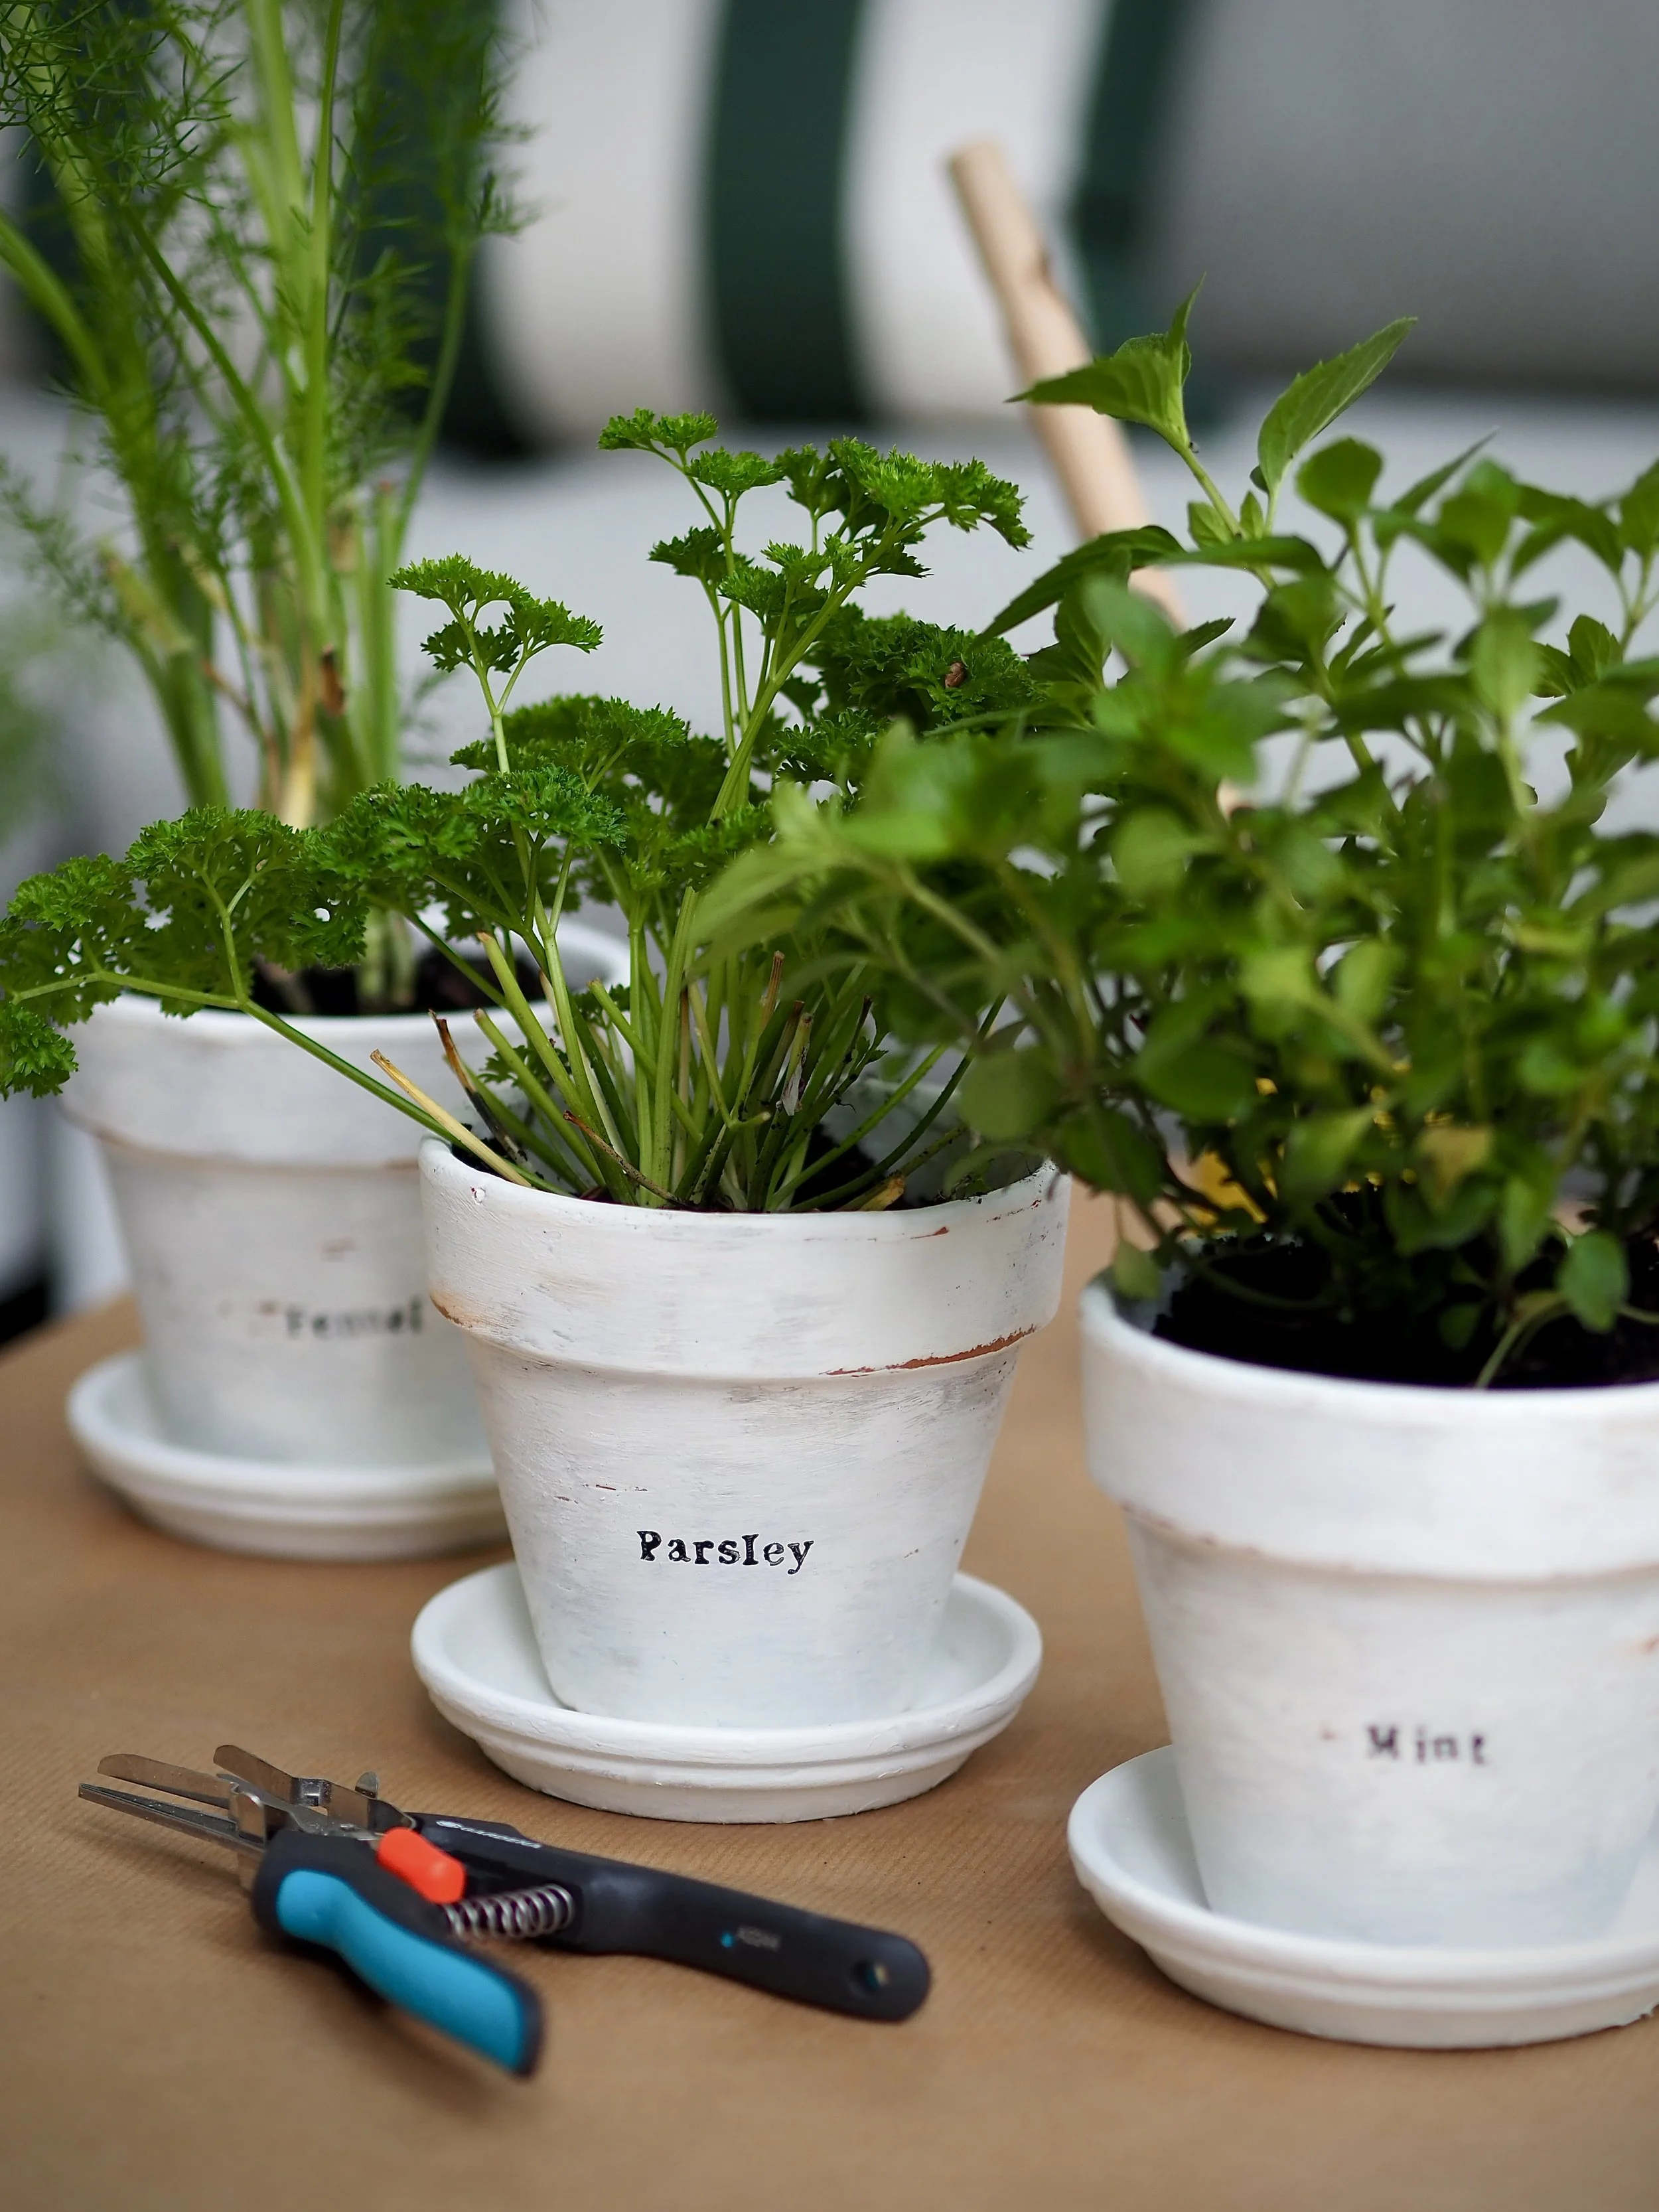
This chopping board lives in the corner of our kitchen and we use it to chop up single items throughout the day like fruit.
I made this chopping board for my husband at the end of last year. He's quite the foodie and cooks all his meals from scratch (unlike me - I love food but not cooking. When he isn't home I'm more of a G&T and a slice of cheese-on-toast girl).
I love kitchen equipment made from natural materials. I'll watch a Jamie Oliver programme to lust over his bread boards rather than his foccacia. Of course kitchen items like this can be quite pricey, but seeing as I live right on the cusp on Epping Forest I thought why not give making our own tree trunk chopping board a go?
I know not everyone lives right next door to a forest! So think about where you can get some wood for your own chopping board (or bread board, cheese board, coasters...) Is there anyone local that you see felling a tree in their garden? Stop and ask them for some wood - chances are it's only going to be thrown in the shredder anyway. Visit your local log/firewood company who make logs to sell for fires and log burners - they would happily sell (and cut) you a piece of a tree trunk to your specification.
I got a rather large piece of felled wood from the forest when the council were cutting up trees that had fallen over. It was wider than I had wanted for the chopping board, so I cut it down using a heavy duty timber hand-saw. Yes - you read right - hand-saw. This chopping board is about 30cm in diameter and it literally took over two hours! If you have a bit of muscle, or are determined, then you can use a hand-saw like me. However, if you own or know someone with an electric saw, then I'd highly recommend that you use that instead!

I love the age lines in the tree trunk
Cut your wood so it's thin enough to look like a chopping board, but not thin enough that the wood is likely to split. Try making it about 5 - 7cm thick all round.
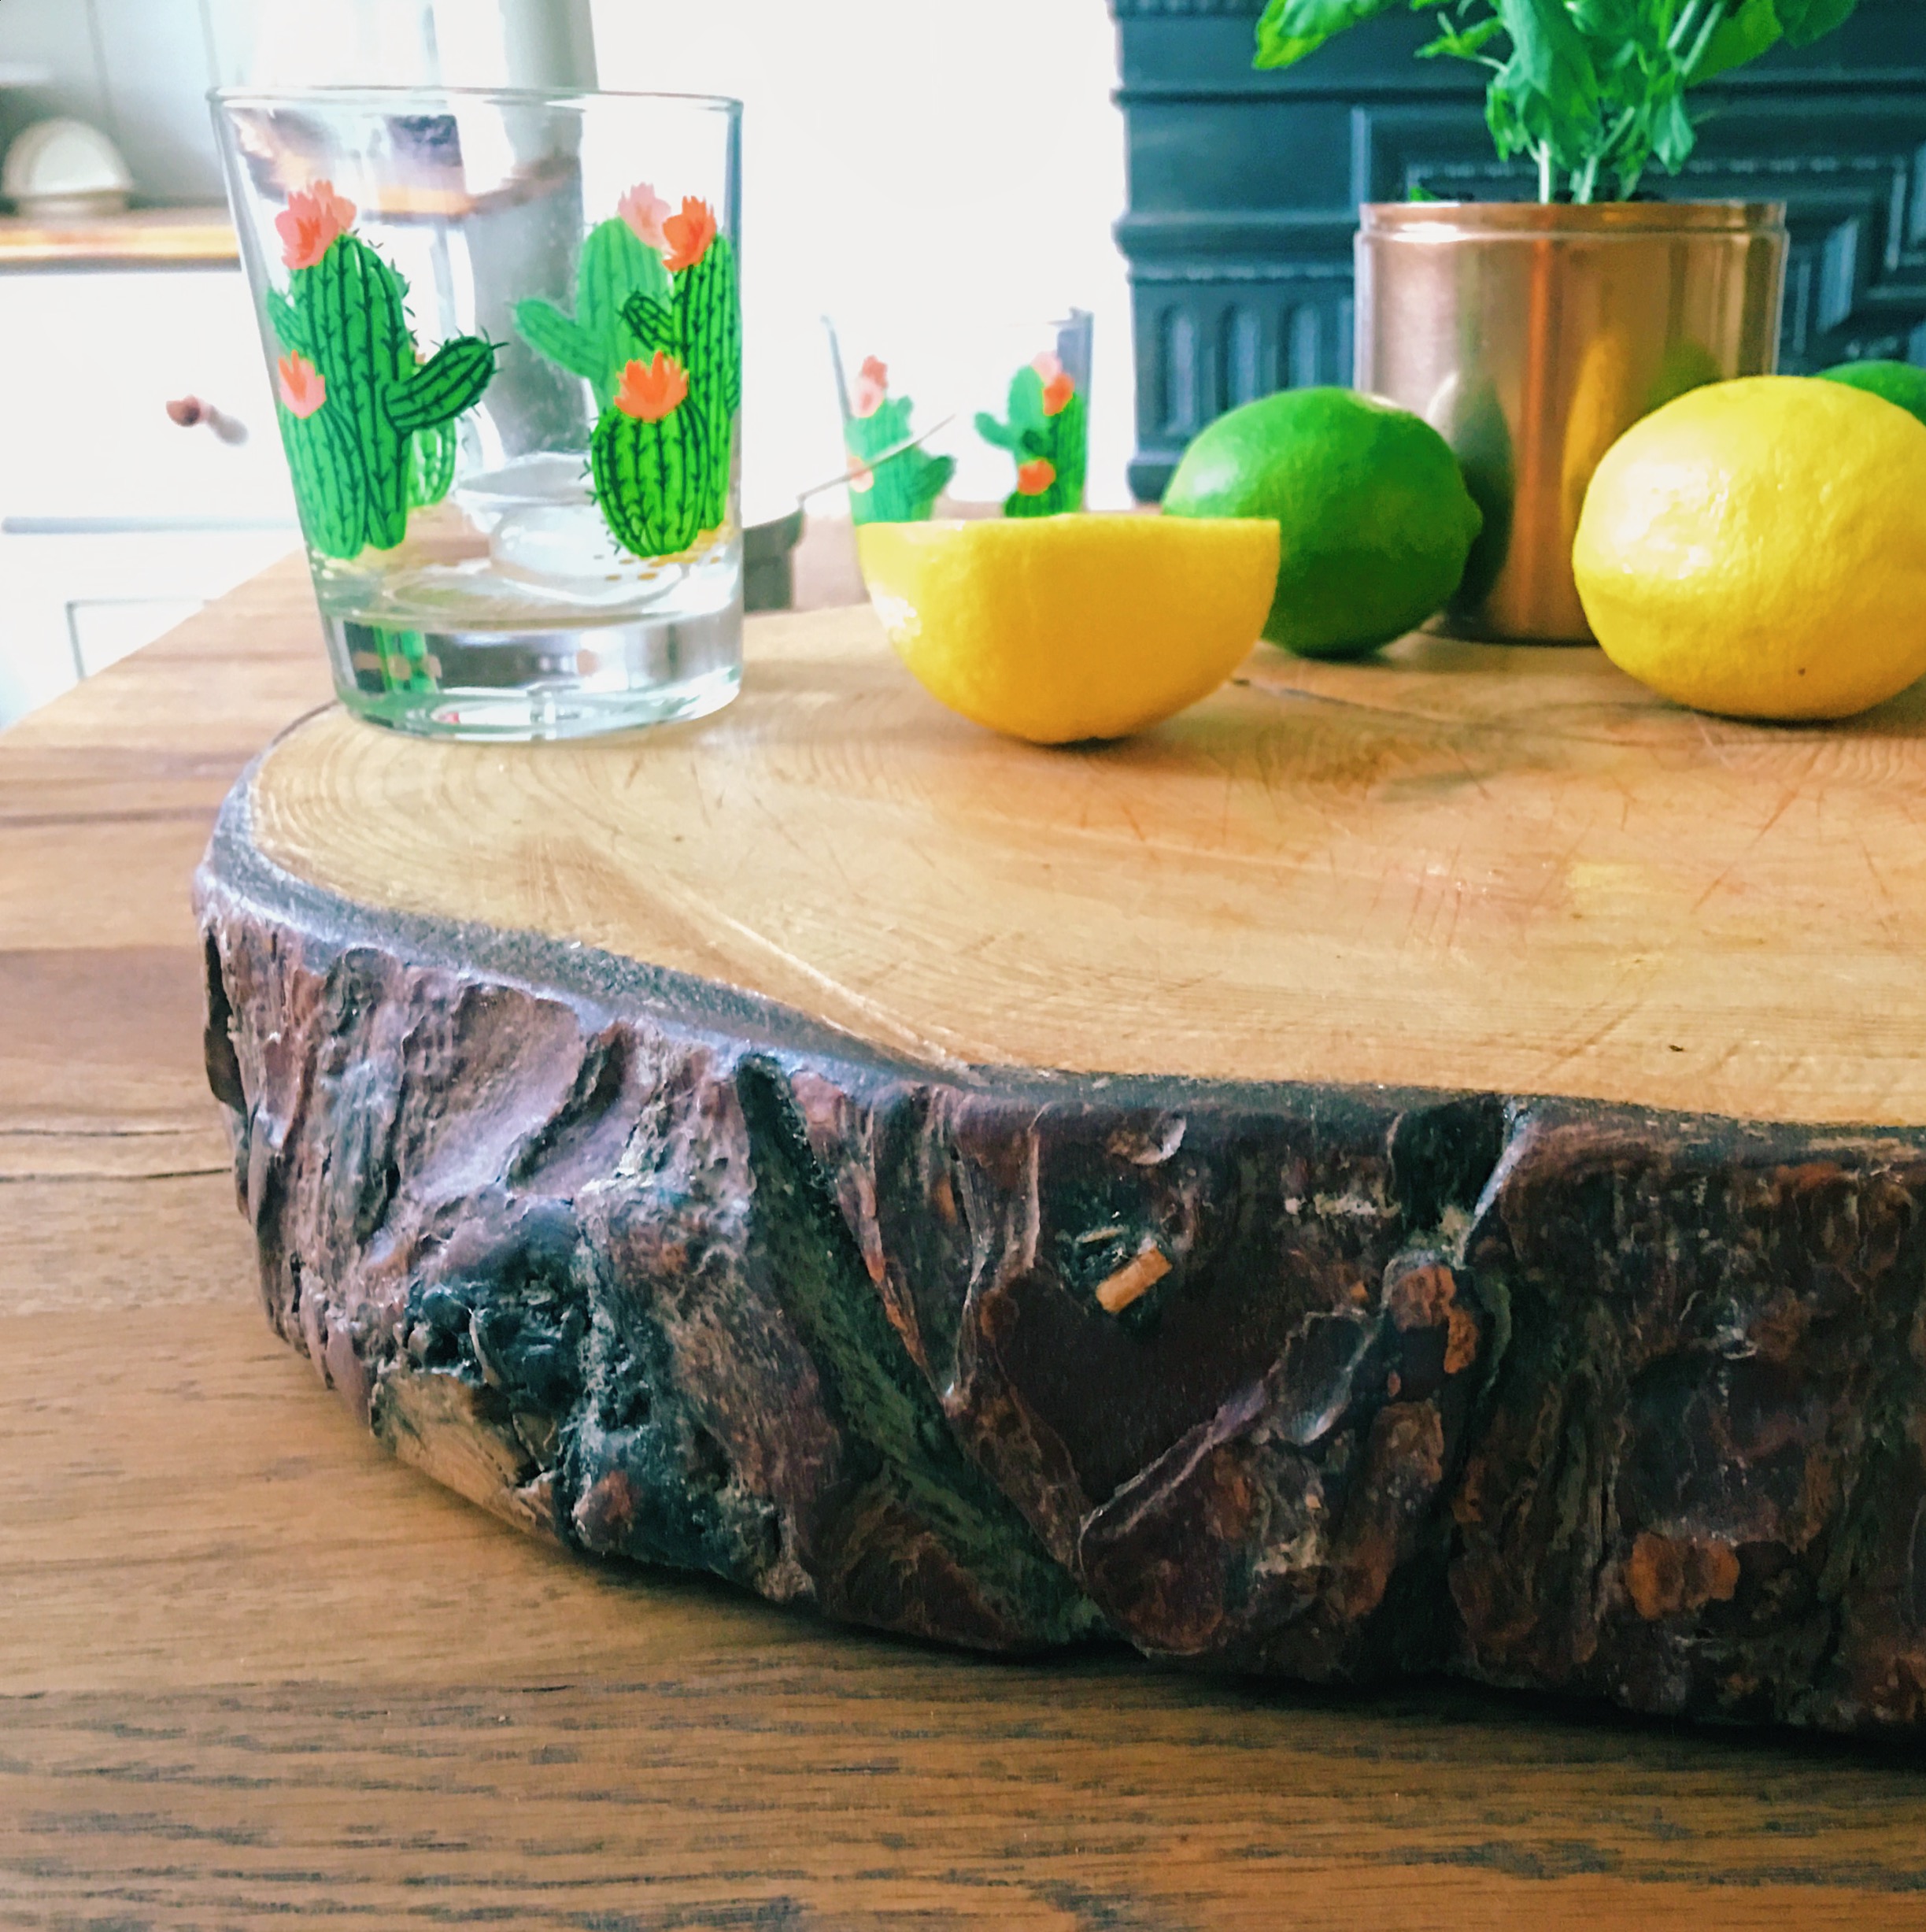
Cut your chopping board so it's around 5-7cm thick, so the wood is less likely to split.
Once cut to size, sand it down with an electric hand sander using a medium sand paper, getting in all the nooks and crannies of the bark as much as possible. Once sanded, wash the wood with warm soapy water and leave to dry. It's advisable to leave your wood indoors untouched for a week or so to really dry out. During this time the wood may stretch and in some places split. If this happens fill in the cracks with a natural wood filler - you can buy really small tubes of this from the DIY store for a few pounds.
You then need to oil your wood to protect it from food stains and make it look all nice and shiny. The oil you use needs to be a specific type as your chopping board will be used for food preparation. At first I brought and tried a natural beeswax, but I found this to be awful! It didn't really give a shine, and it glooped together in the bark. I re-sanded and washed down my chopping board and used Osmo Top Oil instead, which is a food safe oil for use on wooden kitchen worktops:
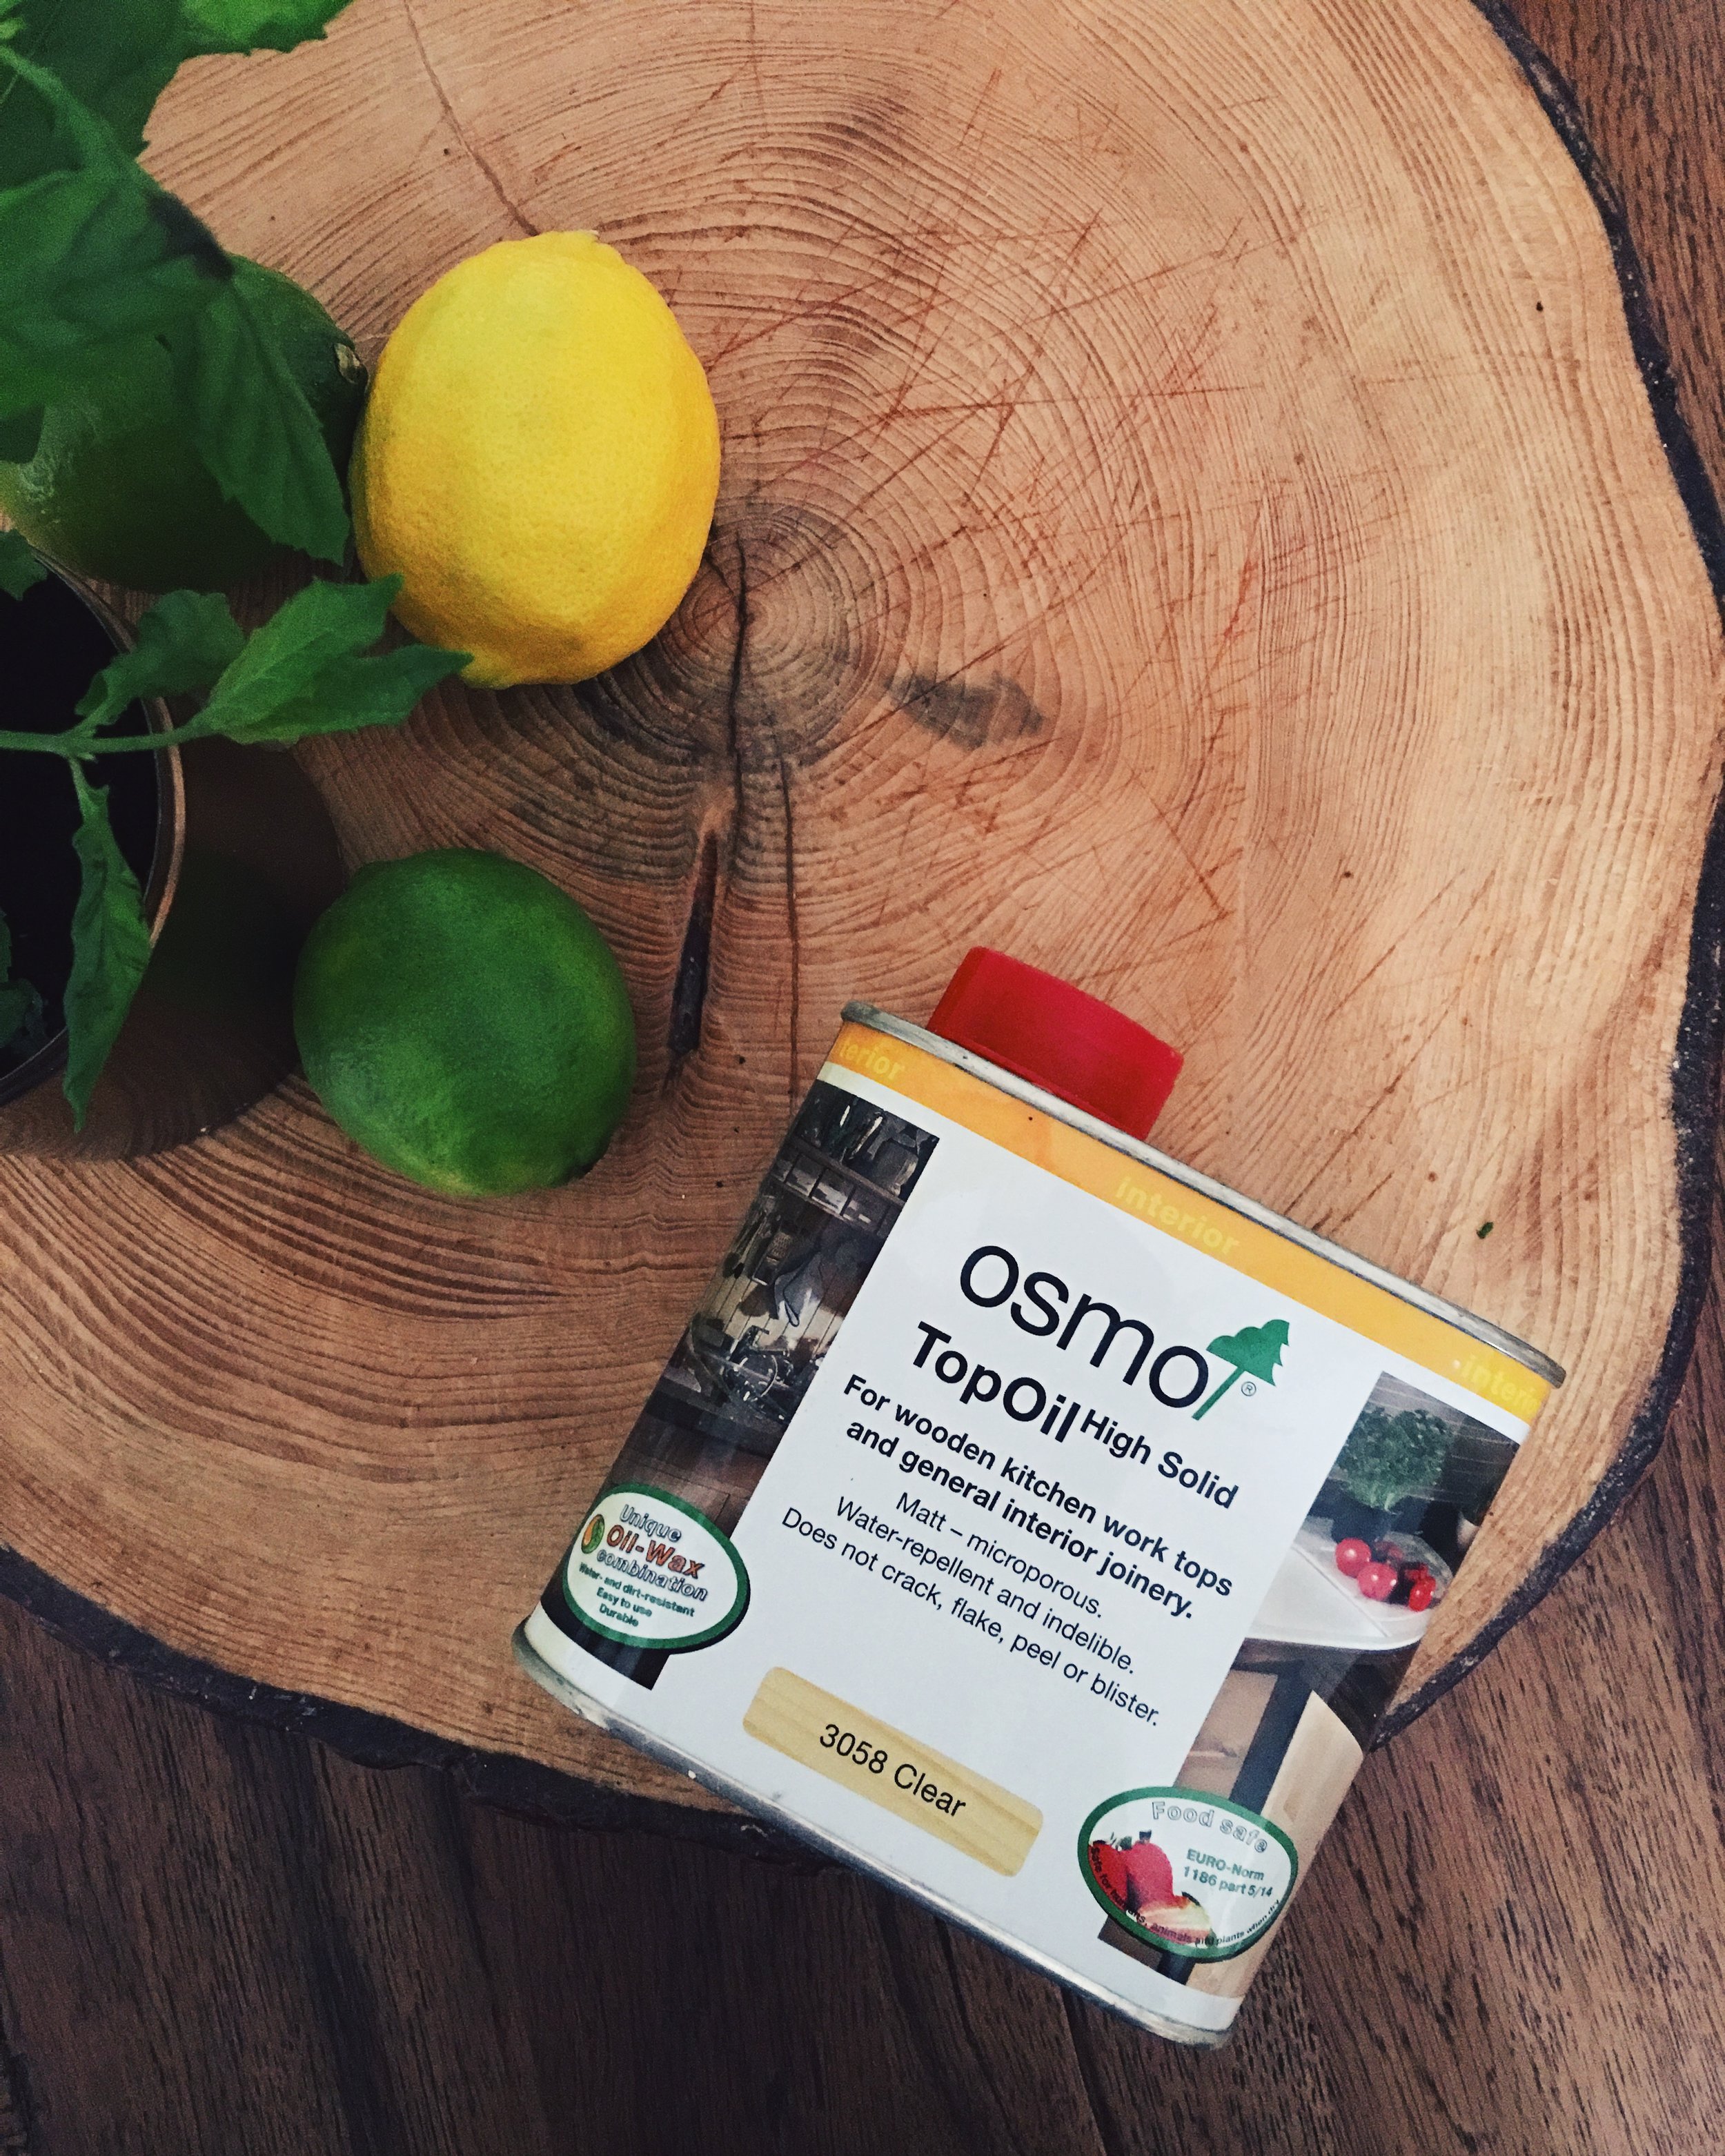
Oil your chopping board in Osmo Top Oil, which I found to be way better than beeswax.
I found Osmo Top Oil to be perfect, it was easy to apply and gave a great shine. You need to apply the oil with a bit of cloth (I used good quality kitchen paper and this was fine) a few times as per the instructions on the back of the tin. It's then good to re-oil the board every once in a while.
Add some cork feet that you can get in any DIY store to protect your worktop from the chopping board. It also helps it from slipping around when you are cutting on it.
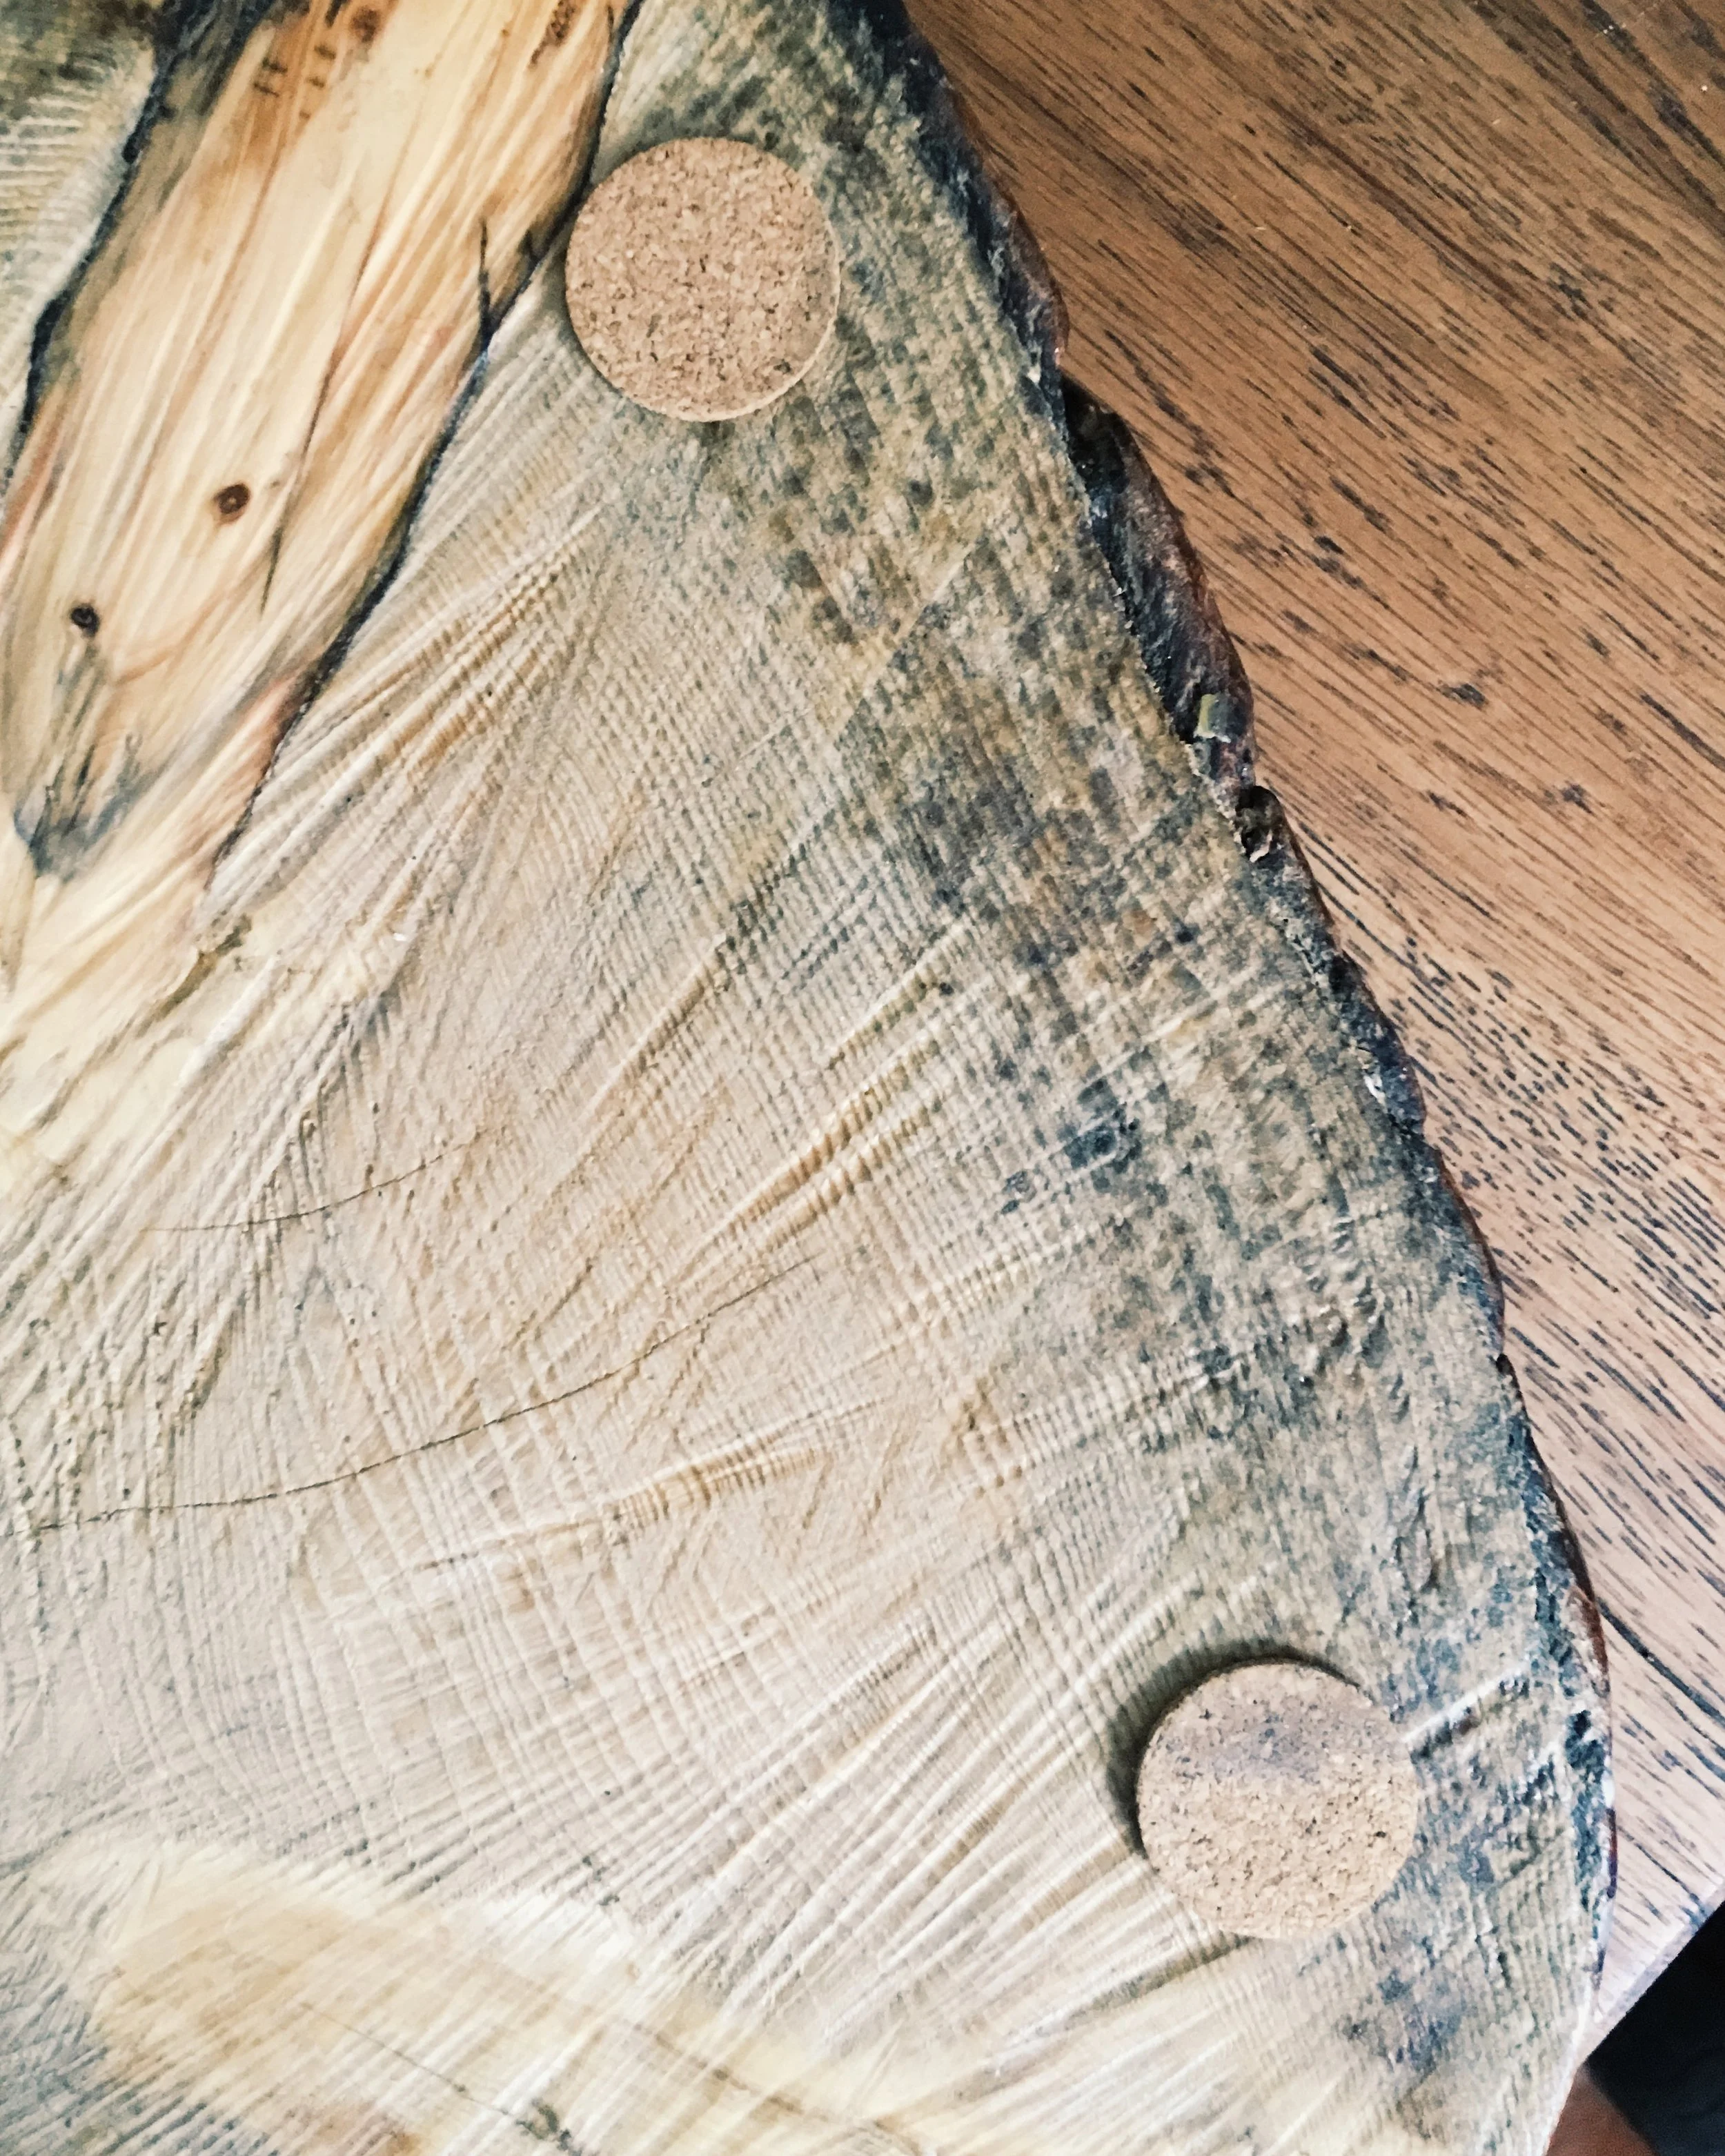
Add some cork feet underneath so your chopping board rests better on your worktop.
And there you have a chopping board worthy of any celeb kitchen!
Have you made anything from something foraged from the forest? Blackberry jam perhaps!? Let me know in the comments section below...