Sprucing Up My Outside Space With Exterior Paints By Sandtex & Sadolin
Bank holiday weekends for me - like a lot of people- are all about DIY! The three-day period just gives that extra amount of time to complete any projects both inside and outside of the home. With the bank holiday weekend just gone being dry, warm and sunny, I used this time to spruce up my outdoor balcony. It had been a few years since I had painted the deck boards in this space and they were looking weathered and bare. I cleared up all the rubbish and sent it off in the dumpster rental.
This summer, I wanted to bring an old wooden bench that had been left at the bottom of the garden up on the balcony as a colourful seating area, so I set about transforming the deck, railings and the bench using exterior paints by Sandtex and Sadolin.
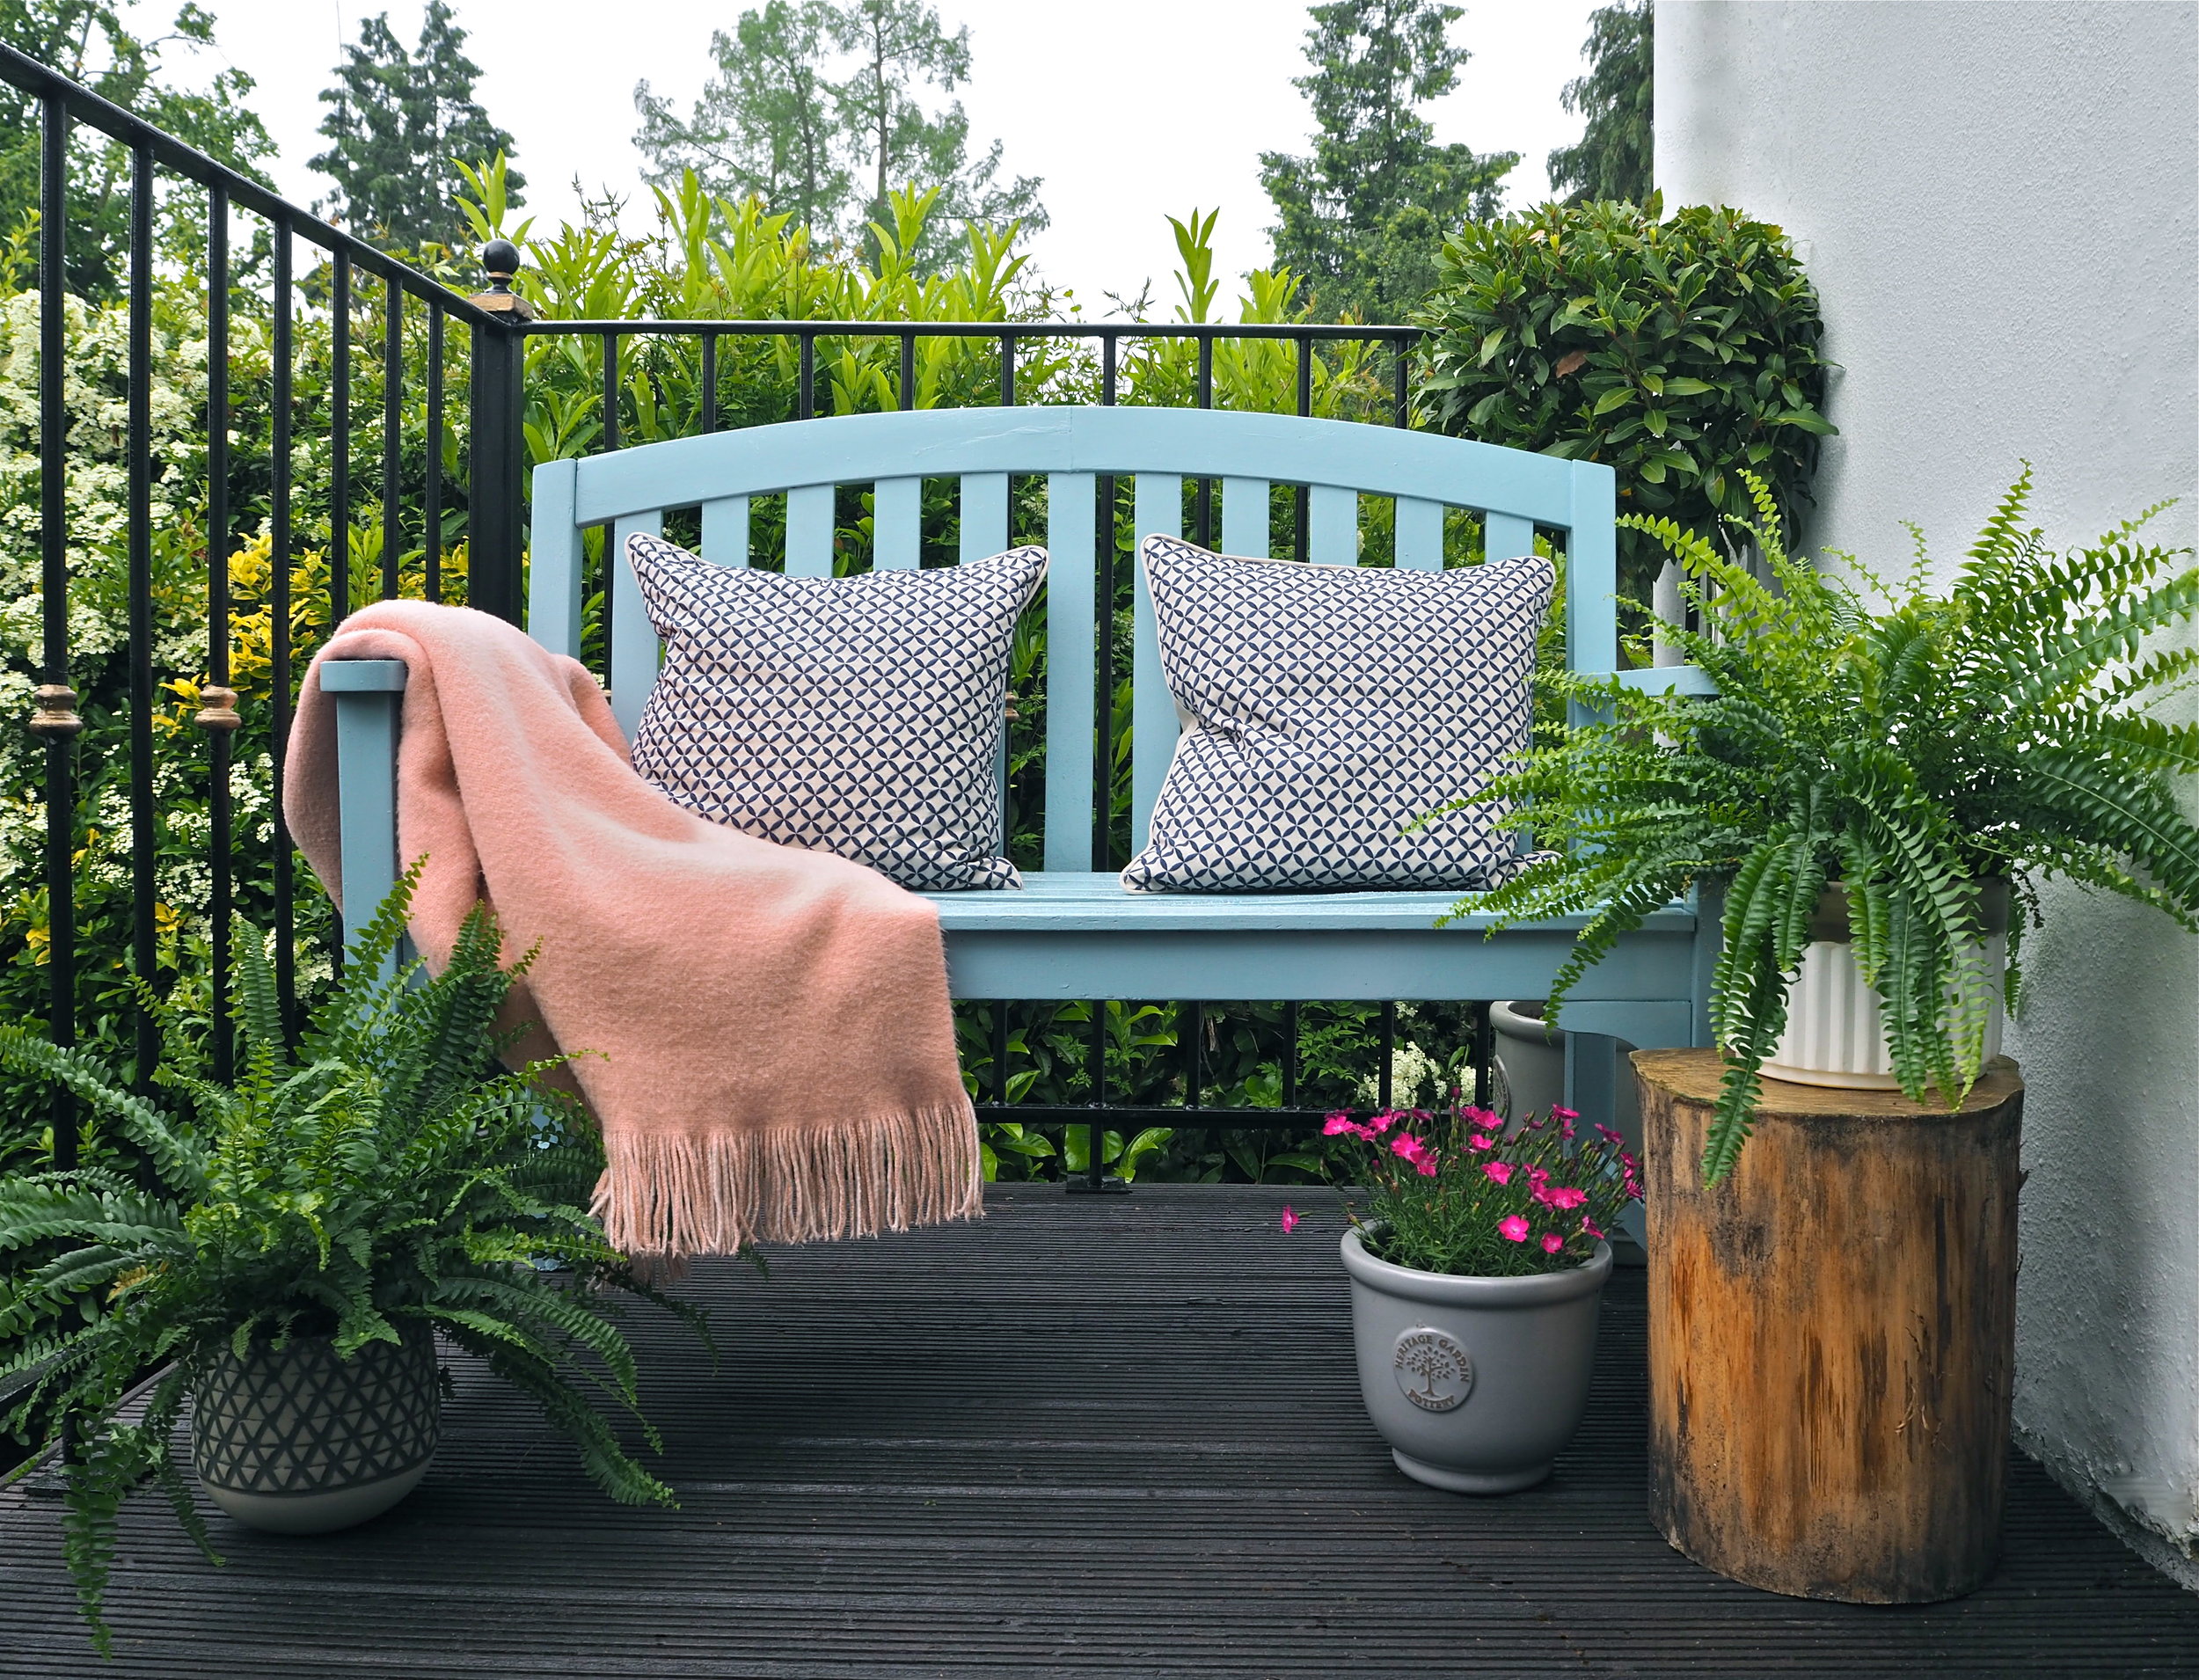
This is now my new balcony space just off my living room! Doesn't it look so nice? It has been given a completely new lease of life and just feels so fresh, colourful and inviting. I cannot believe how well the bench in particular turned out compared to what it looked like to start with. So, this is what everything looked like before, and this is how I achieved the new look.....
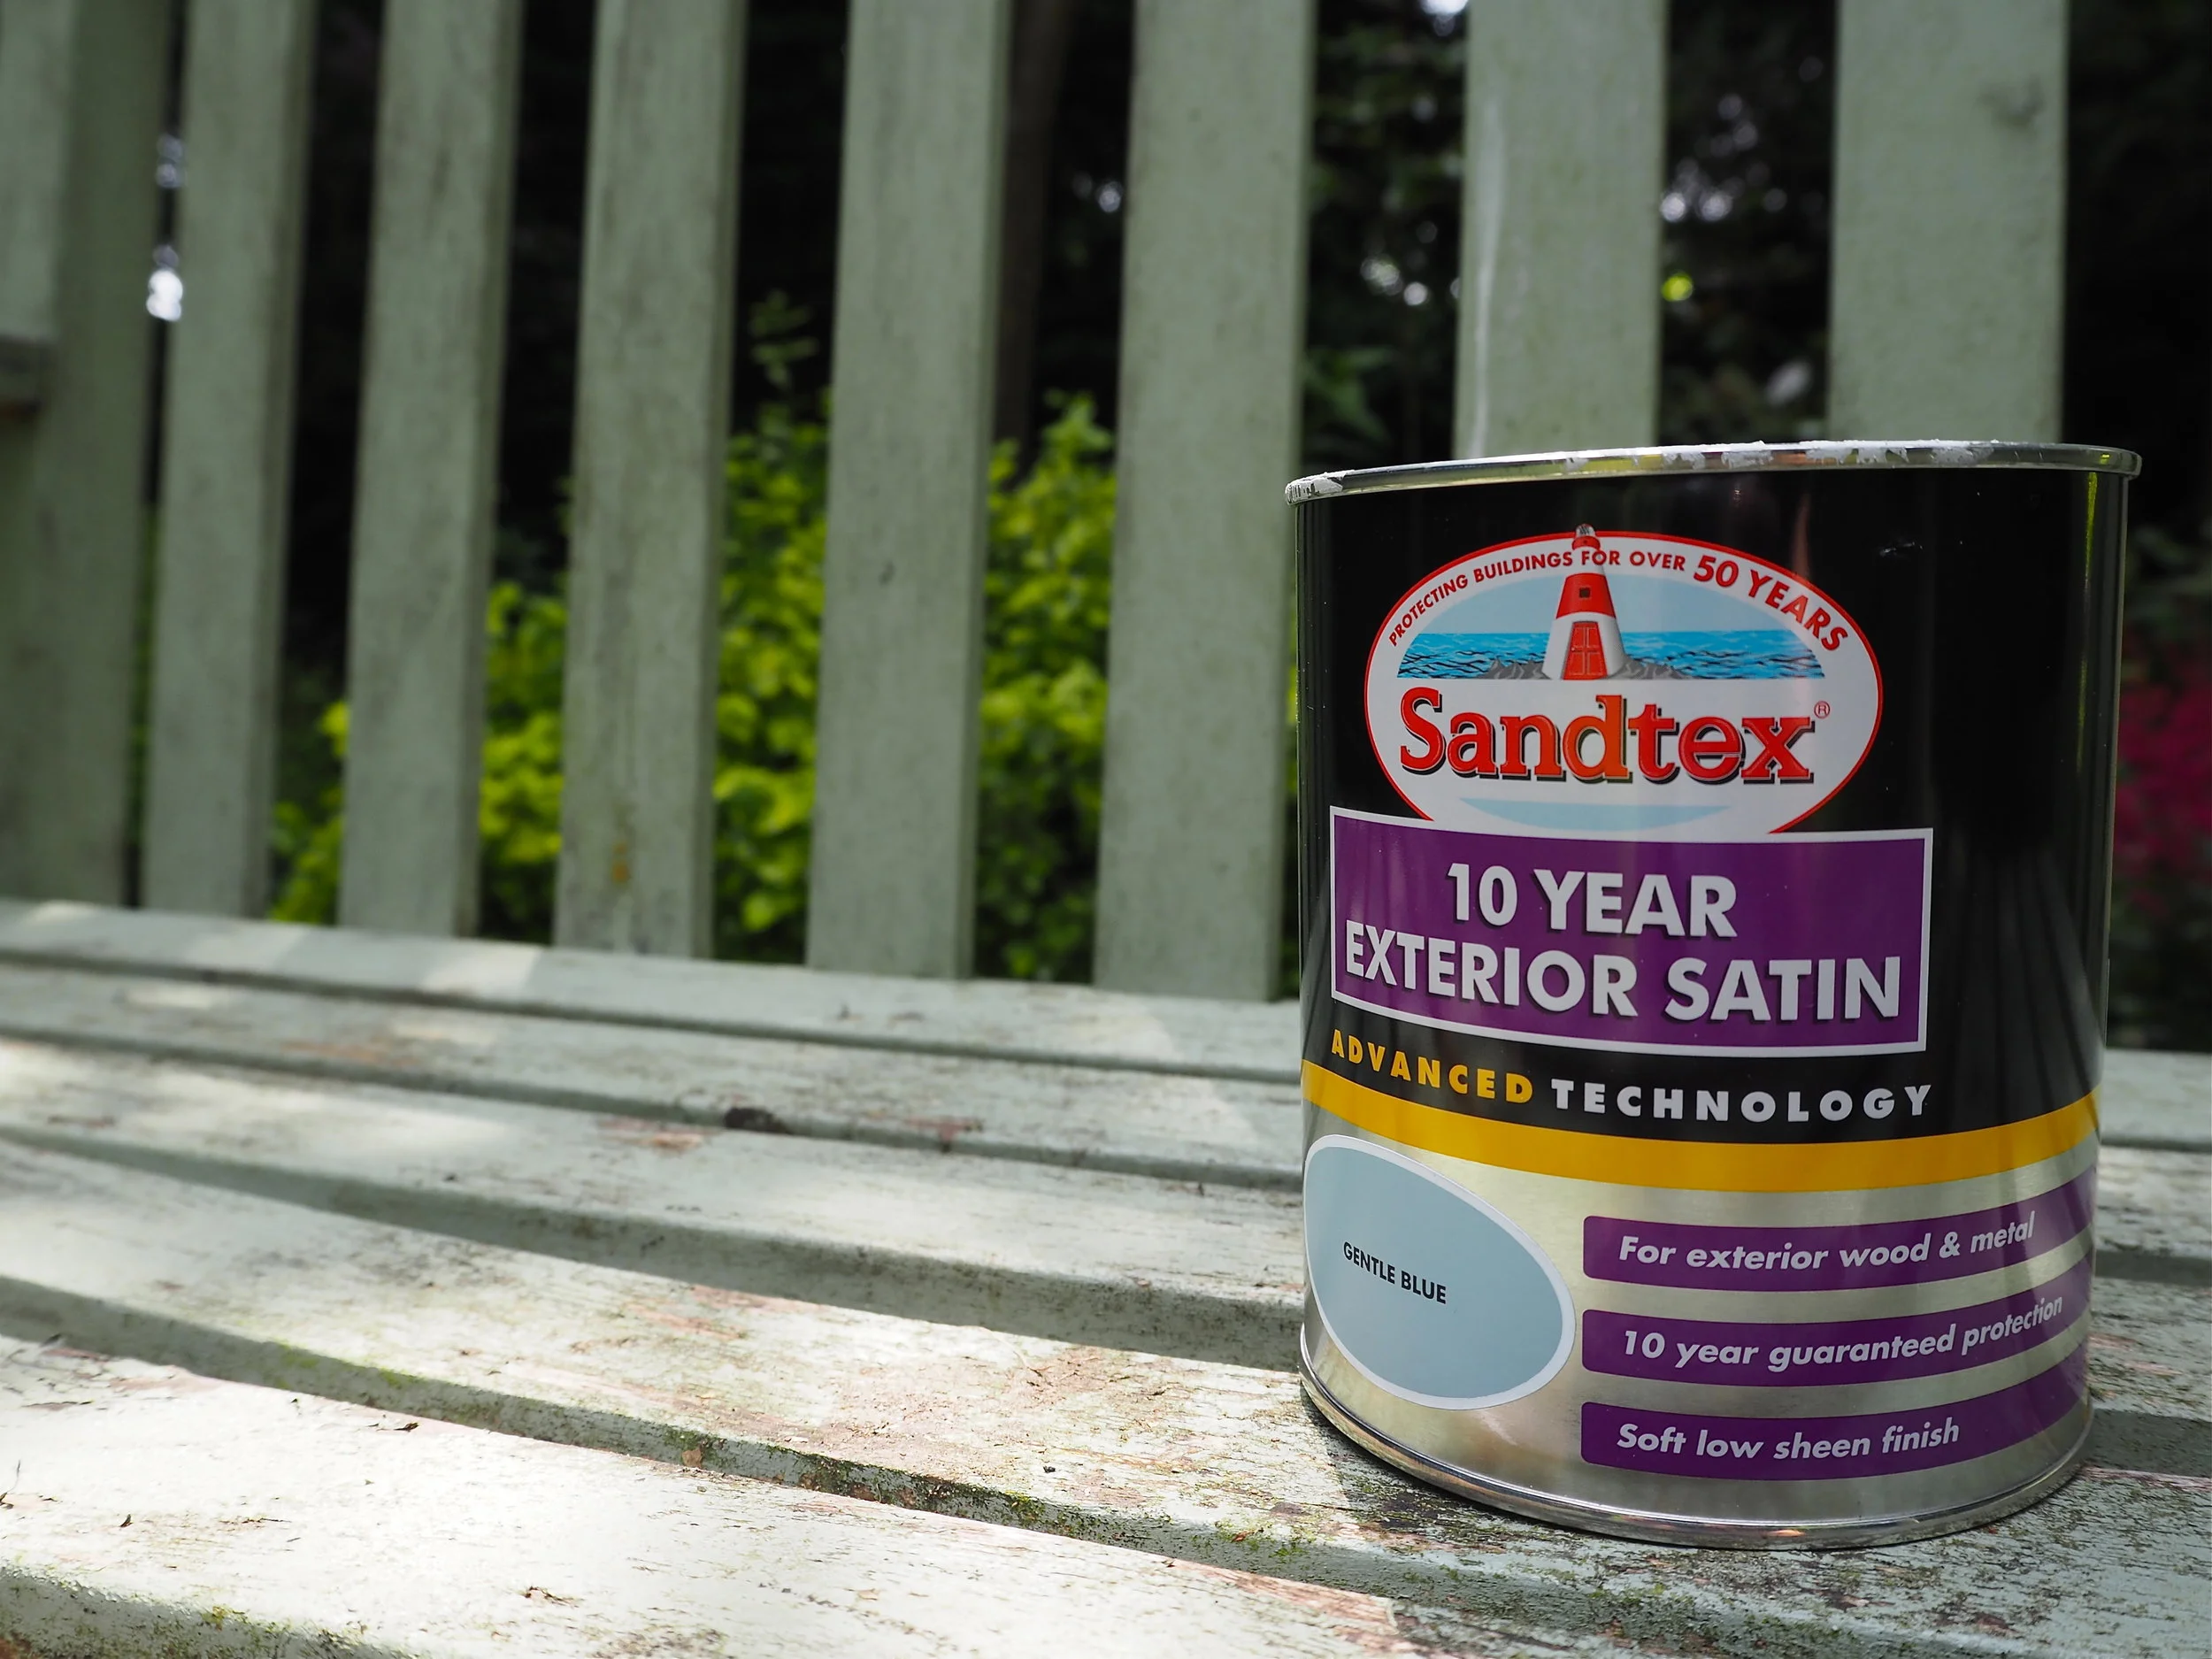
This old wooden garden bench had been sitting at the bottom of our garden for a few years and was in a bad state. The paint was worn and the wood was exposed. However, it was structurally sound and just needed a bit of love! As well as being freshened up this bench needed to be protected from the elements so I chose to paint it in Sandtex 10 Year Exterior Satin. I wanted the bench to be a pretty garden shade so chose 'Gentle Blue' from Sandtex's exterior wood and metal paint satin collection. Unlike other garden wood paints, Sandtex also gives a really tough, hard-wearing and waterproof finish, which means I will not have to re-coat the bench every year.
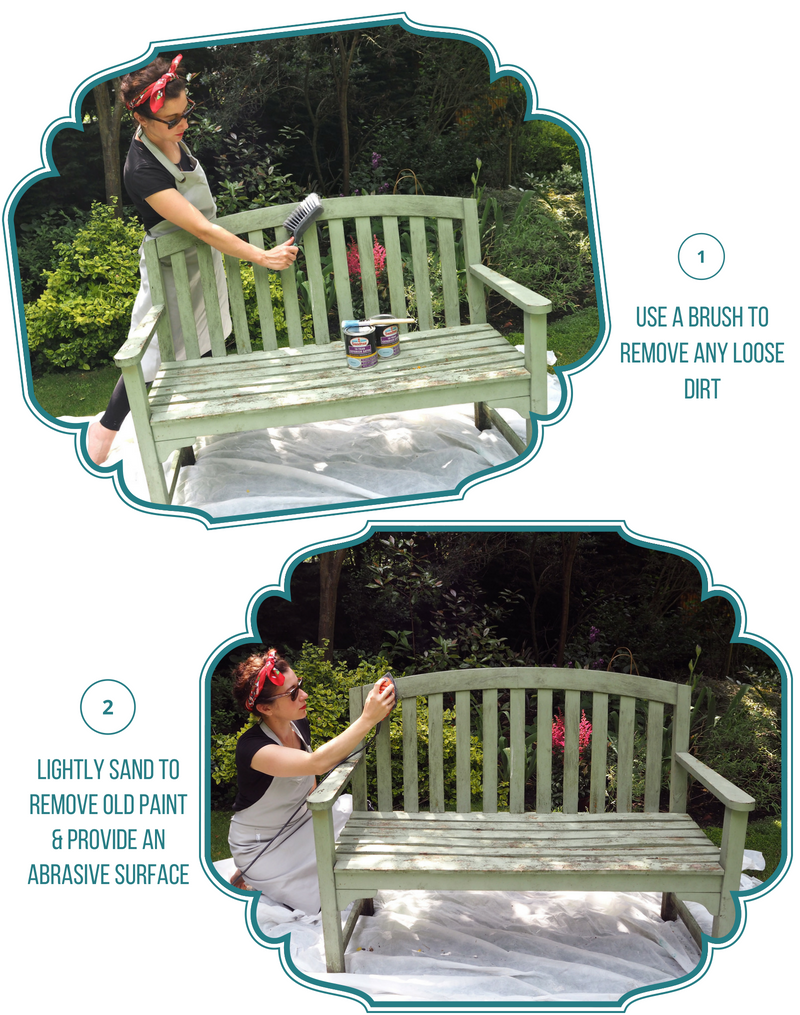
Following the instructions on the back of the tin, I set about revamping the bench from a mouldy-mess to balcony ready!
I was so happy with the Sandtex exterior paint as it gave a really thorough coverage, which you can see in the photo above. It coated the weathered bench so well, removing any signs of impurities in the wood. The wood did not 'suck-up' the paint (which I have found in the past with other exterior wood paints) which means you can sometimes see cracks and knots in the planks. Instead, I had a smooth, seamless finish:
You need to leave 16 hours between coats, but I found that one coat was enough to give my bench really good coverage, so the next day I just touched up a few areas and left it another day to dry fully before moving it up onto my balcony. In the meantime, I got started on the weathered deck boards using Sadolin 2 in-1 Decking Stain Protector in Teak. As well as giving my deck boards a nice deep colour, this 2-in-1 also protects and preserves the boards against footfall, UV rays from the sun and resists algae and mould growth.
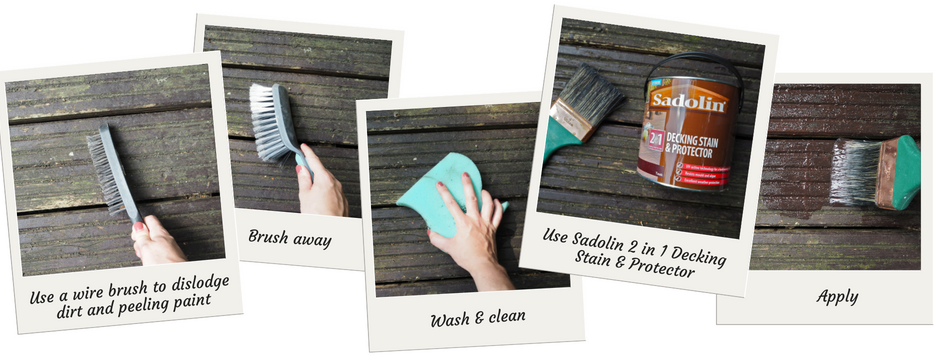
Using a wire brush I dislodged any moss, dirt and peeling paint before brushing it away. I then wiped the boards clean from any loose particles and left it to dry fully before applying two generous coats of the Decking Stain & Protector.
The third and final job was to update the railings which were suffering from cracked paint and were growing green algae. Using my wire brush I really scrubbed at the old peeling paint until anything loose was removed. I give the railings a quick wipe down then applied two coats of Sandtex 10 Year Exterior Wood & Metal paint in black gloss. The transformation was instant as the gloss gave the railings a lovely sheen, restoring that 'metal look'.
So here is my balcony now! It looks as good as new and I love the look of the blue against the darker backdrop of the teak deck boards and black metal railings:
What do you think to my fresh new balcony look? I'm really pleased with what I achieved over the bank holiday weekend. I now have a lovely place to come and relax in the sunshine for the rest of the summer.
* This post is a paid collaboration with Sandtex & Sadolin who provided me with my chosen paints from their collection to complete my balcony revamp. However, all thoughts and opinions on the paints I used are completely my own. All DIY work for this post was, as usual, carried out by me so I could give a fully honest product review.


