4 Ideas For Handmade DIY Christmas Tree Decorations
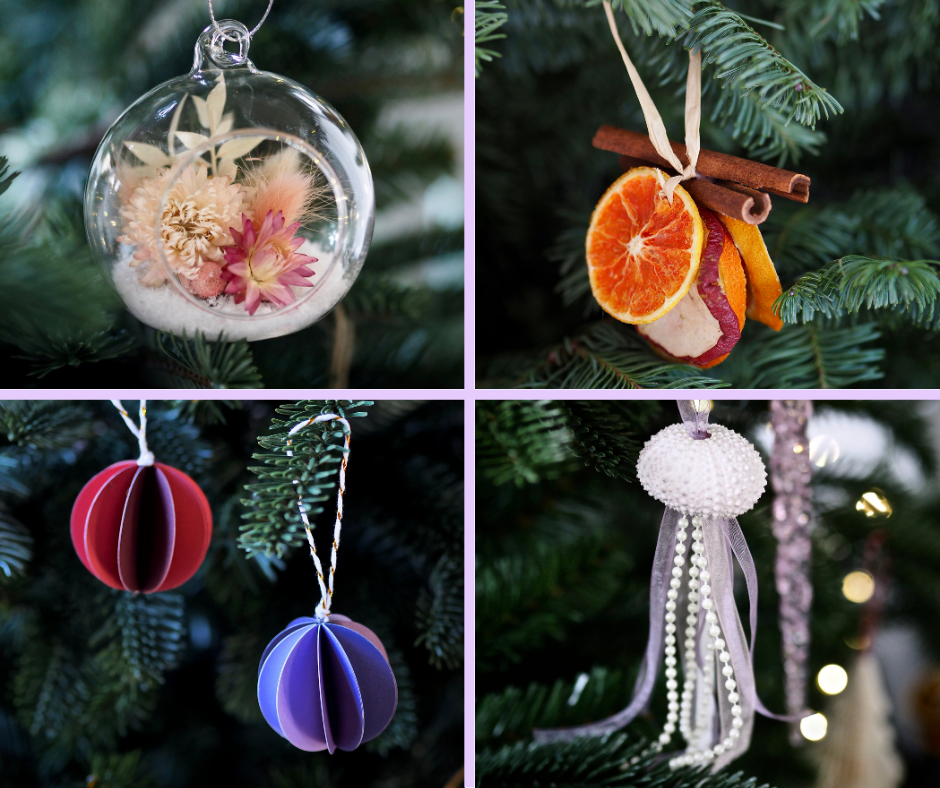
I do love a Christmas craft and this year I created a number of DIY baubles to hang on my tree. Making your own decorations can be a really economical way of filling up your tree without having to bulk-buy loads of shop-bought decorations. They are a good task to assign the kids to keep them occupied - or to do yourself as a relaxing, festive activity! Here are four tree decoration ideas with step-by-step instructions so that you can give them a go yourself.
Dried flowers have been a huge micro-trend this year and I really wanted to bring them into my Christmas decor. This is a really simple decoration to create using a fillable glass bauble. To make this you will need:
Knife and Scissors
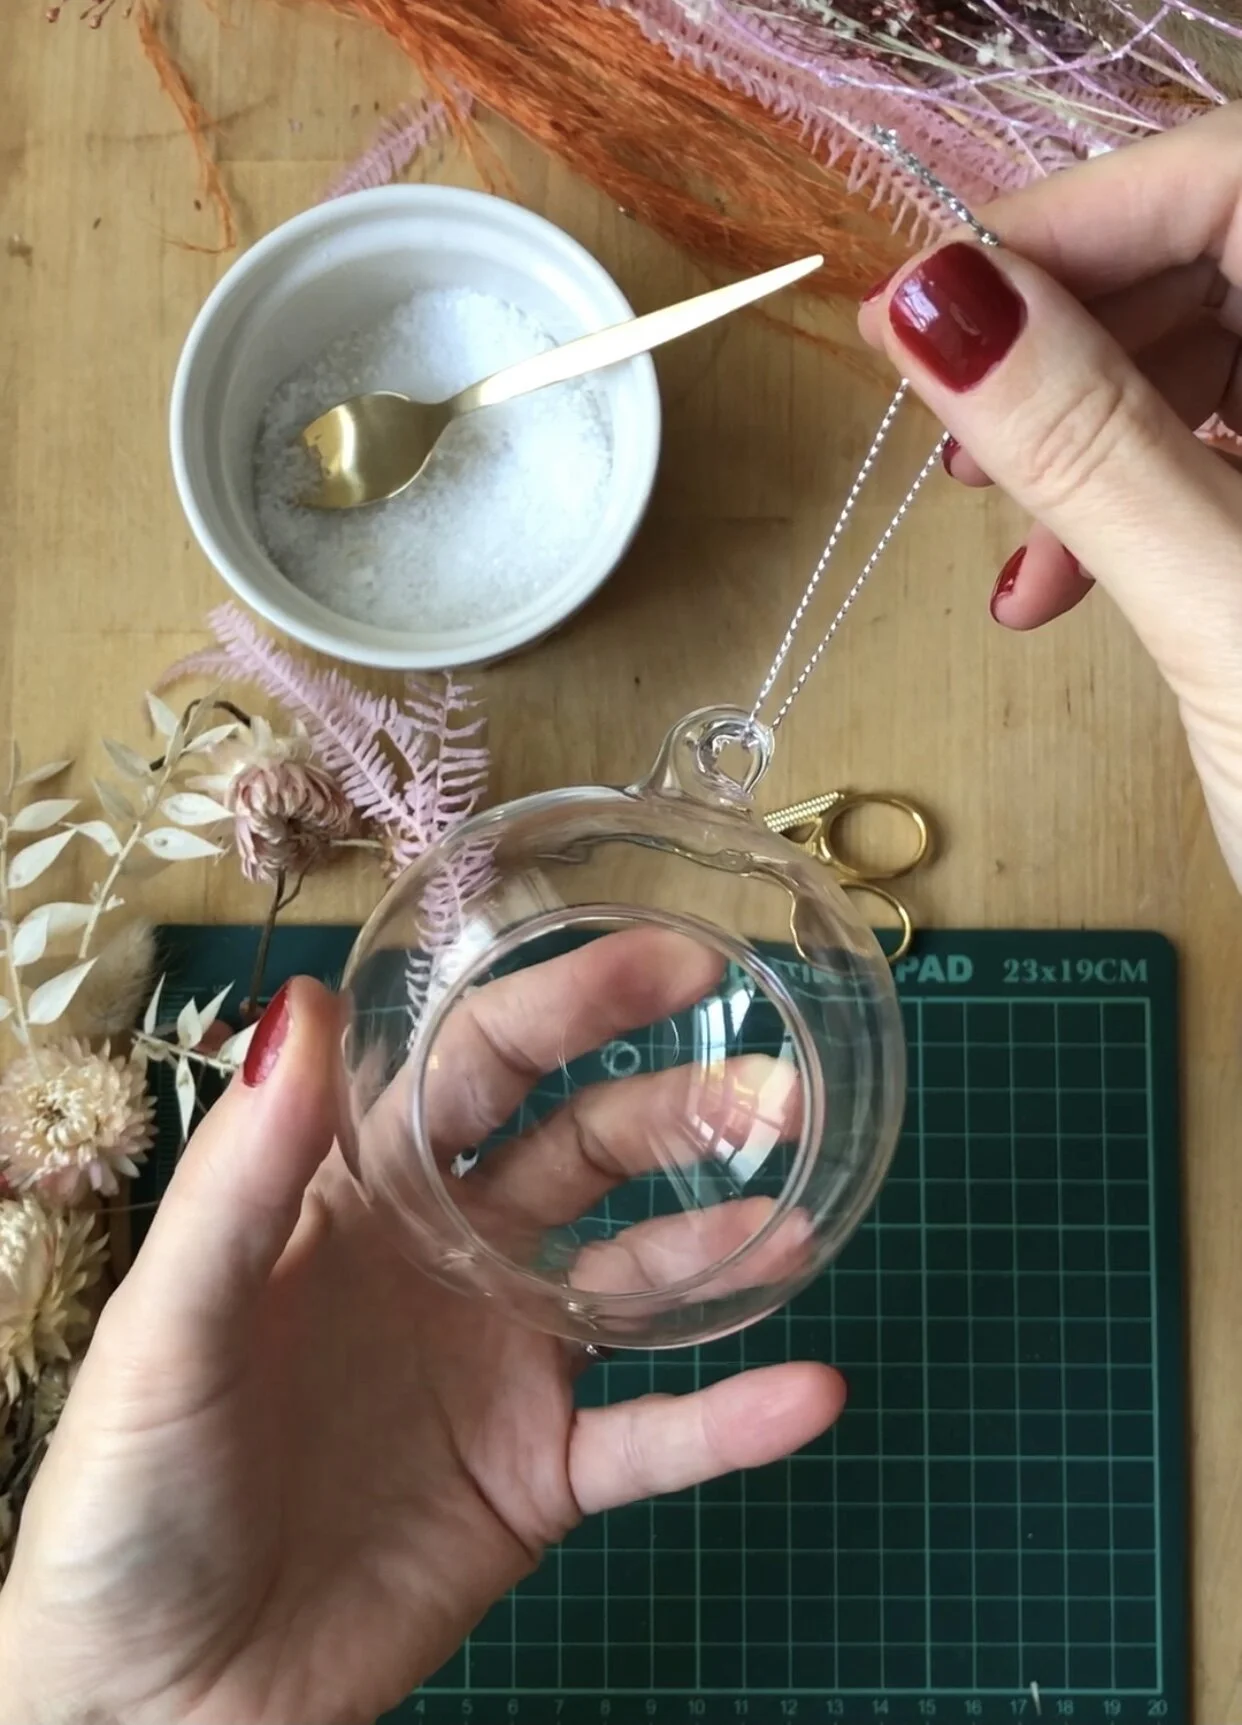
You will need a fillable glass bauble.
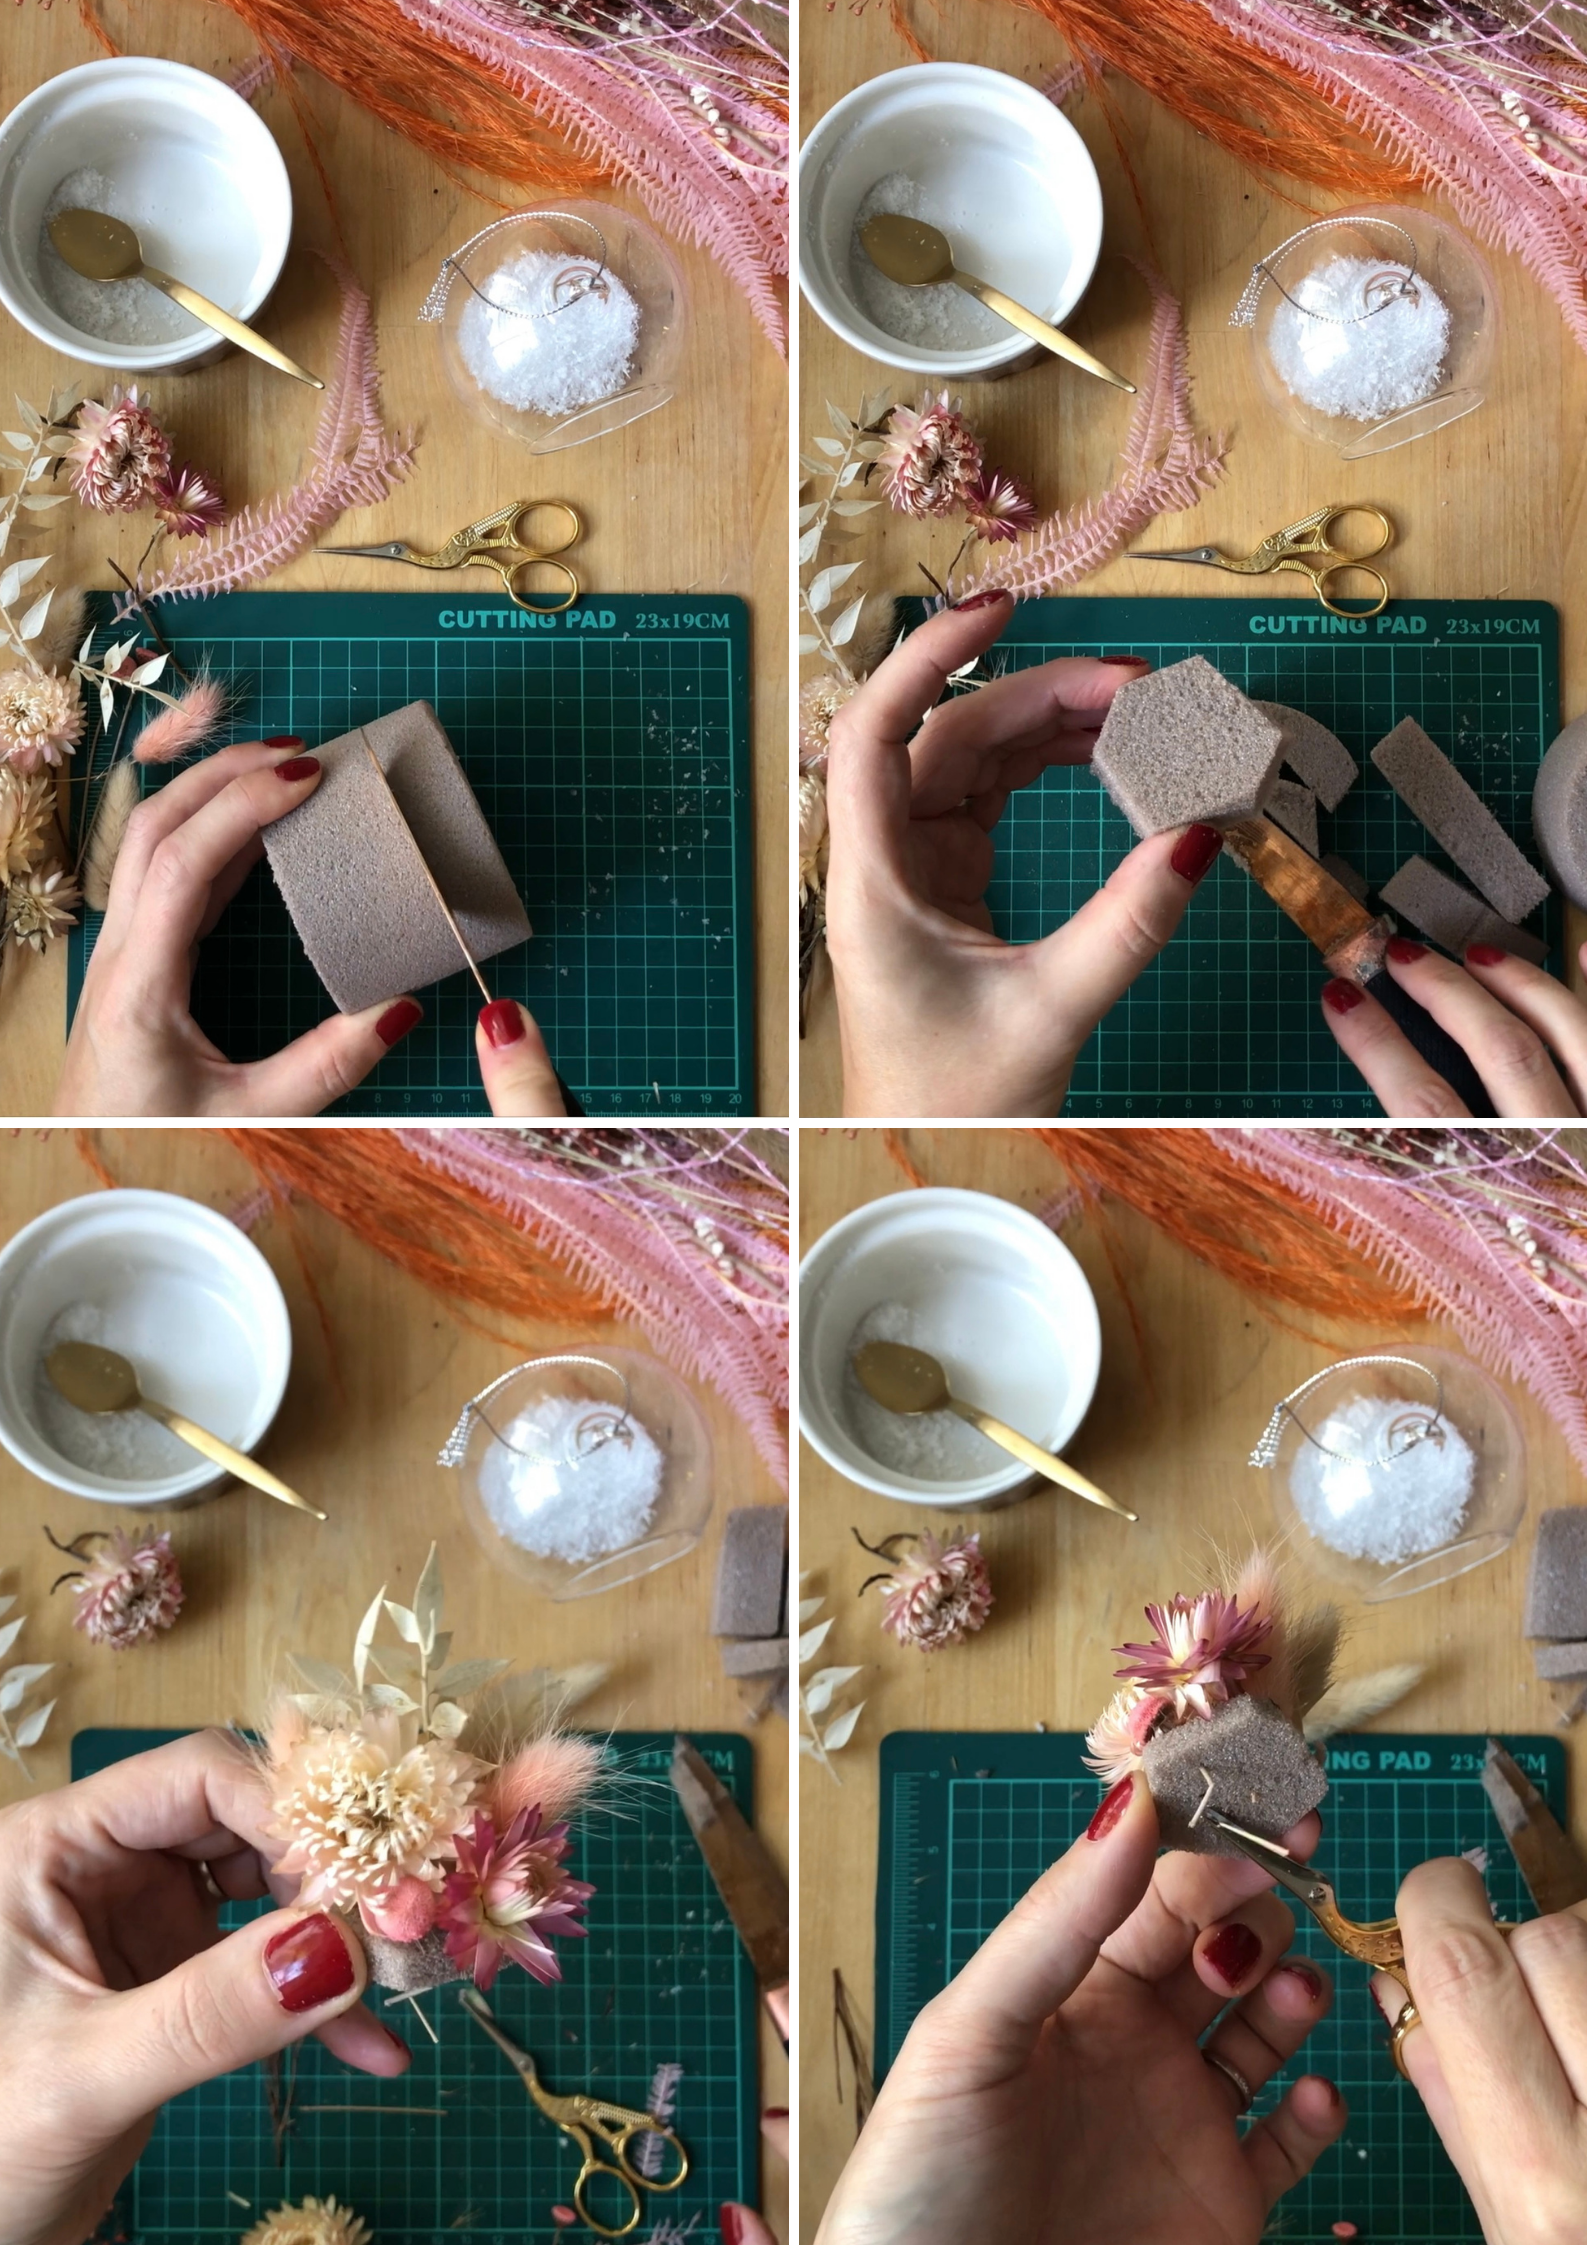
Spoon in a small amount of artificial snow into the bauble - just enough to cover the floral foam base and not spill out over the lip of the bauble entrance. Slice a strip off the floral foam and cut it into a hexagon shape. Check that it fits your bauble and sits in there nicely before adding your flowers.
Snip the heads off some dried flowers and build up your design by inserting the head stems into the foam. Make sure that the flowers at the back are taller than the front so that you can see a range of florals, then snip the stem down underneath the foam so that the base sits flat in the bauble. Once inserted, add more snow if required to cover any visible foam.
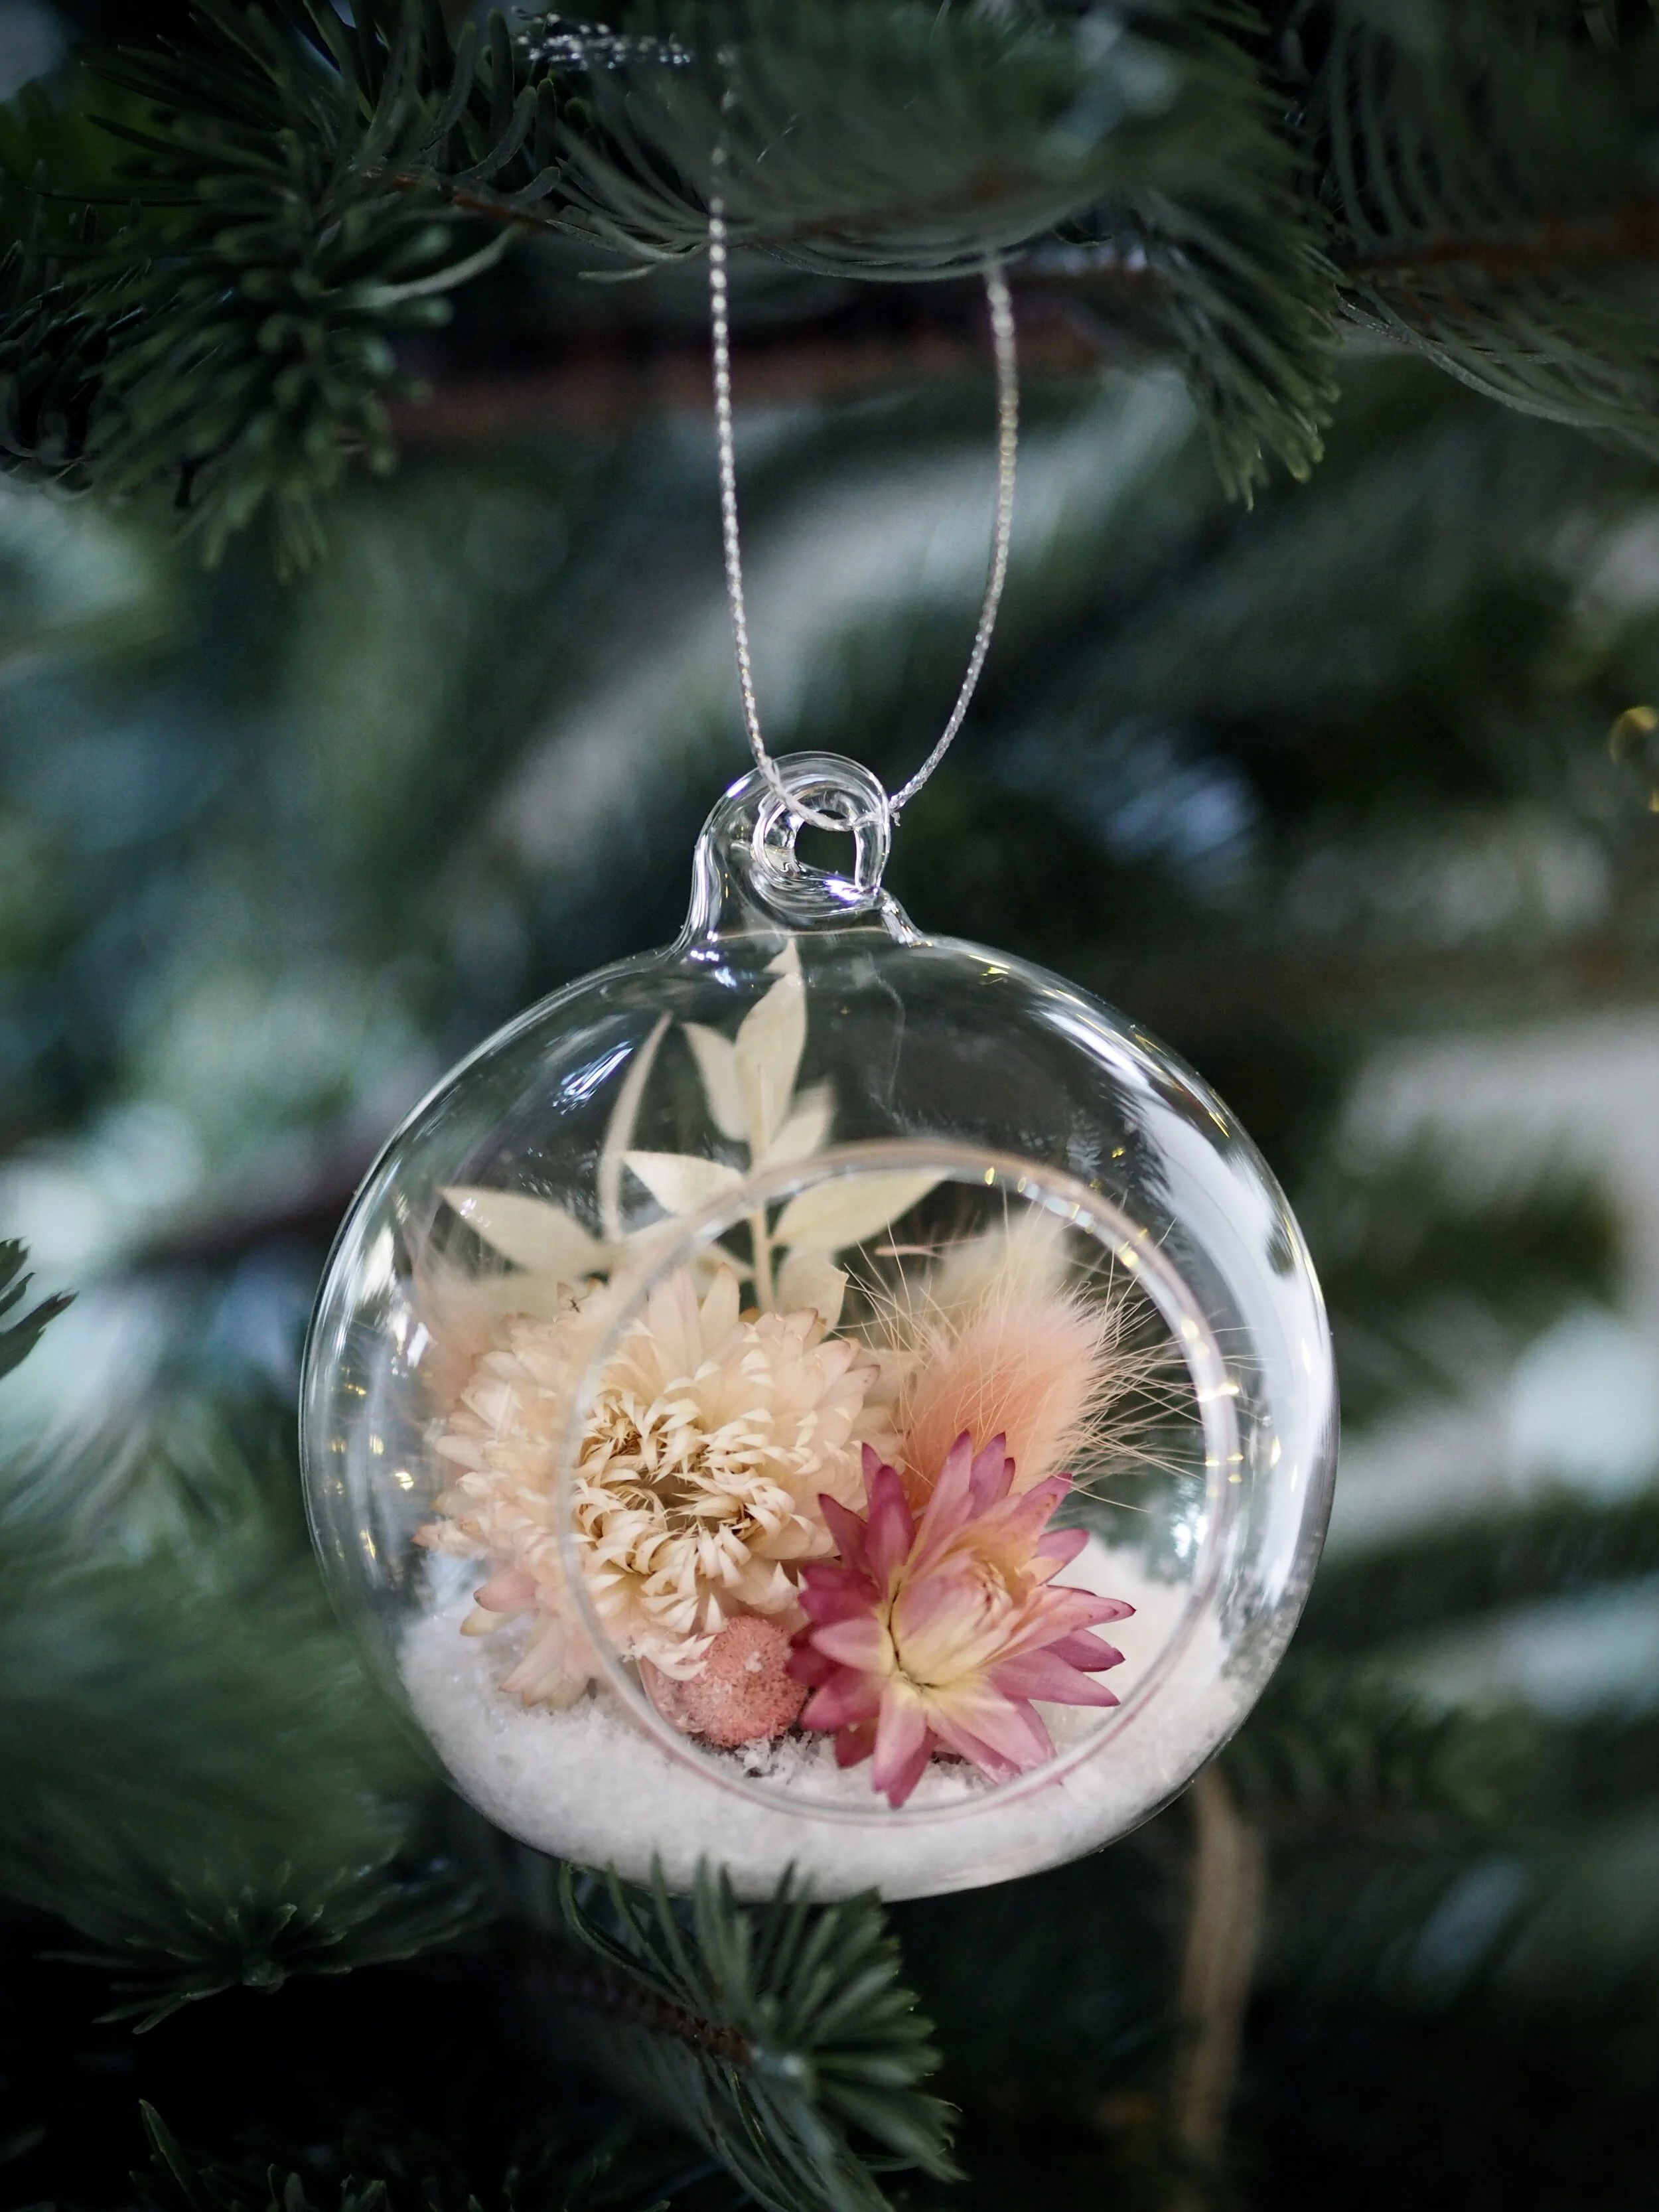
My DIY dried flower decoration hanging on my tree.
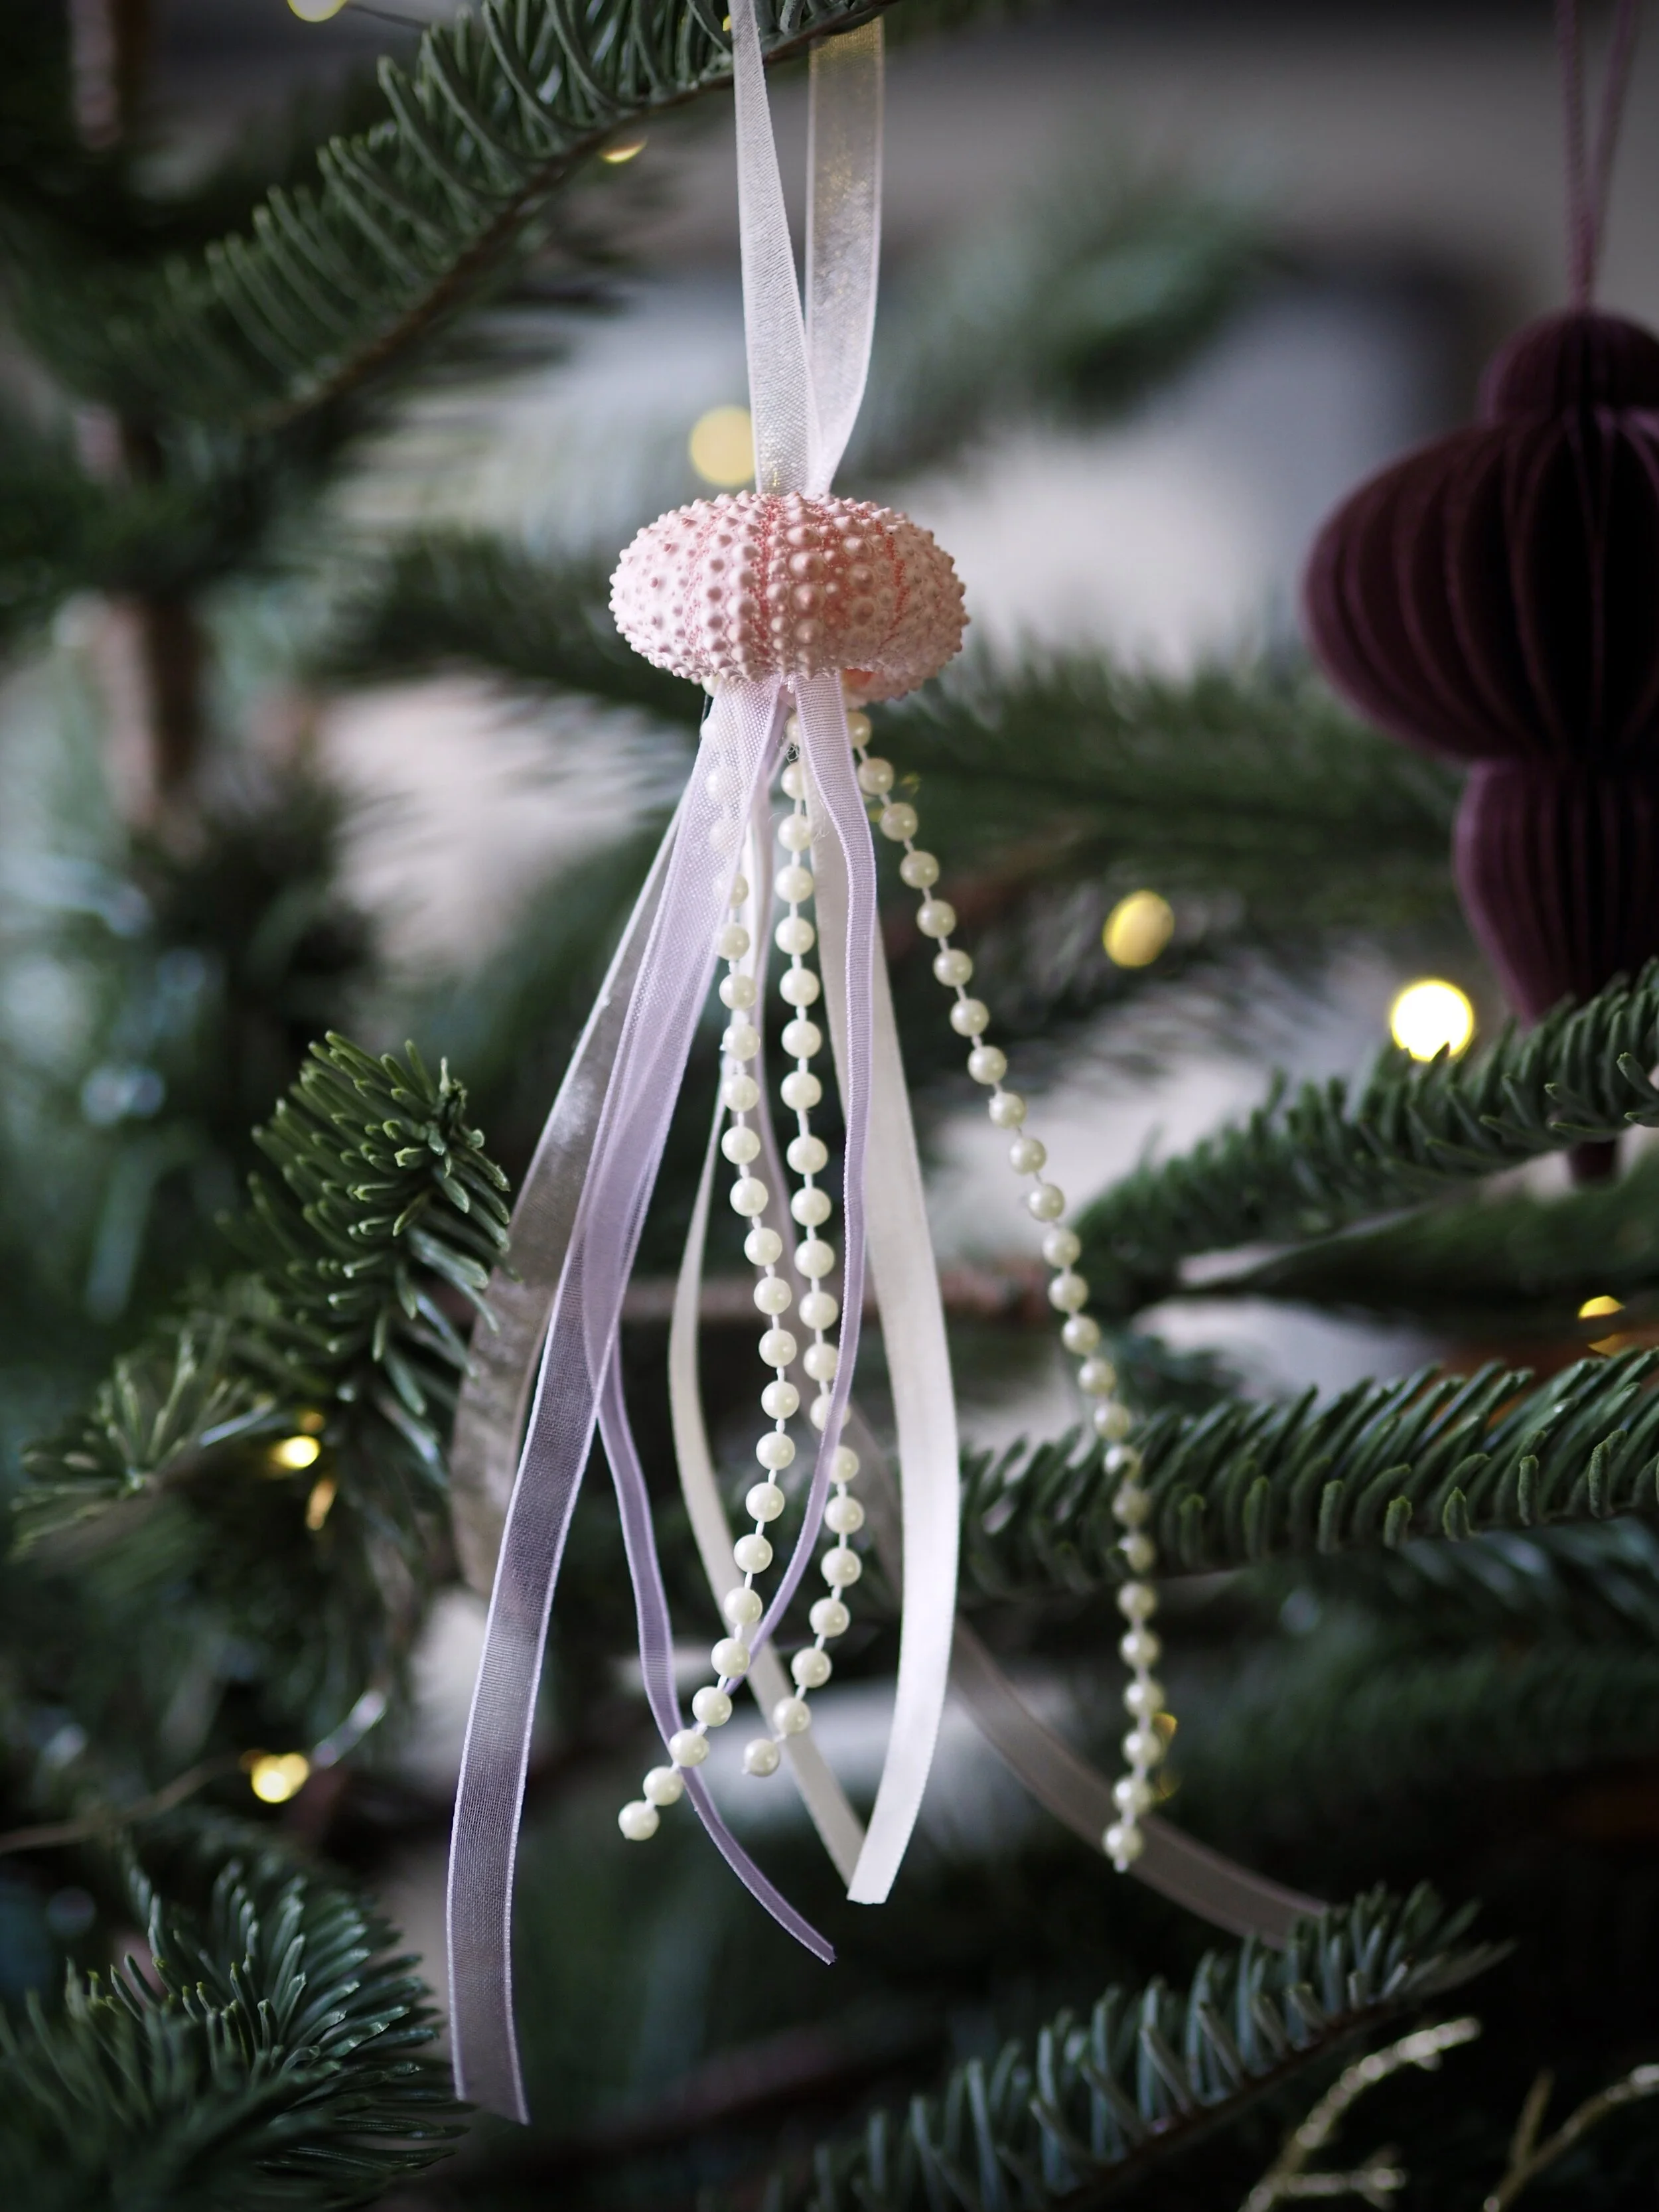
The ‘under the sea’ theme is huge this year for Christmas decorations. The shops are full of clamshells and seahorses, so I thought I would have a go at making my own version. These urchin shell jellyfish-style decorations are created using decorative trim and ribbon glued to a button and threaded through the shell.
These delicate decorations are so pretty.
To make them you will need:
Urchin shells which you can buy via eBay
Small 15mm button
Mini glue gun and glue sticks
Scissors
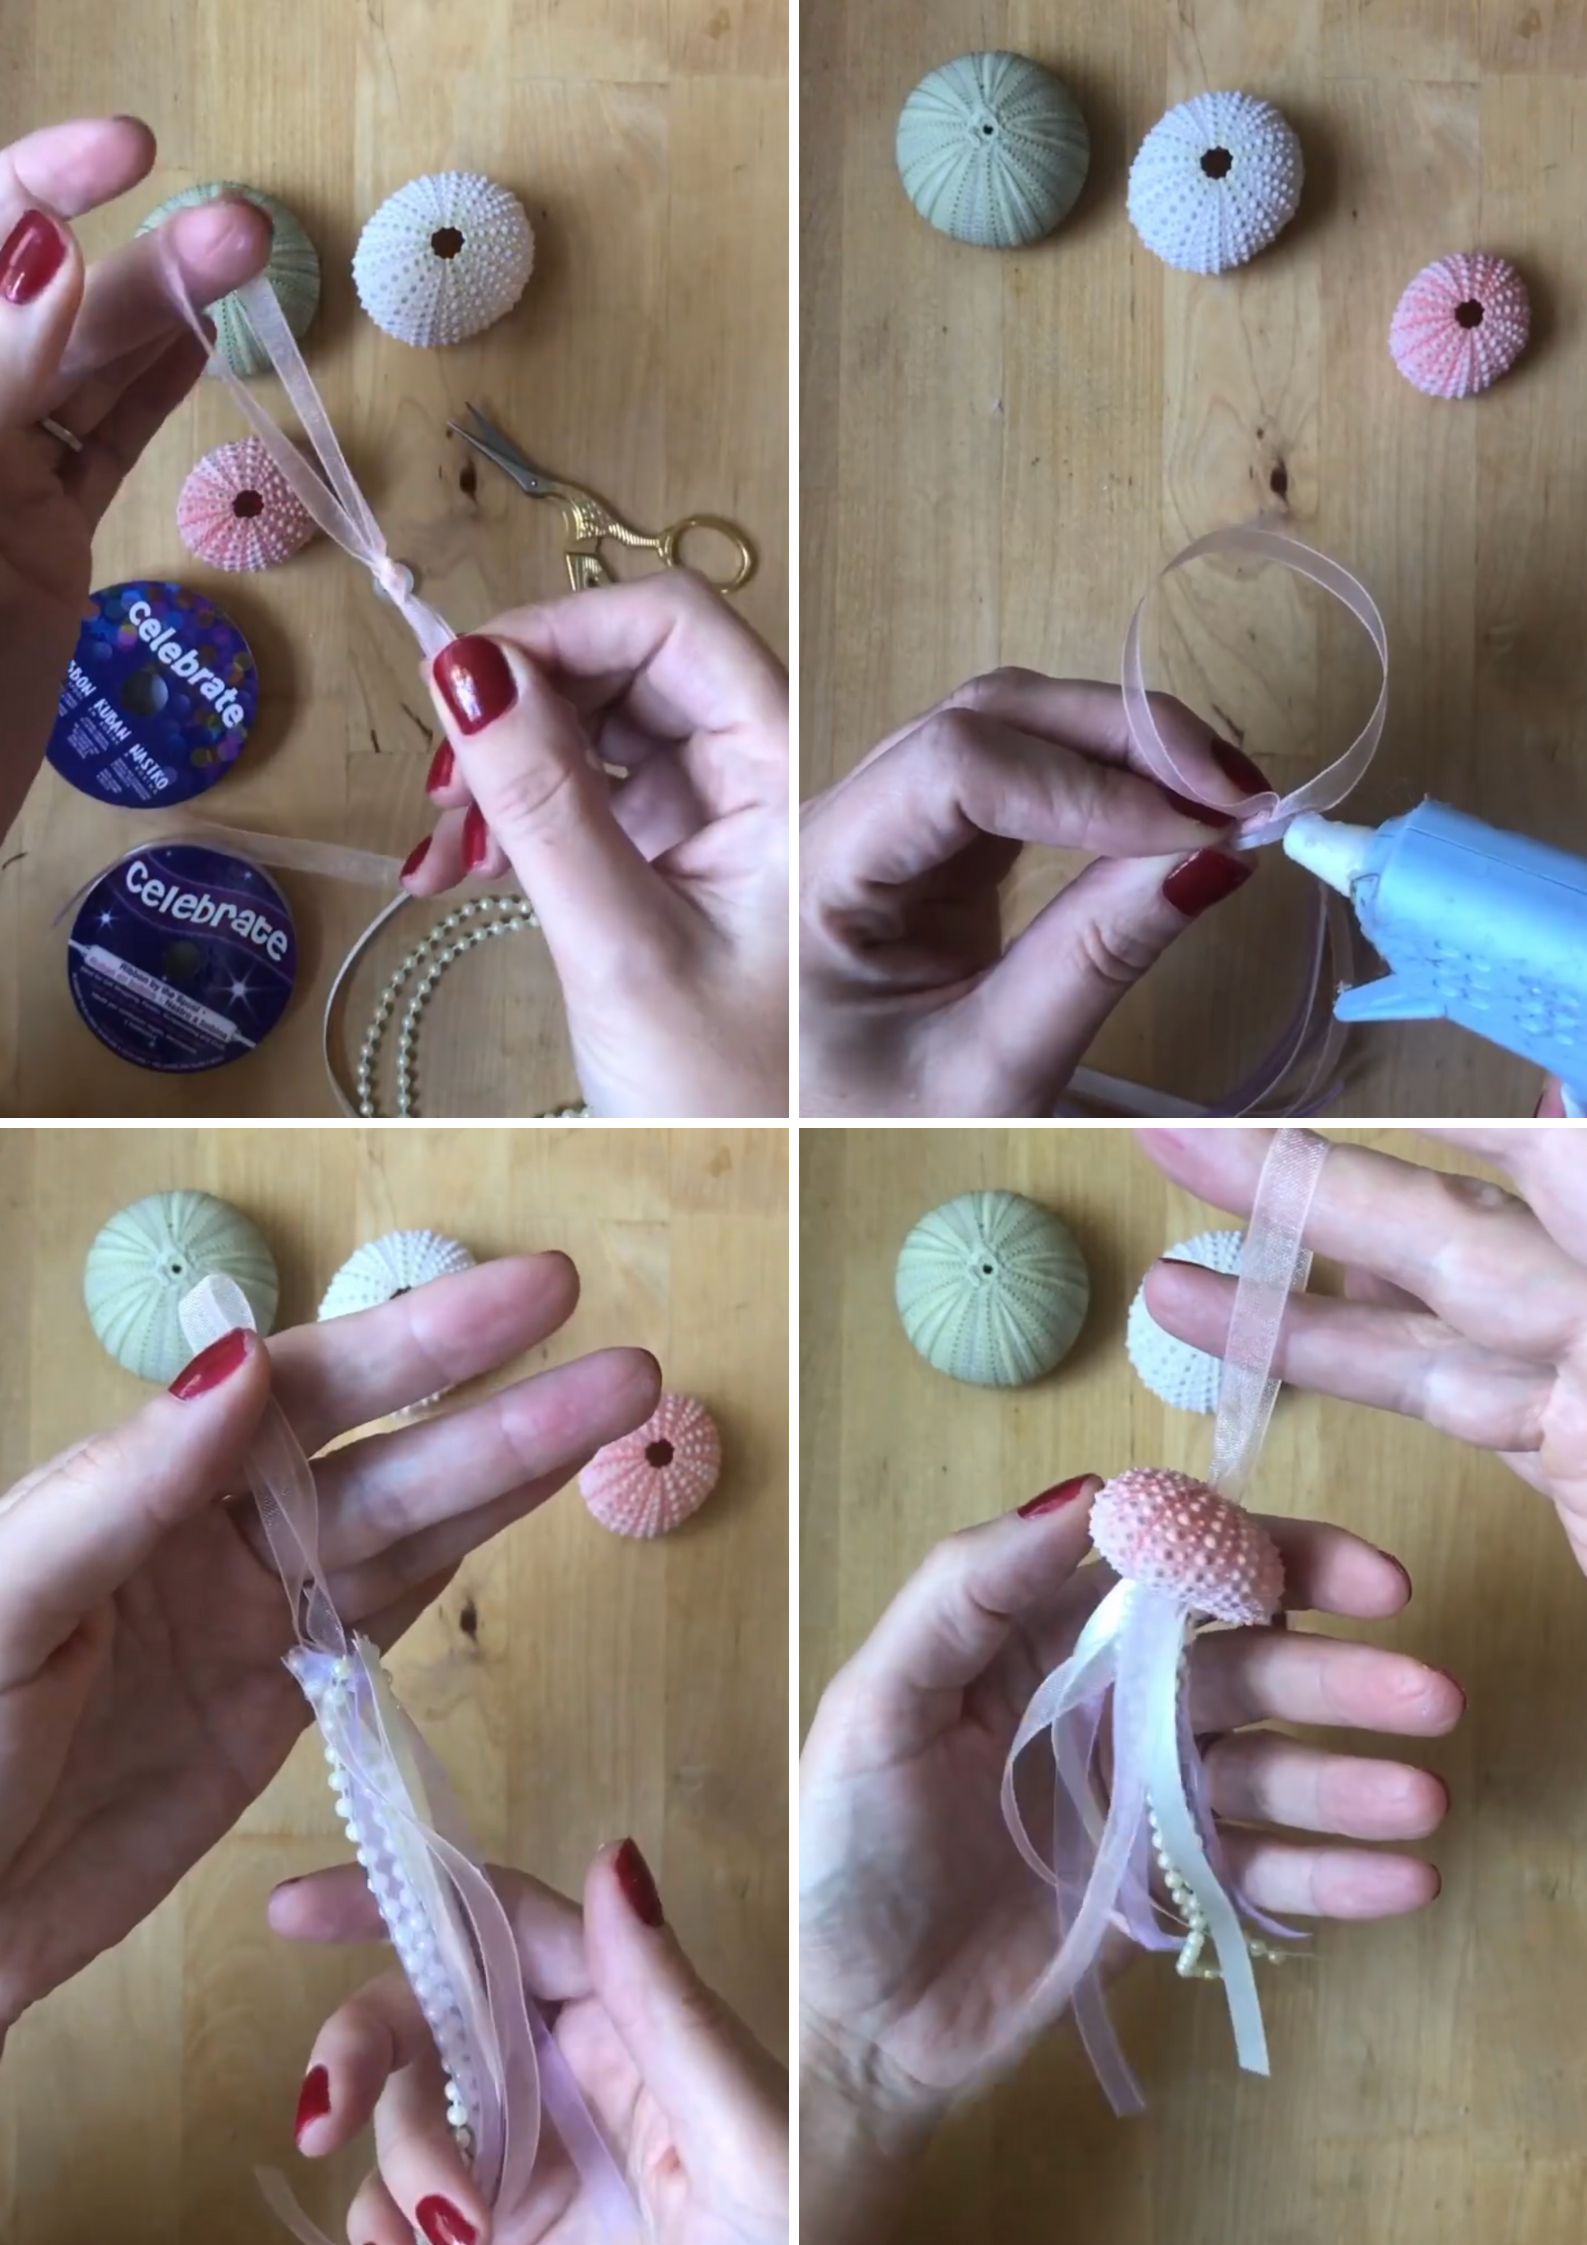
Take a piece of ribbon and fold it over to create a loop. This loop will be how you hang the decoration from the tree, so make sure the length of the loop is at least 8cm. Tie the end in a knot and cut away the excess ribbon underneath. Glue the knot to the top surface of the button.
Cut at least ten strips of the ribbon and pearls the same length. Glue the tip of each piece around the edges of the button, spaced out as much as possible. Thread the loop through the top of the urchin shell and trim the pearls and ribbon as necessary.
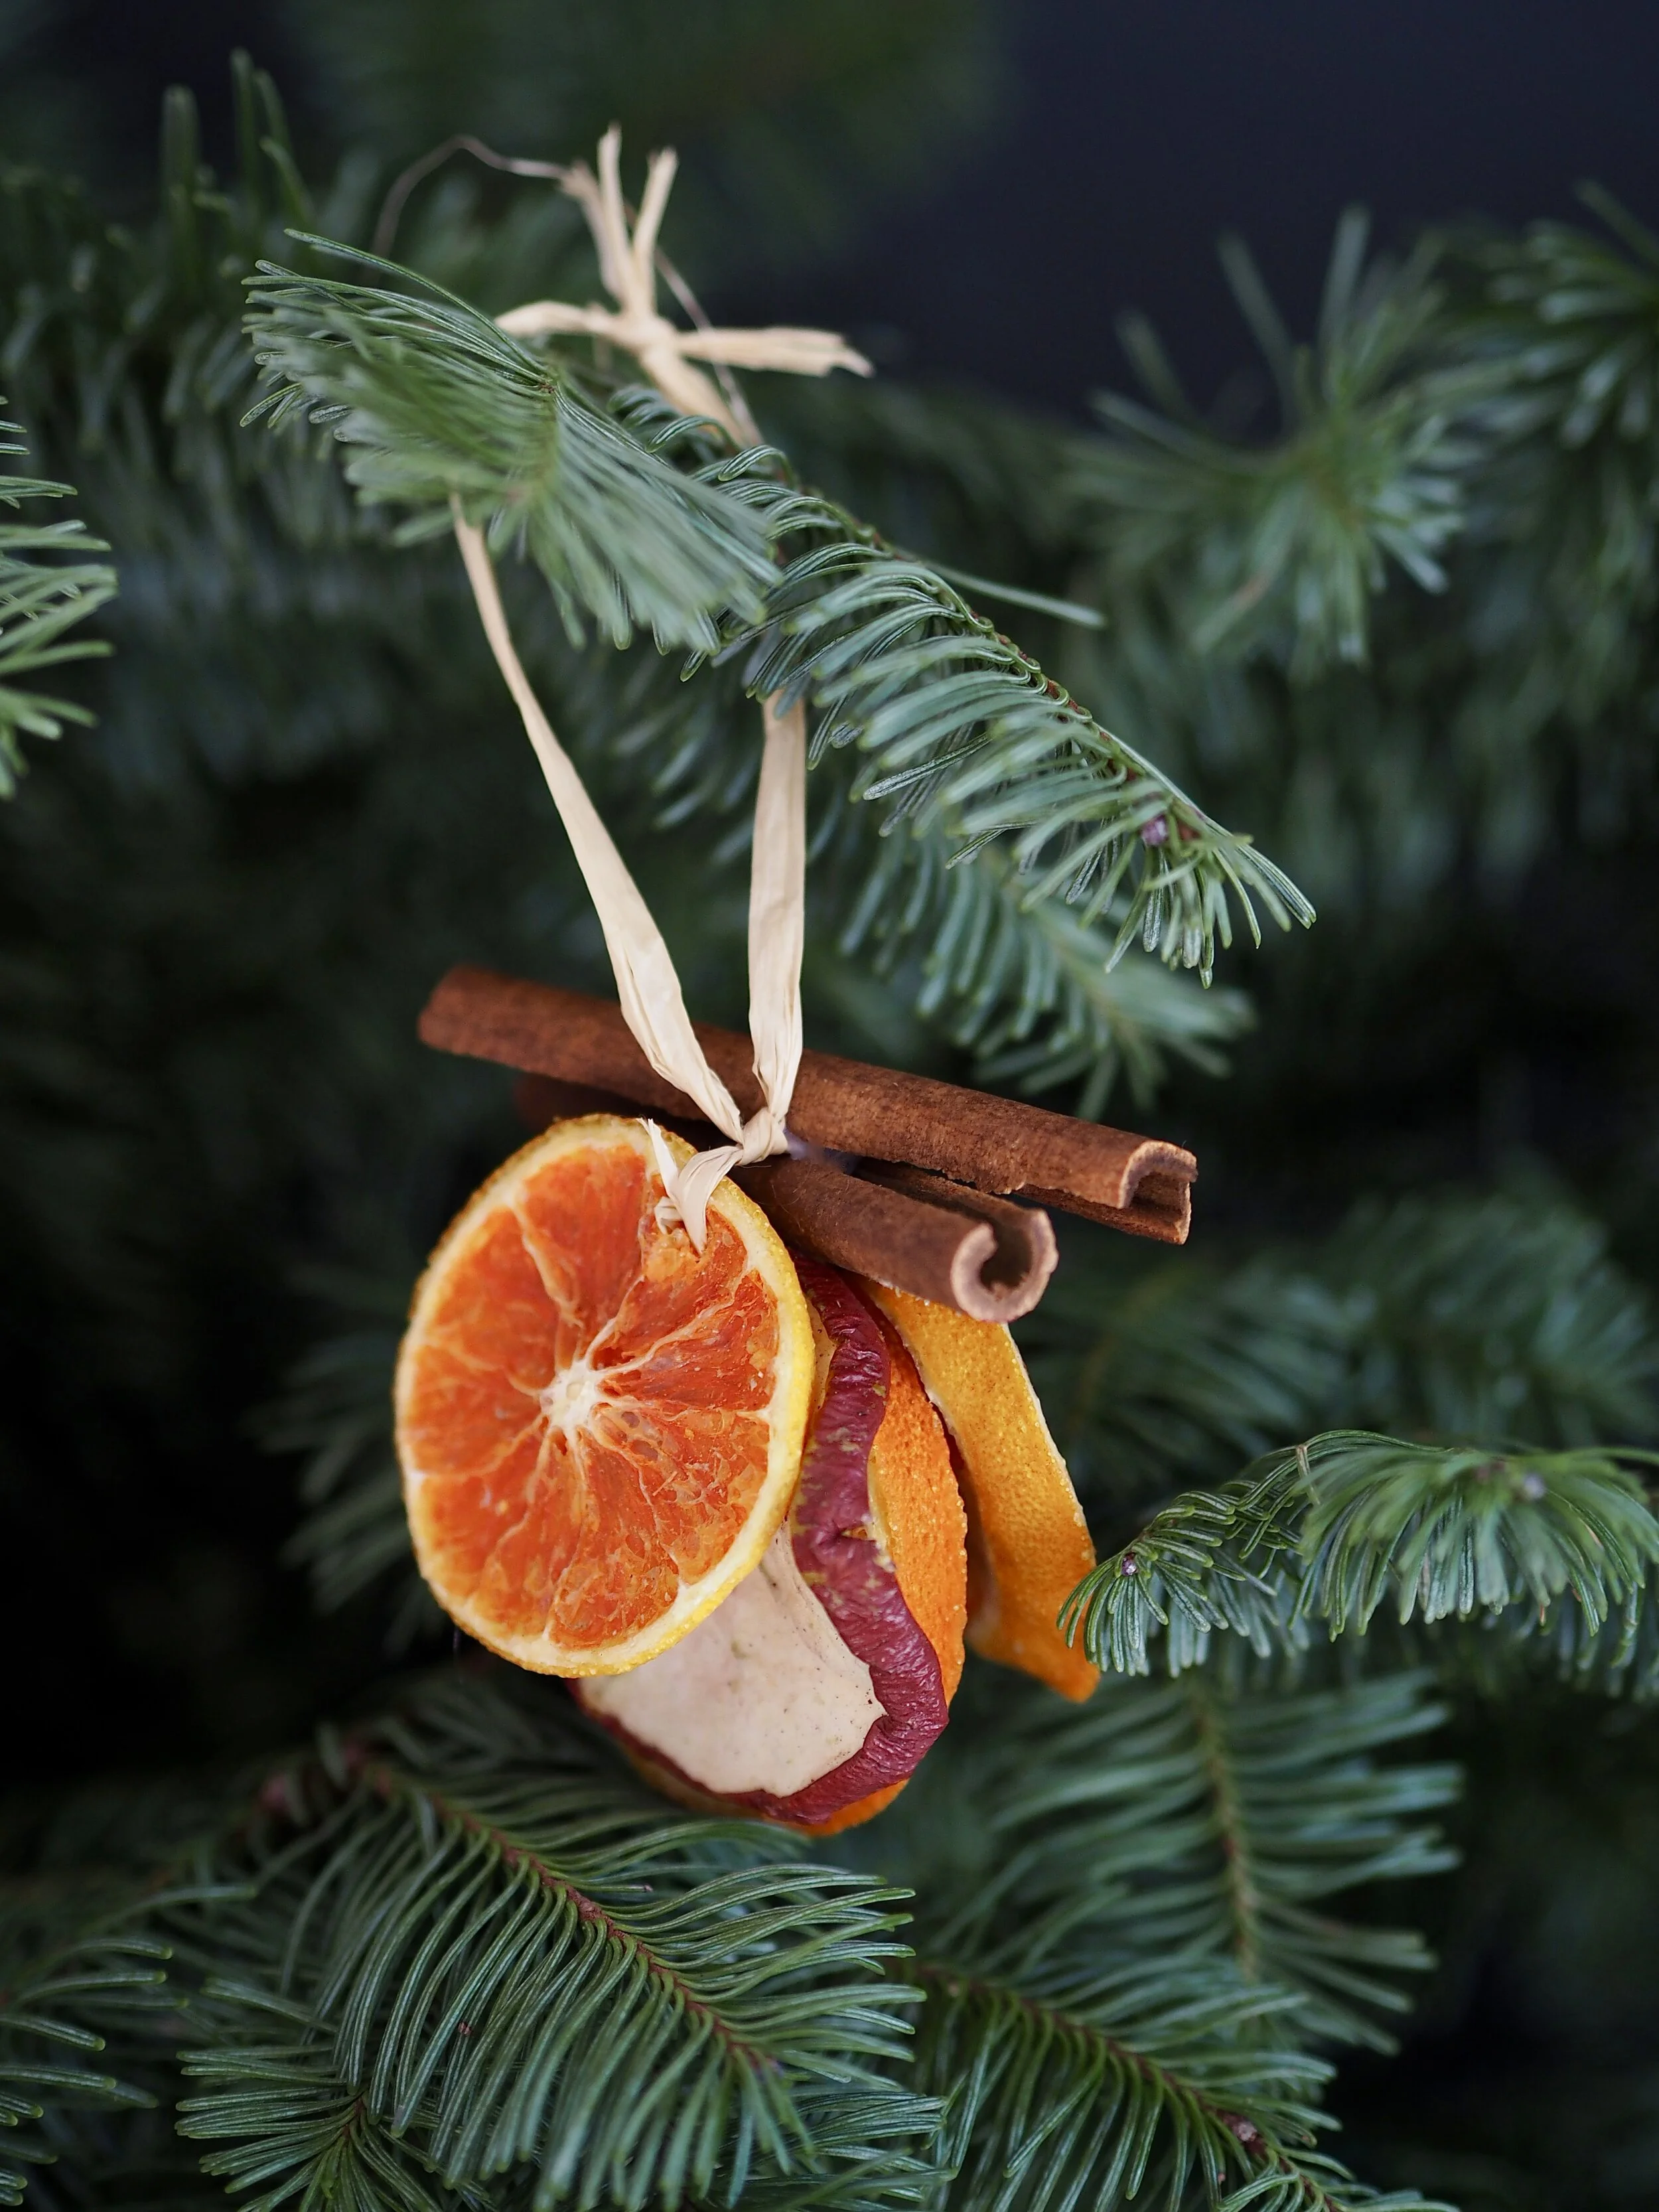
The decorations are natural and sustainable.
These dried fruit and sundries decorations are completely sustainable as they can be composted at the end of their life. Simply cut out any hot glue used before discarding. To make them you will require:
Dried orange slices - make your own or buy in bulk ready-dried.
Other dried decorations such as cinnamon sticks, fir cones and peppercorns.
Mini glue gun and glue sticks
Cutting mat and a craft knife or chopping board and small kitchen knife
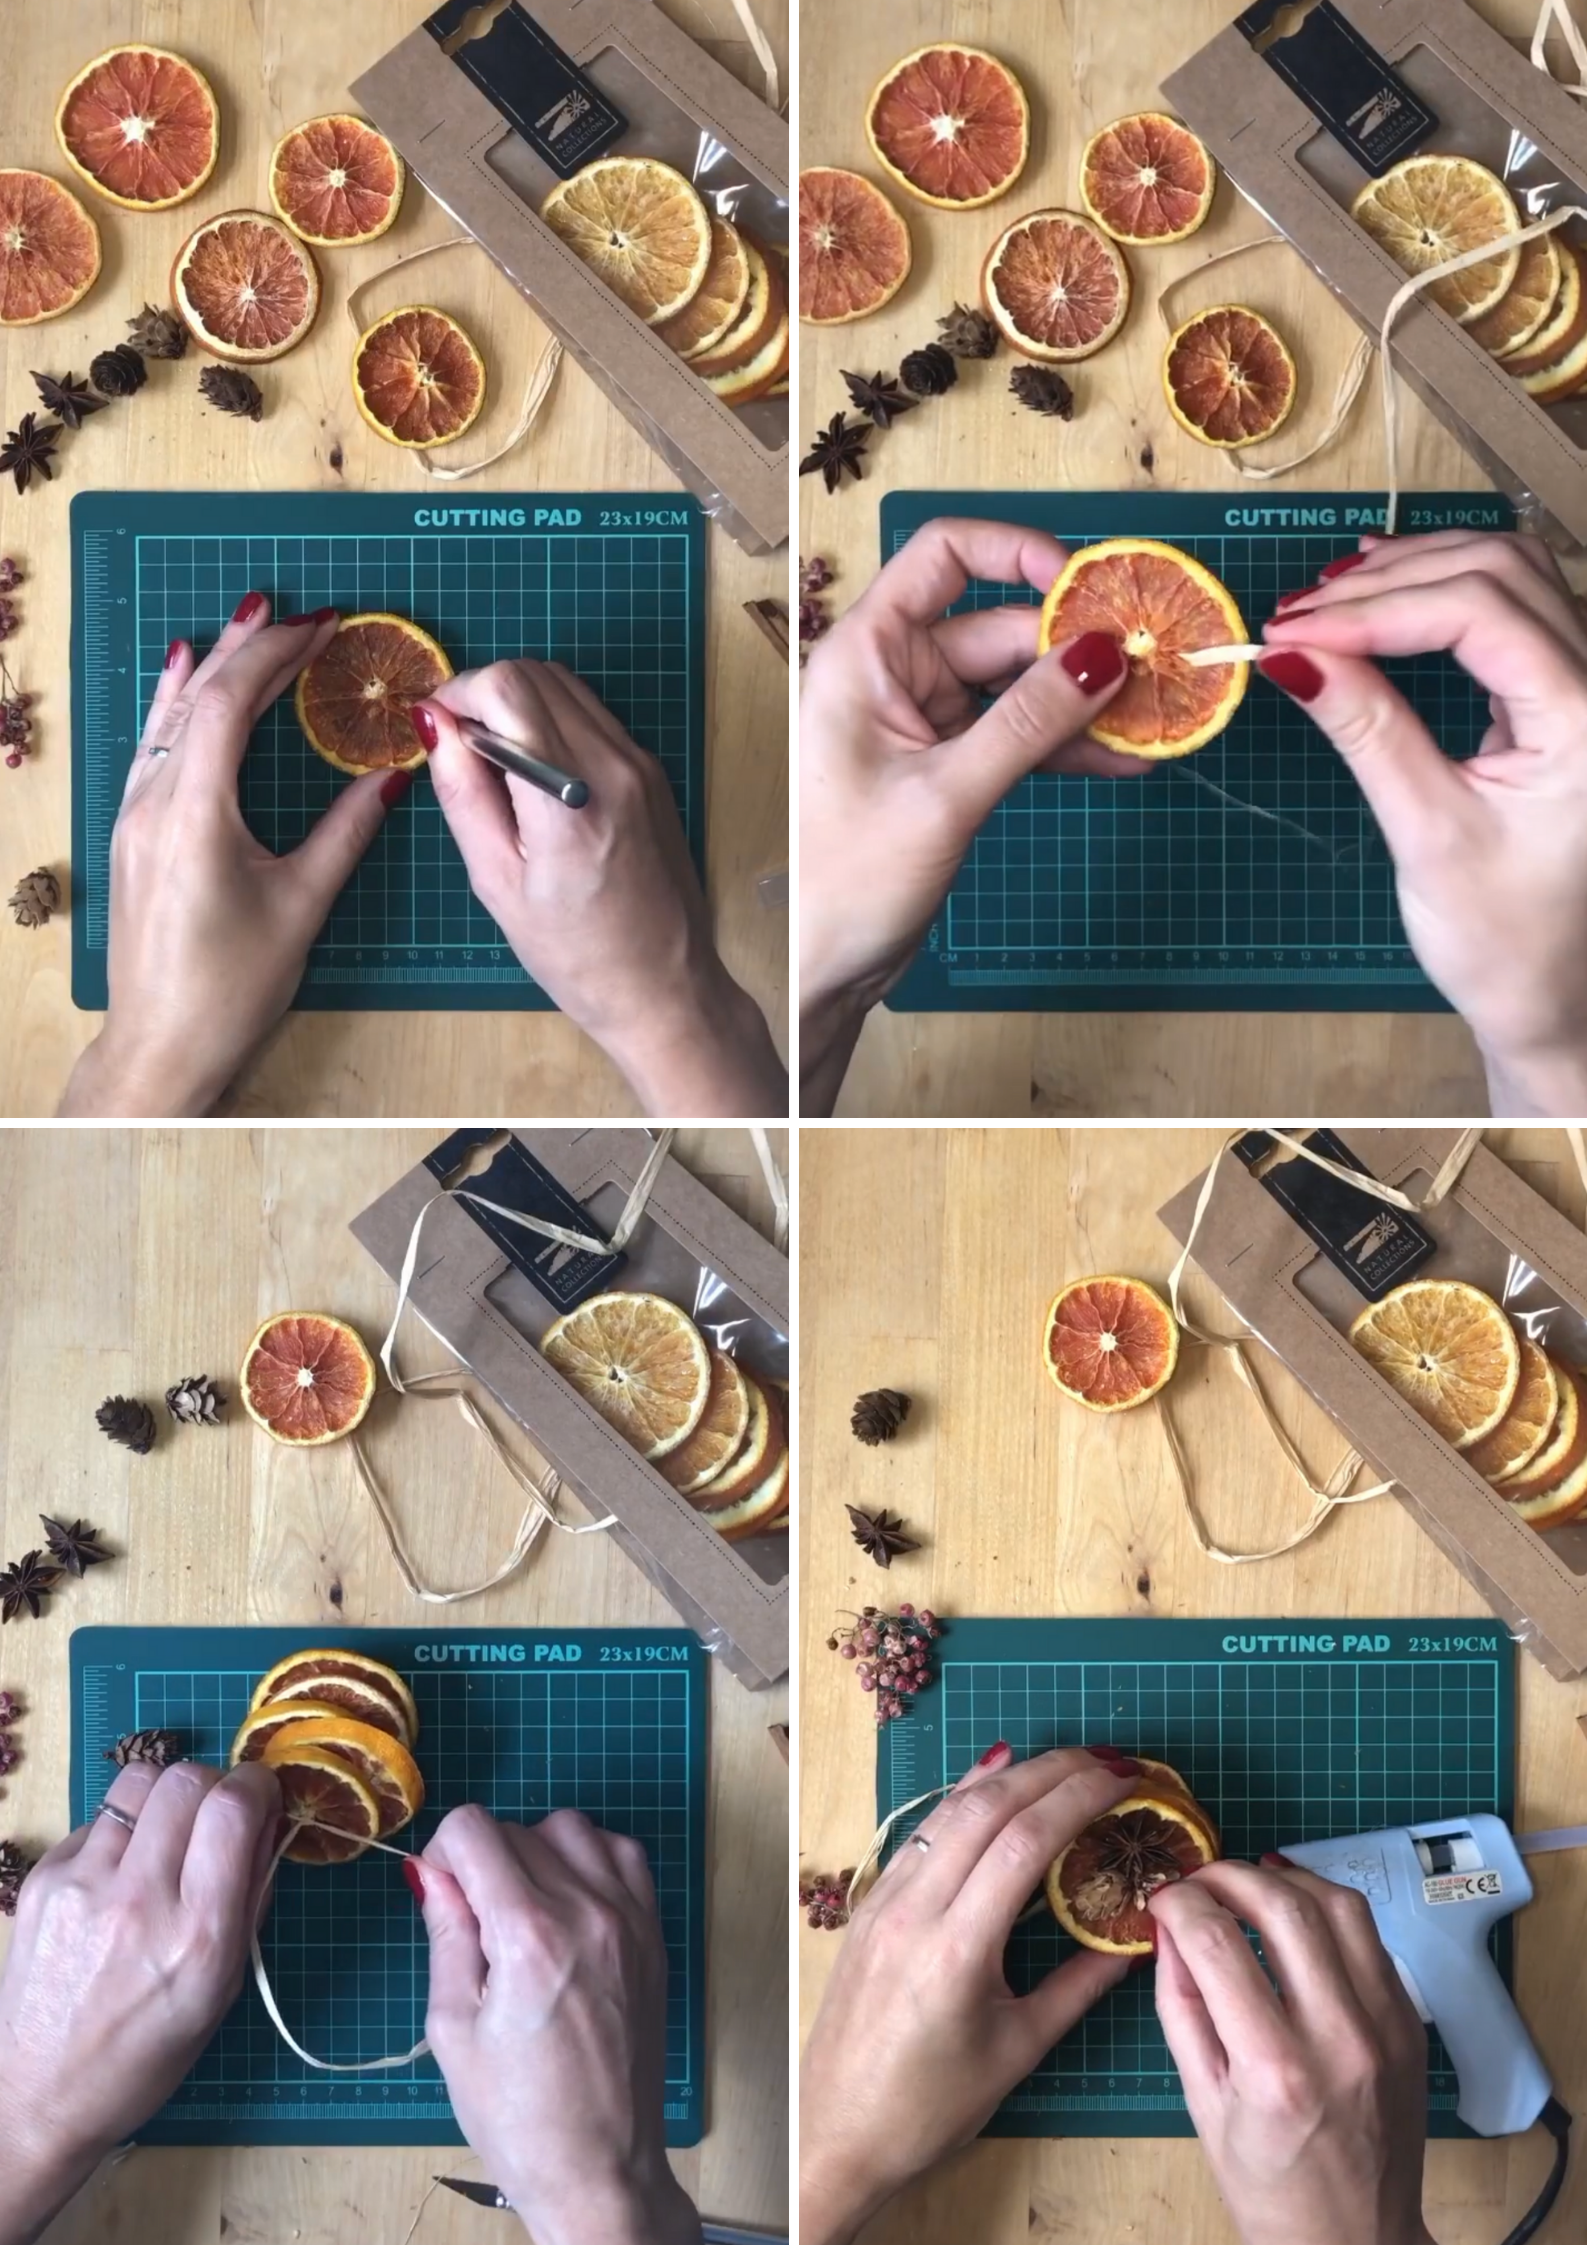
Use your knife to make a small incision in the orange slices. Thread through raffia and tie in a loop at the top and knot on the underside. Use hot glue to add on decorative small fir cones or cimmanon sticks. Your decorations should last a couple of years before the orange goes too dark!
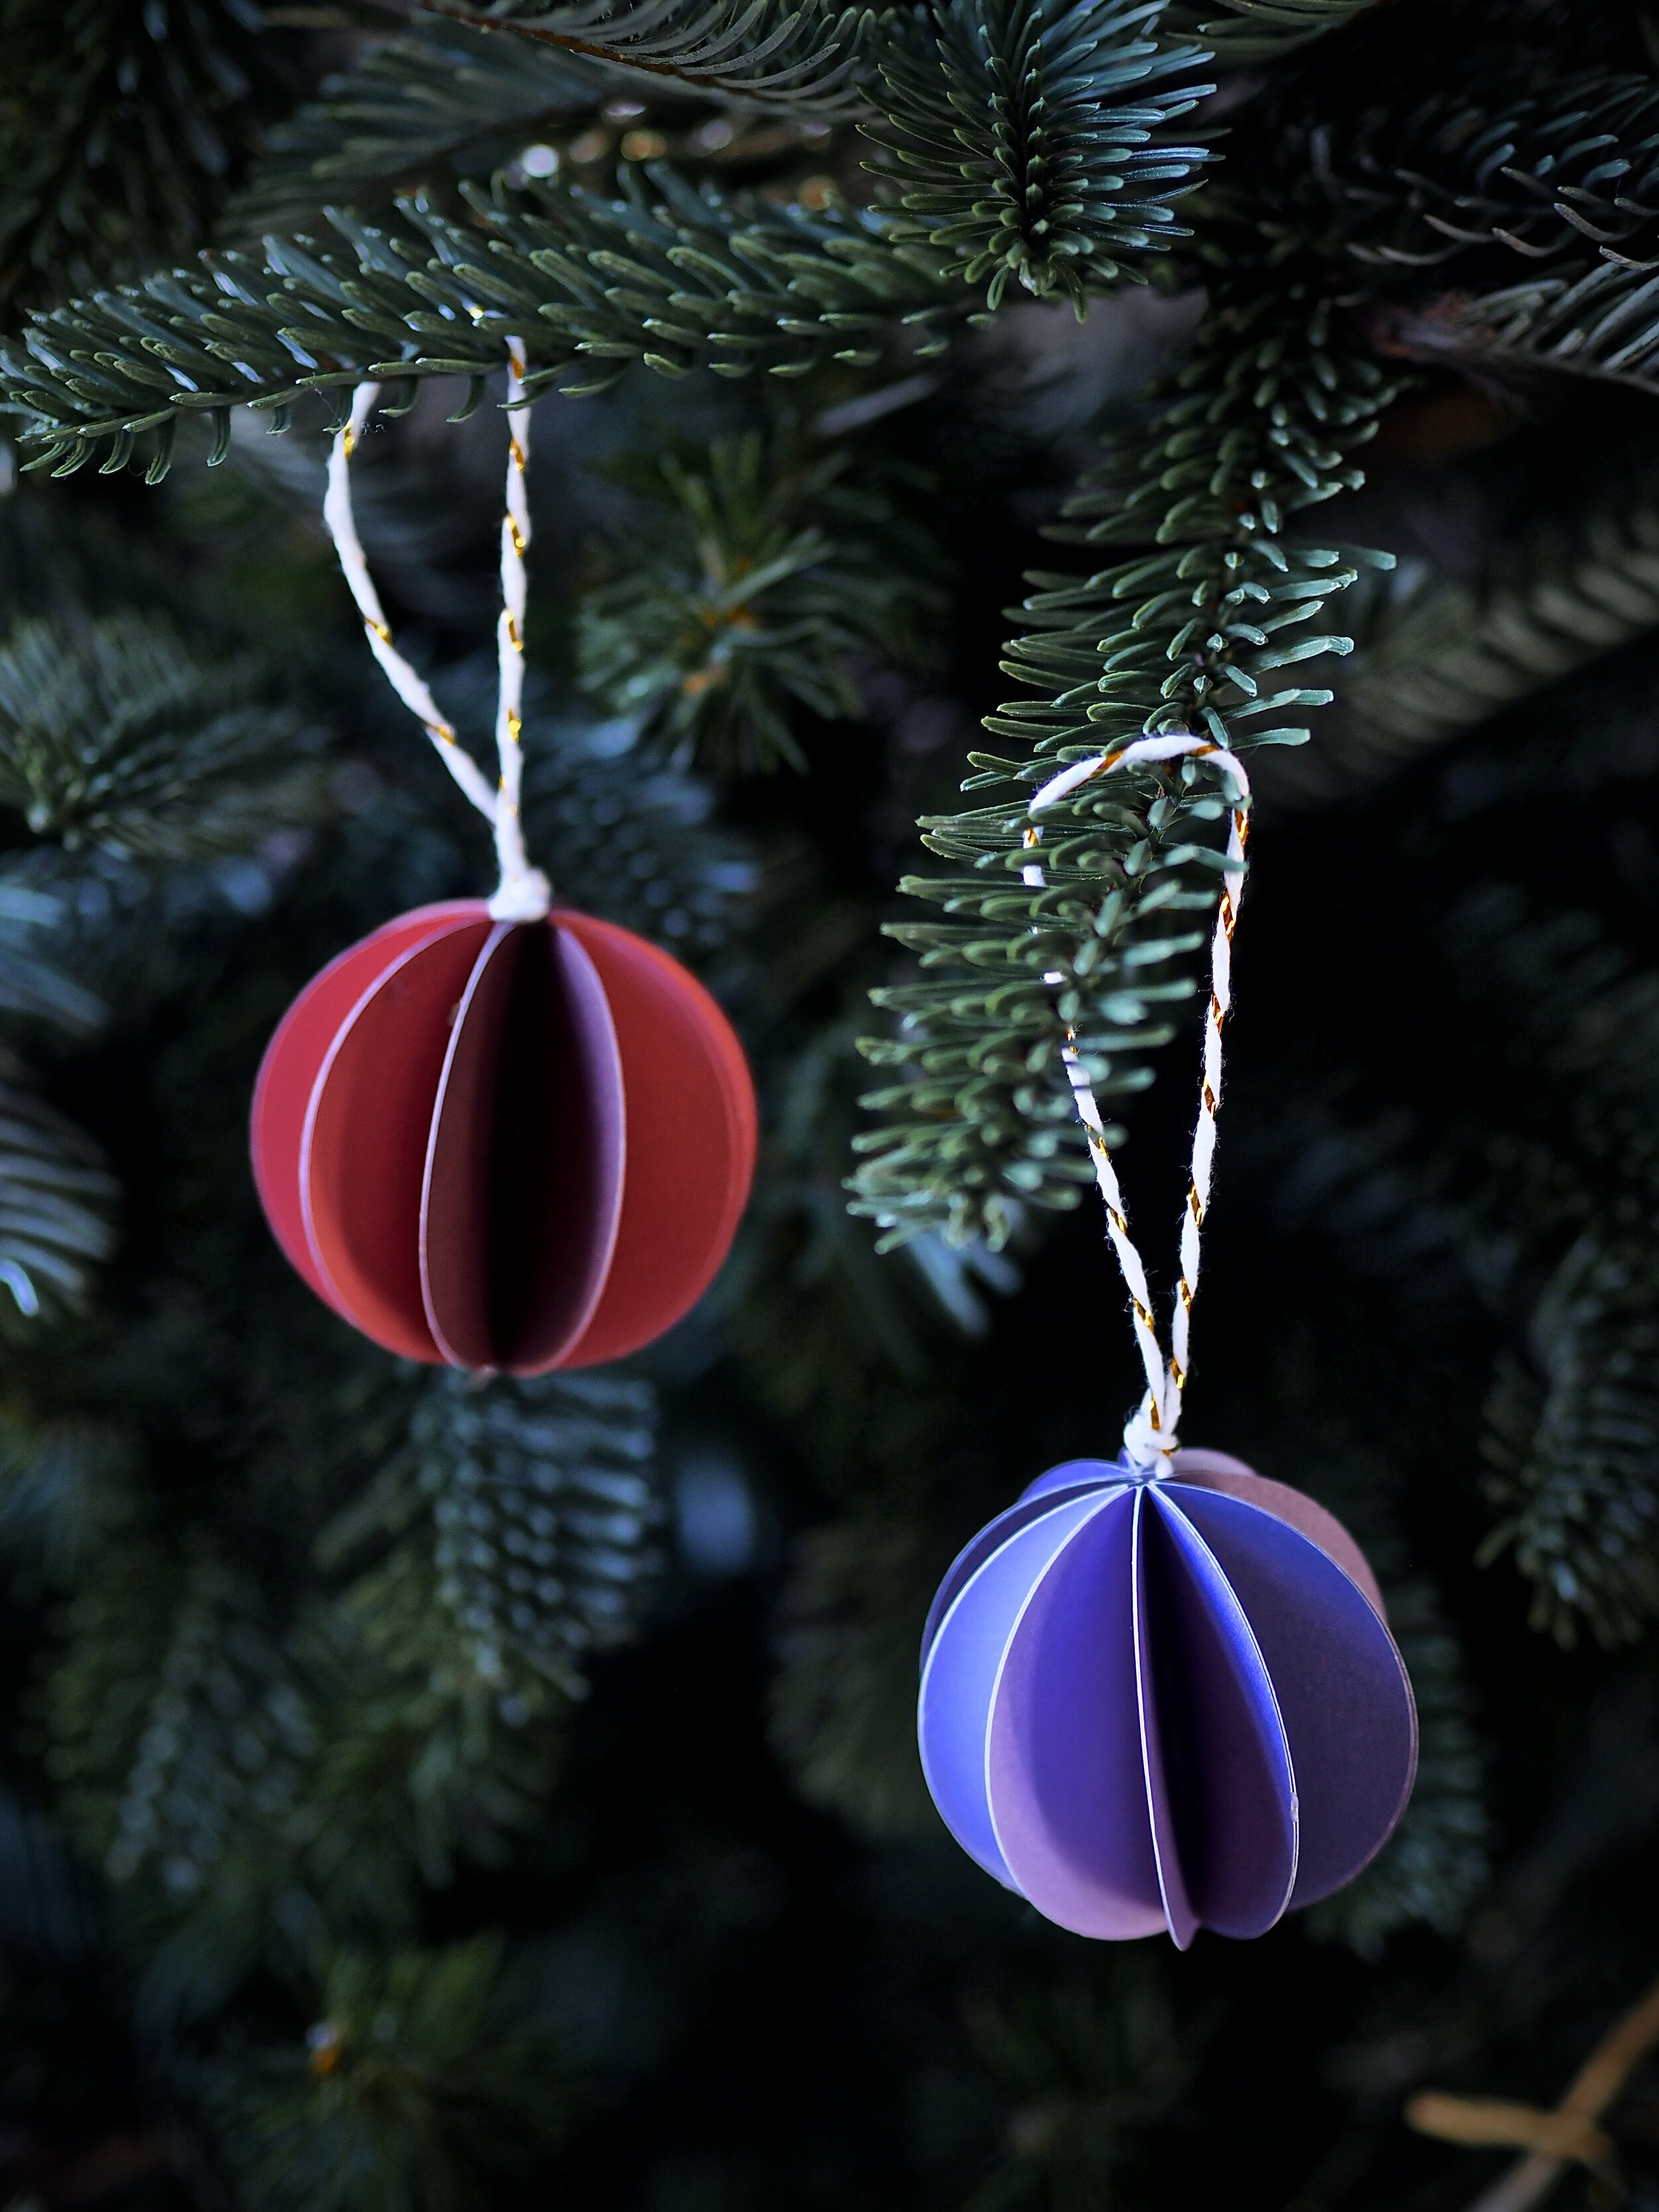
You can make these baubles in any colour you like.
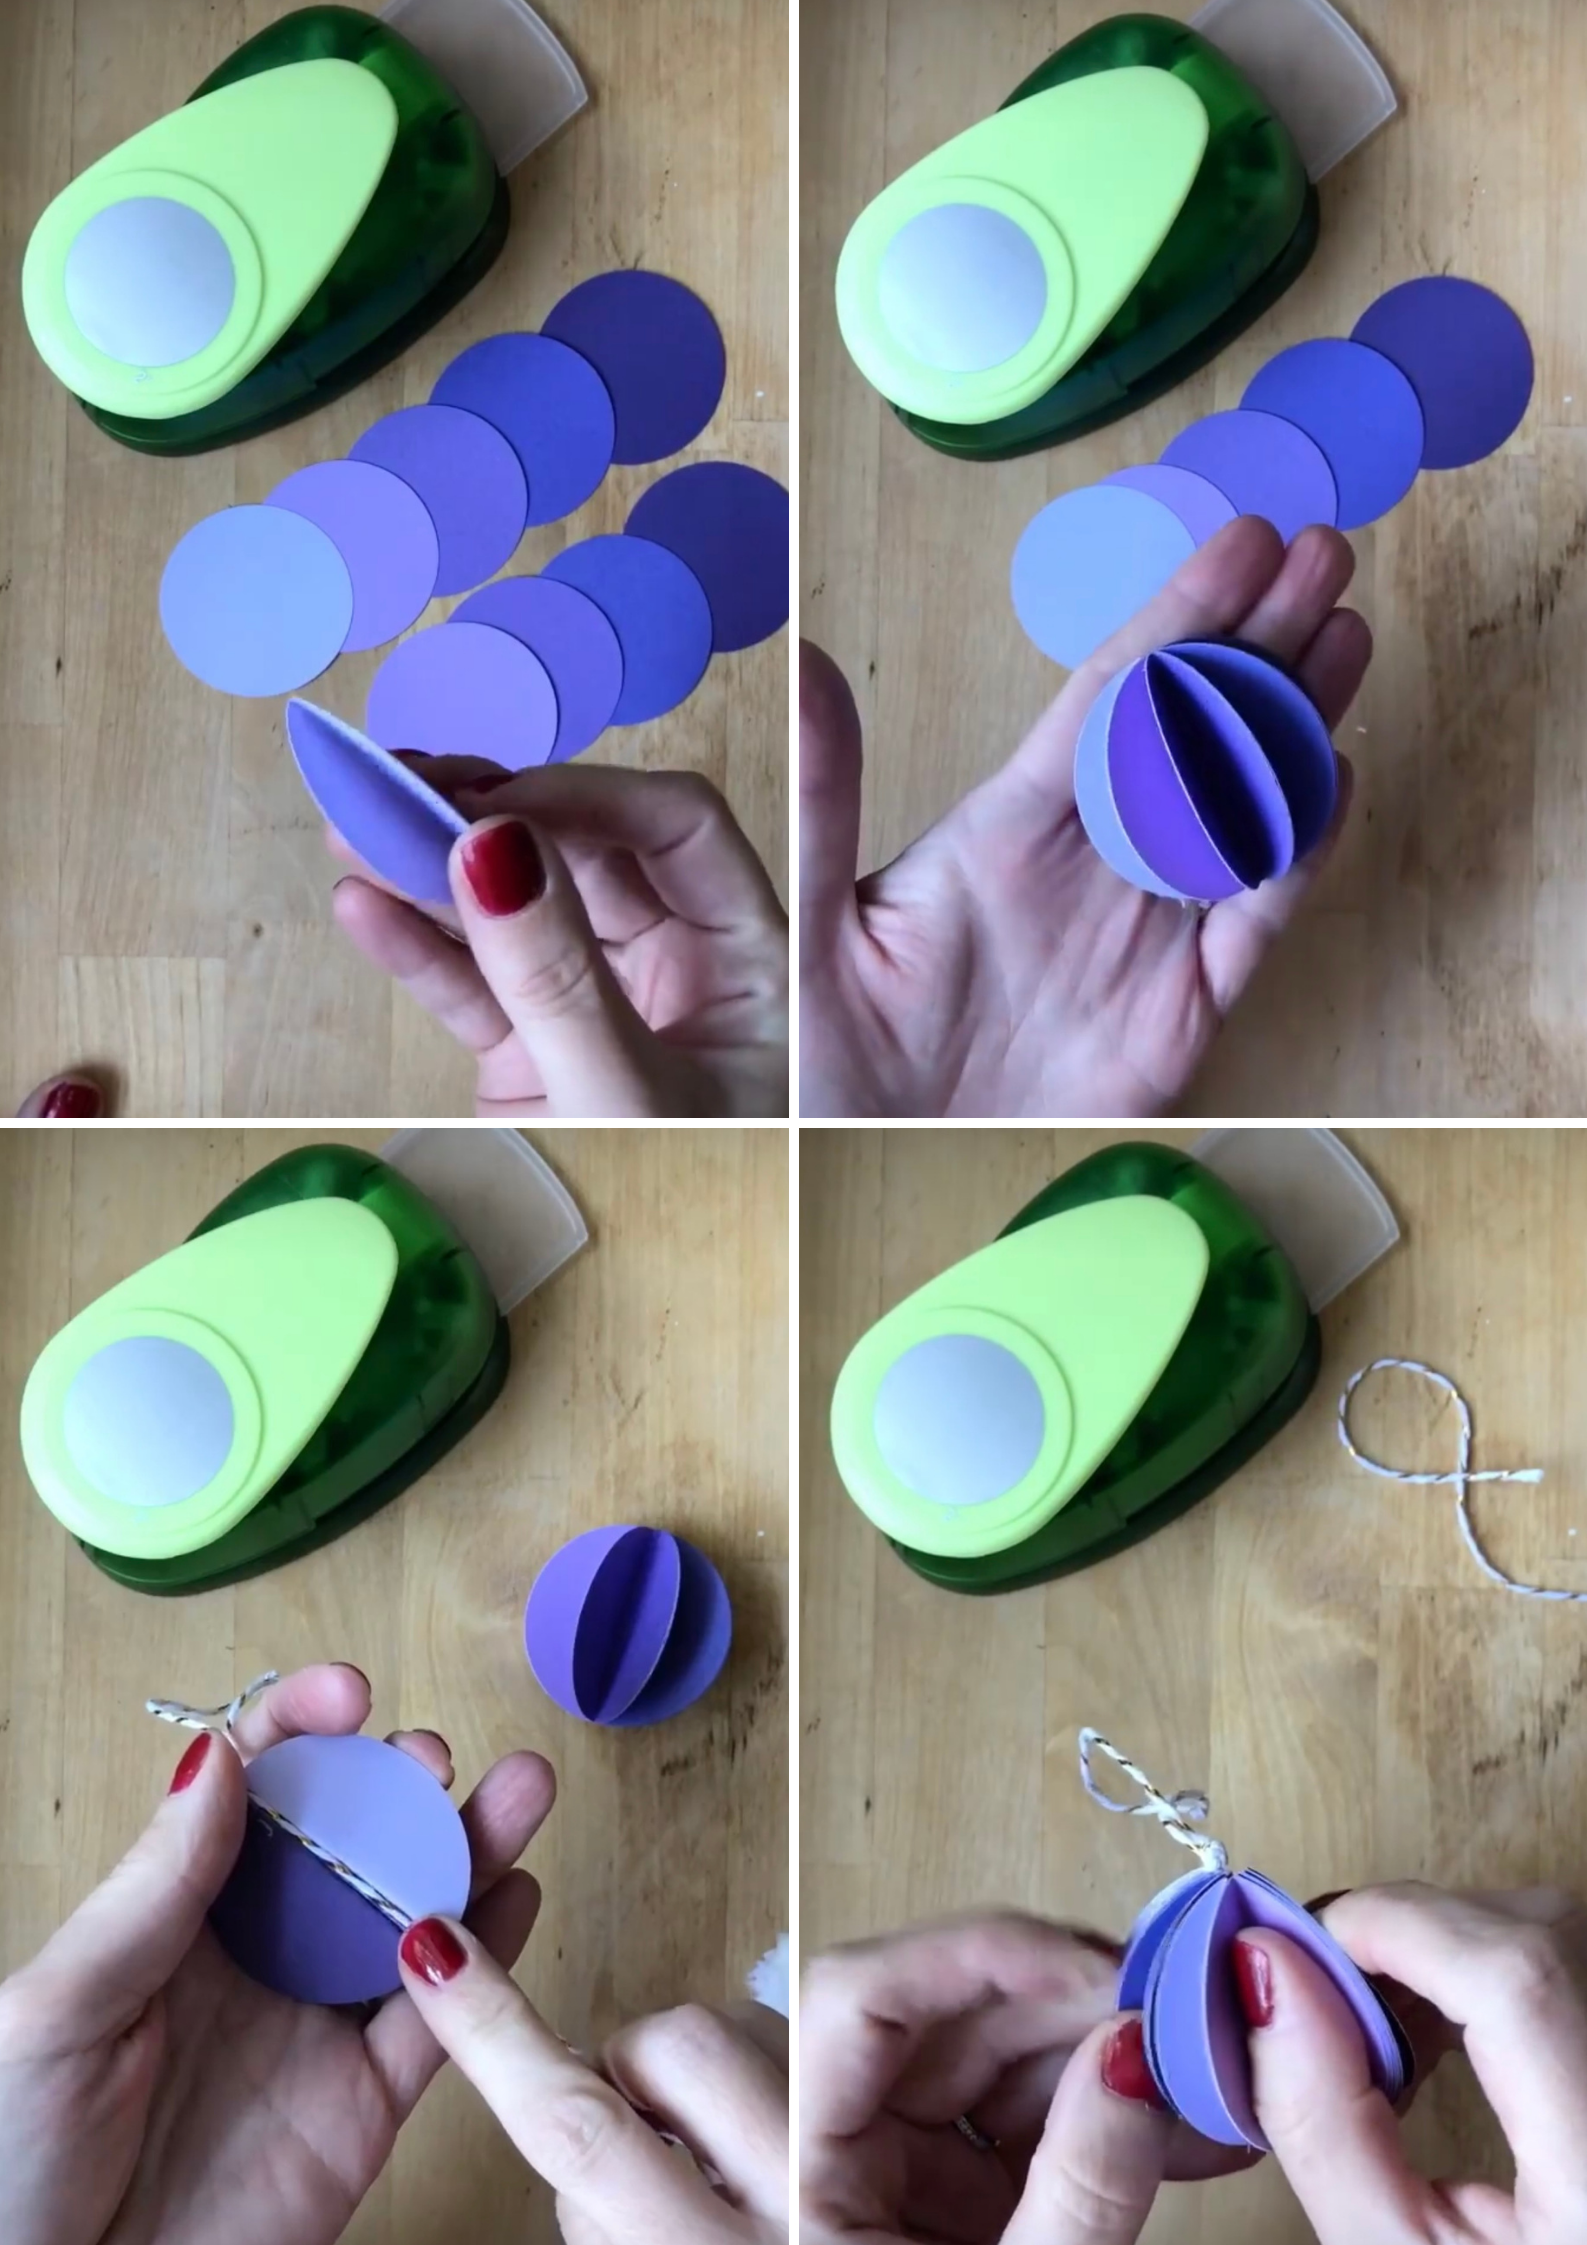
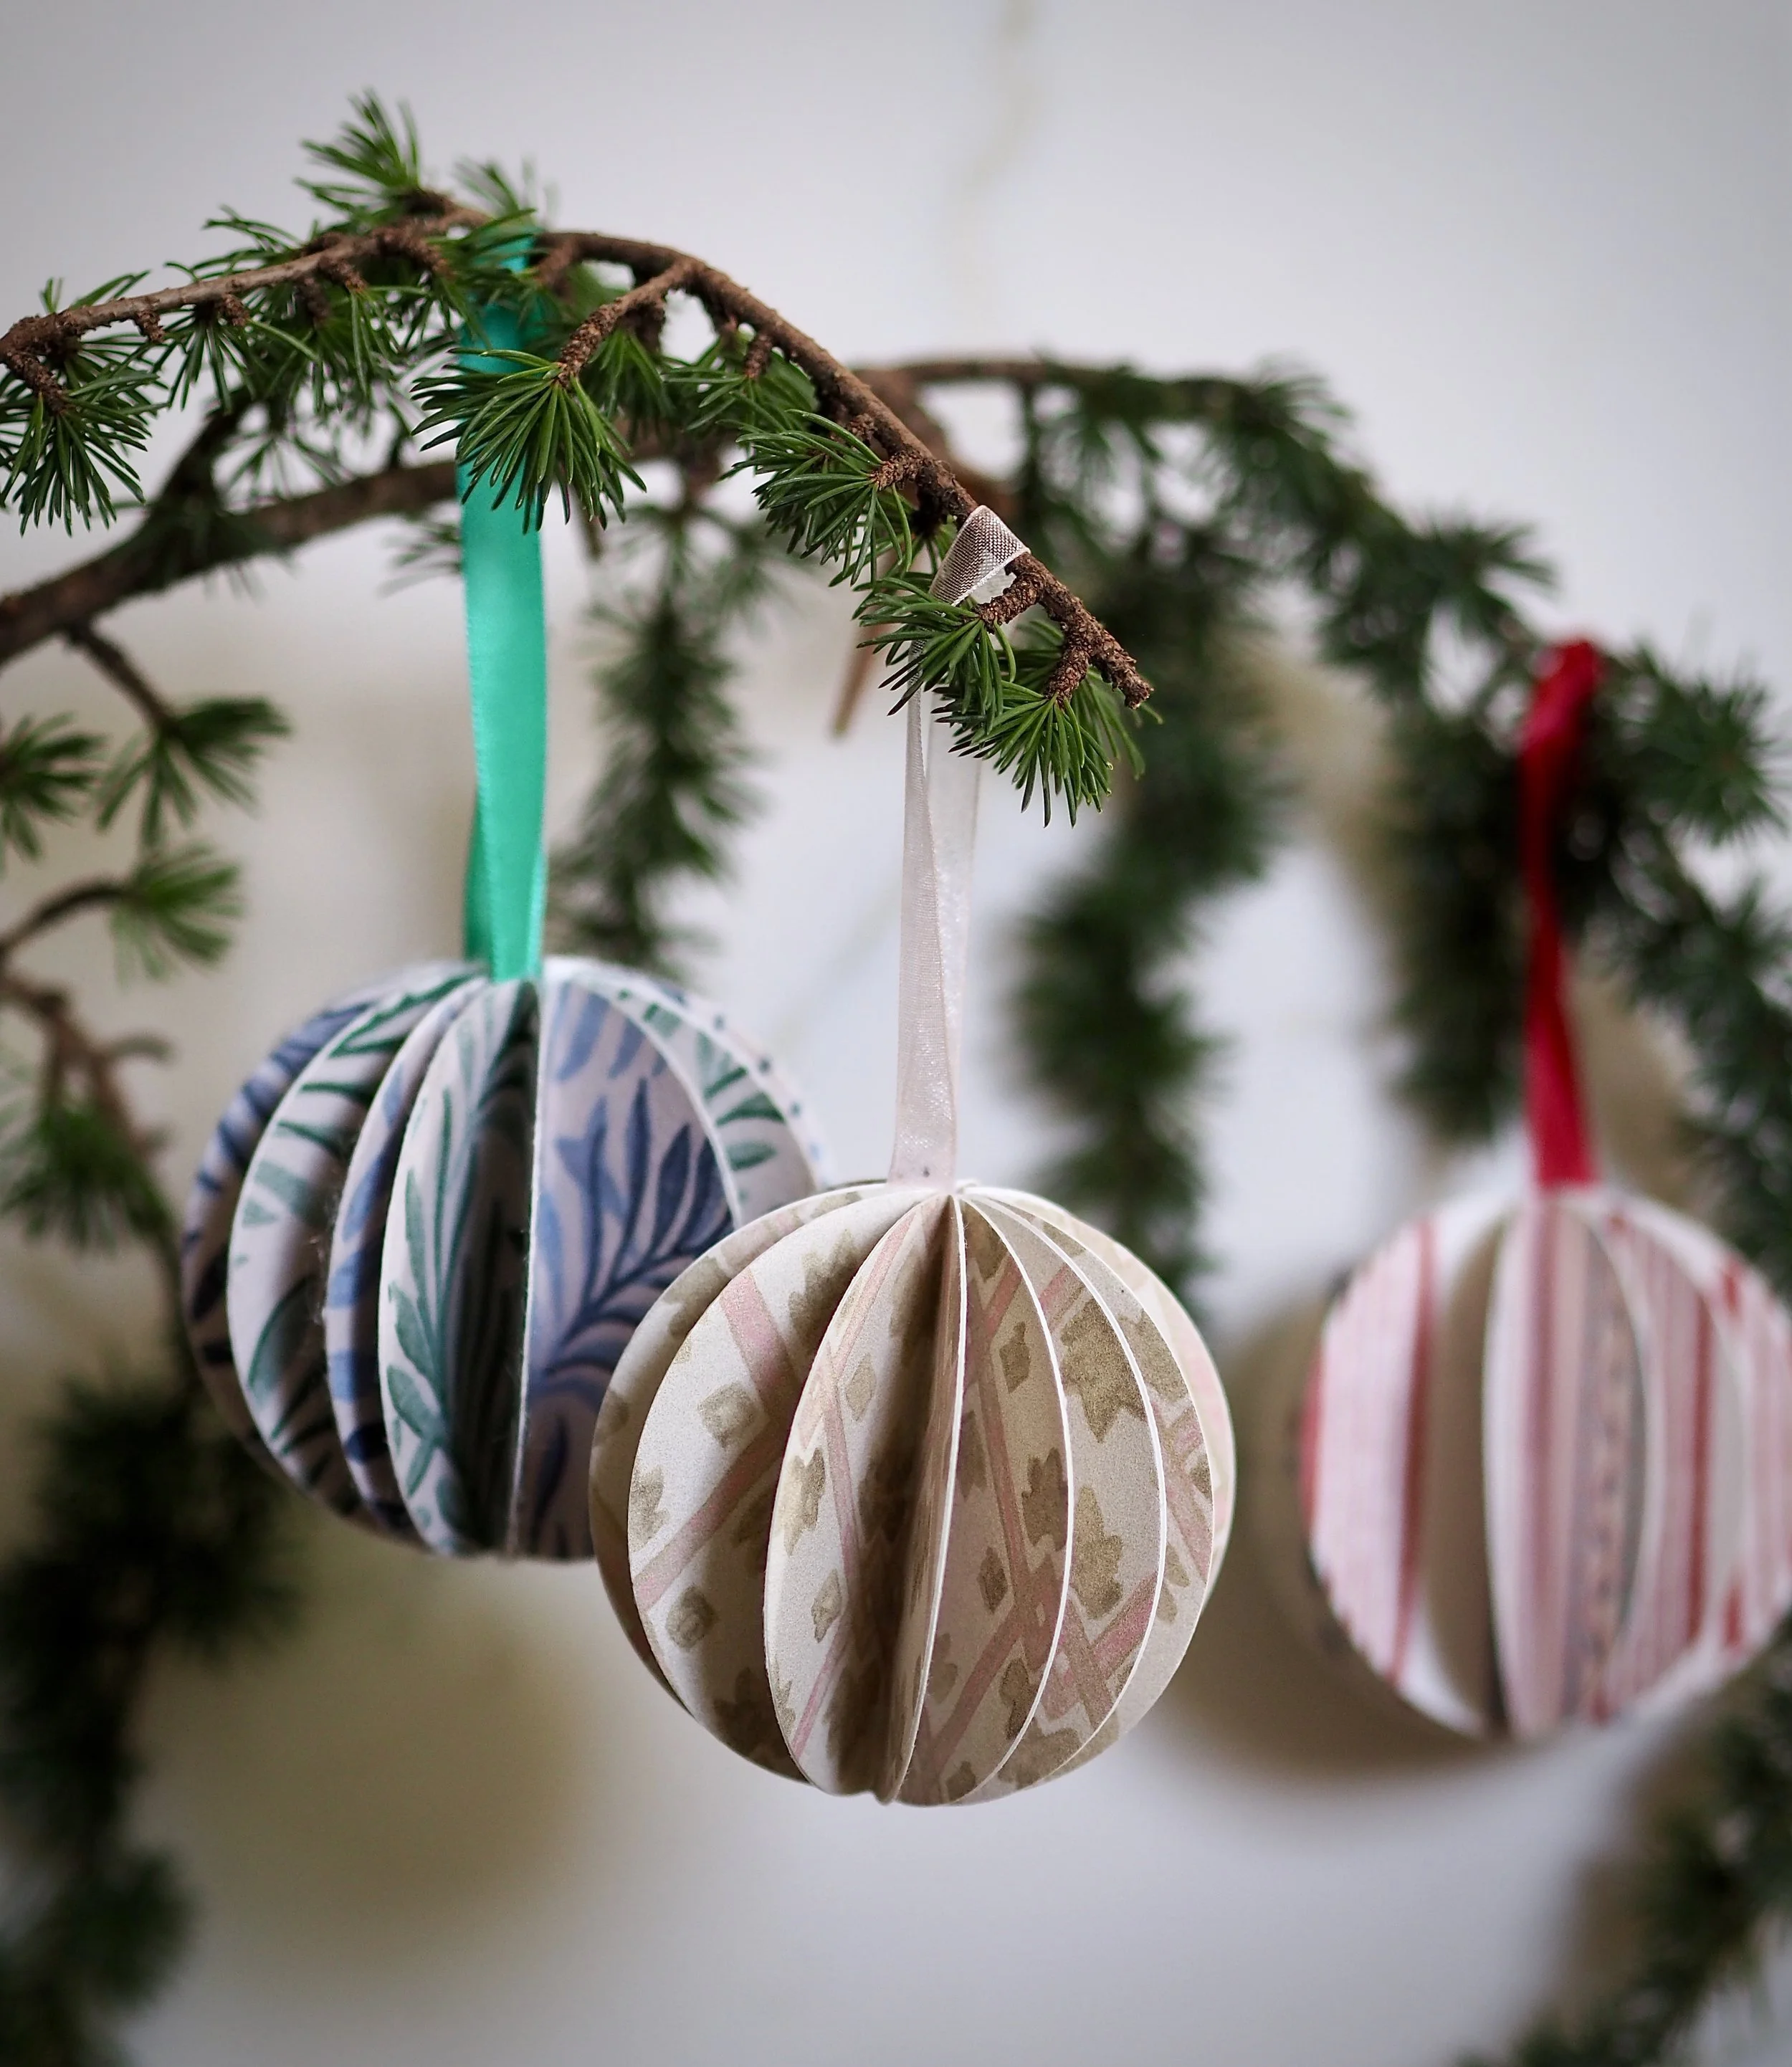
I love paper decorations and made a load last year for my tree, but they were quite labour intensive and this year I have discovered a much better way of doing them using a 2” craft punch which makes it all so easy! You will need:
Scissors
Multipack of coloured card 180gsm
Take 5 sheets of card in different colours or shades. Punch out 10 circles (2 circles from each card colour). Fold each circle in half. Use your glue stick to glue 5 pieces together to make a half-ball shape. Loop a piece of twine at least 8cm in length, tie a knot at the end of the loop, then glue the ends down the centre of the bauble folds. Glue and attach the second half of the ball. Cut off any excess twine hanging out the bottom of the bauble.

