Autumnal Home Decor DIY: Floral Fireplace Garland For Halloween
According to retailers Hobbycraft, 95% of people were doing some form of crafting during lockdown, with 55% of people feeling that it was good for their wellbeing. Upon hearing these stats while attending a recent online event for the brand, I could instantly relate. One of the reasons that I started this blog four years ago was to document all the crafty home decor that I was getting up to in my home while unemployed and trying to cope with my young son’s recent autism diagnosis. Seasonal home decor was a favourite of mine; I went all out at Easter, Halloween and Christmas. It has therefore come as no surprise that in COVID-drenched 2020, my impulse was to jump into autumnal decor as soon as the temperature dropped!
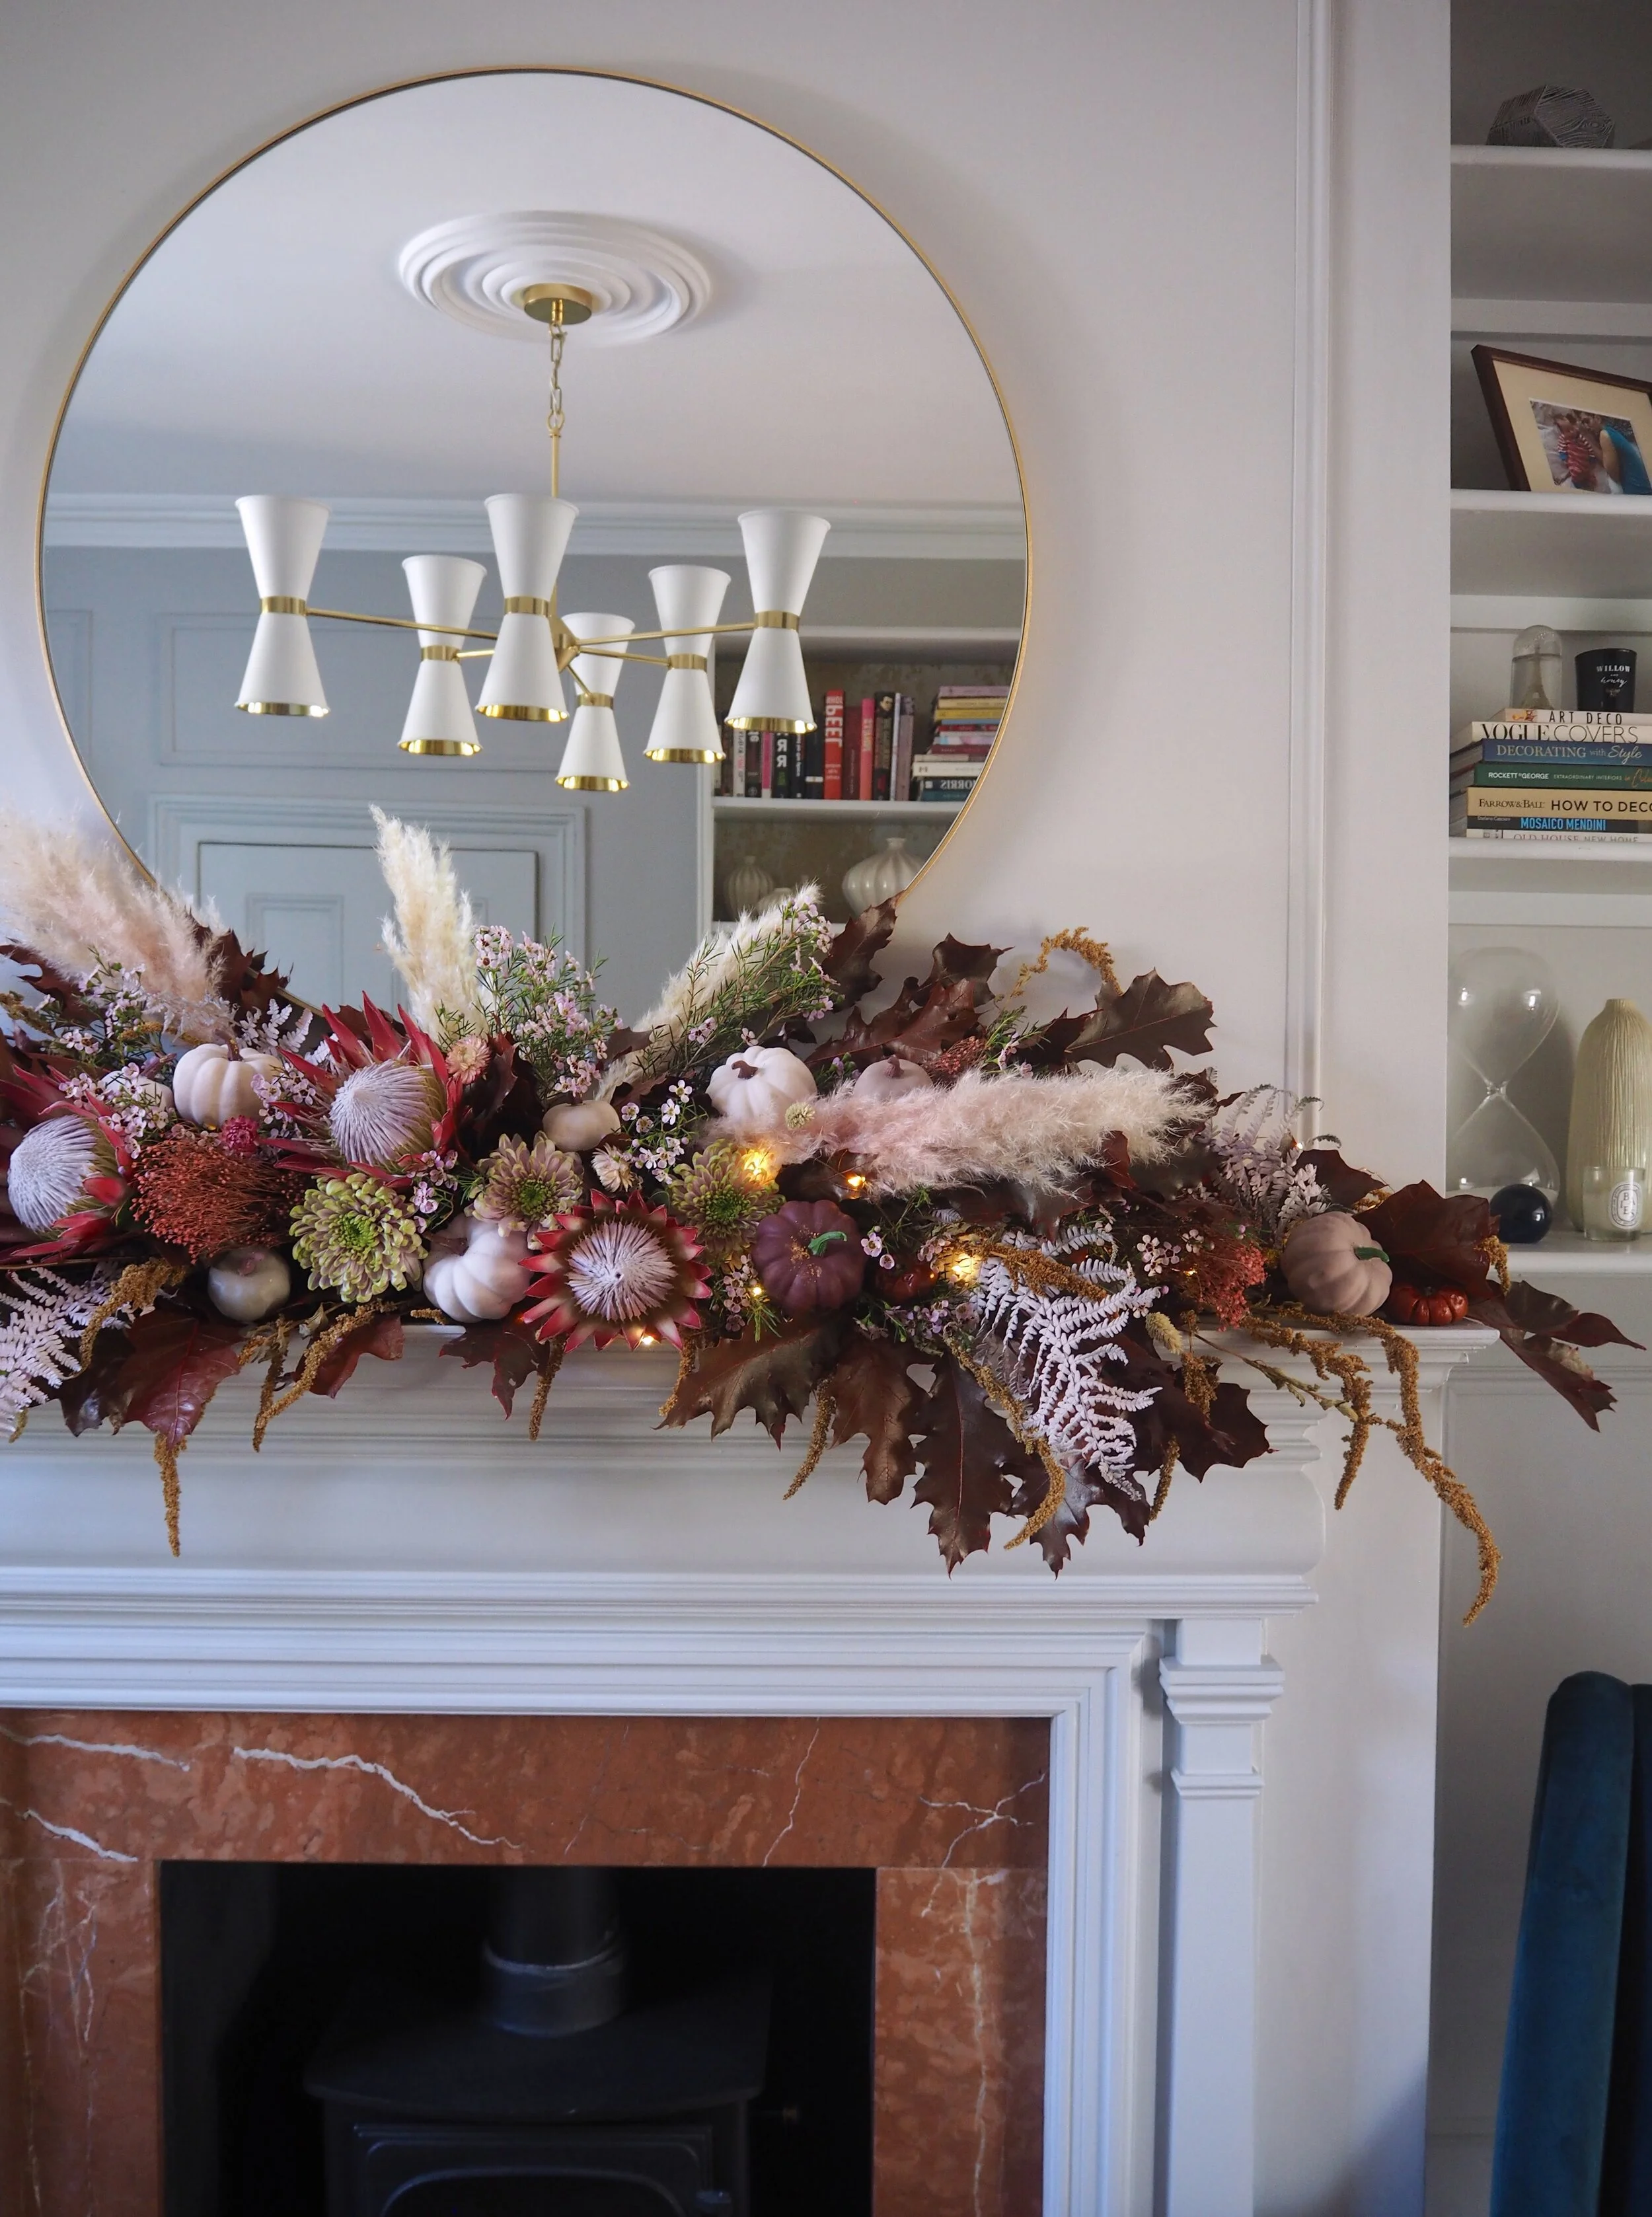
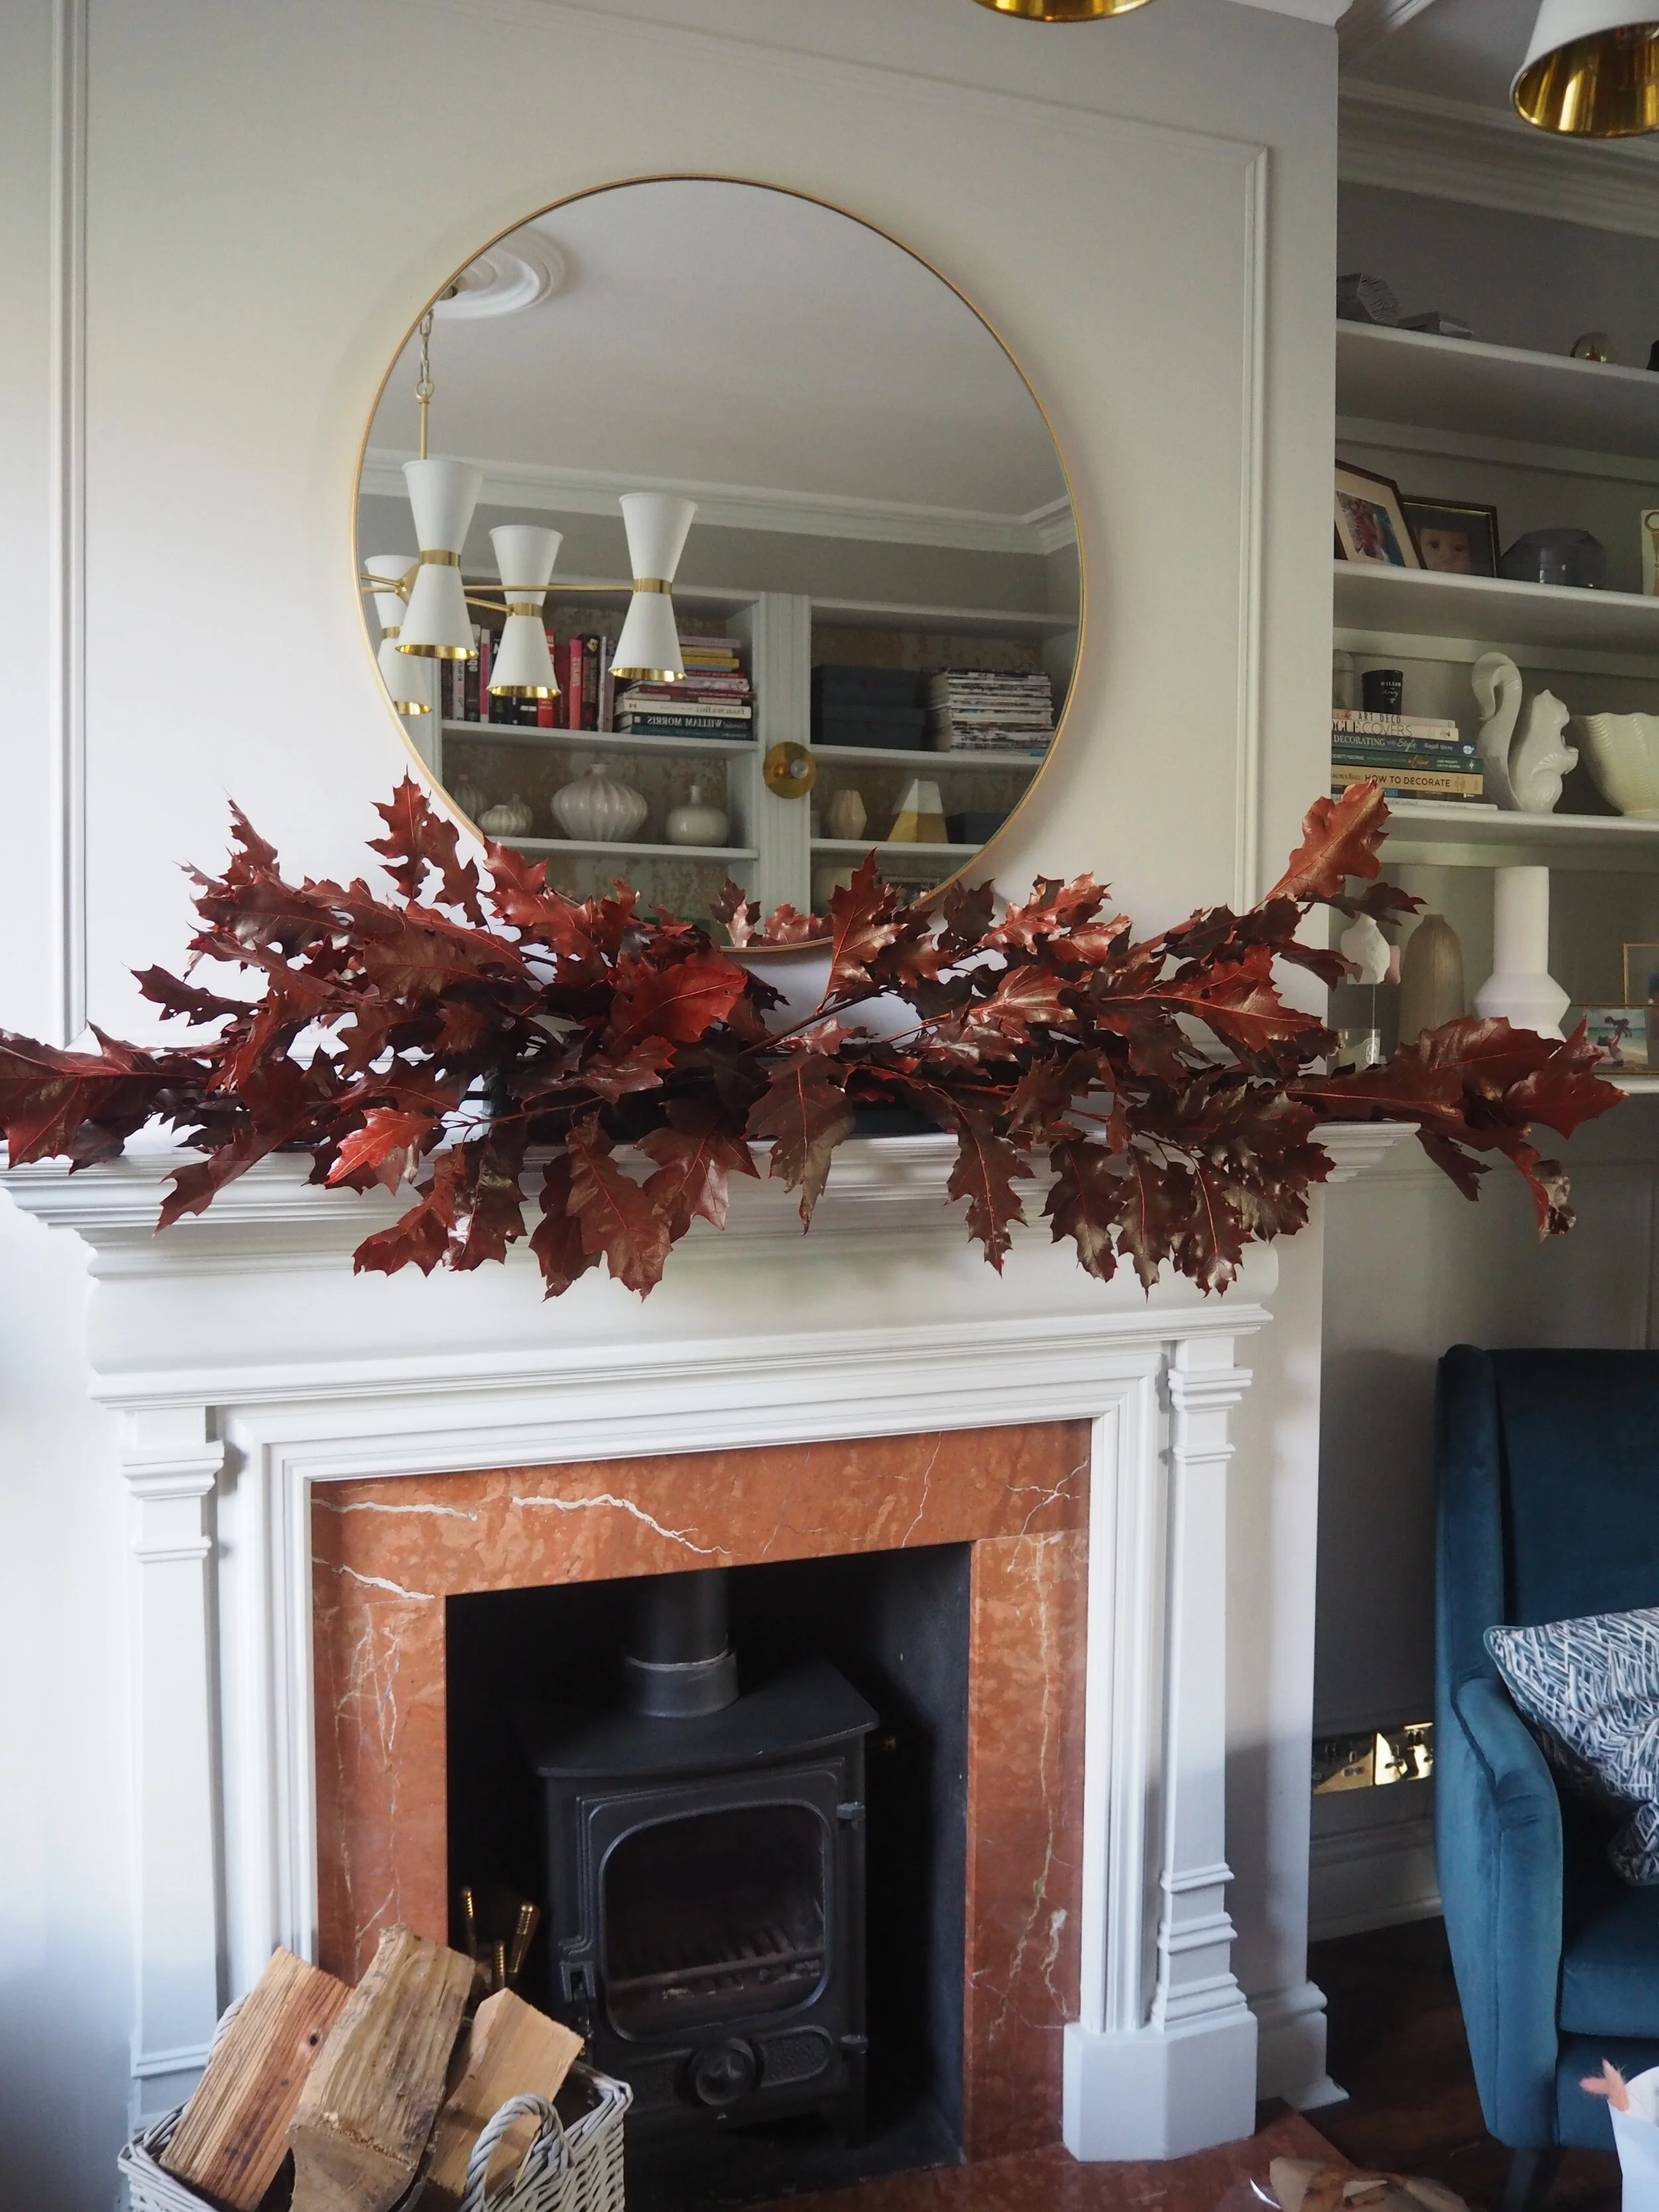
Christmas floral garlands have been a bit of a ‘thing’ for me the past few years. I’ve got a lovely fireplace in my sitting room that provides the perfect spot to be dressed up. As I’m expecting a distinct lack of socially distanced trick or treaters this year, I thought it would be good to turn my attention away from exterior decor for Halloween and bring the autumnal tones inside to enjoy instead. It also gave me a chance to play about with a different look and theme for the mantel garland - rather than the usual eucalyptus-filled Christmas garland. If you are having a grown-up Halloween party (in the future, of course, * fingers crossed *) then this would be a great display either above the fire as I have created, or as a table centrepiece.
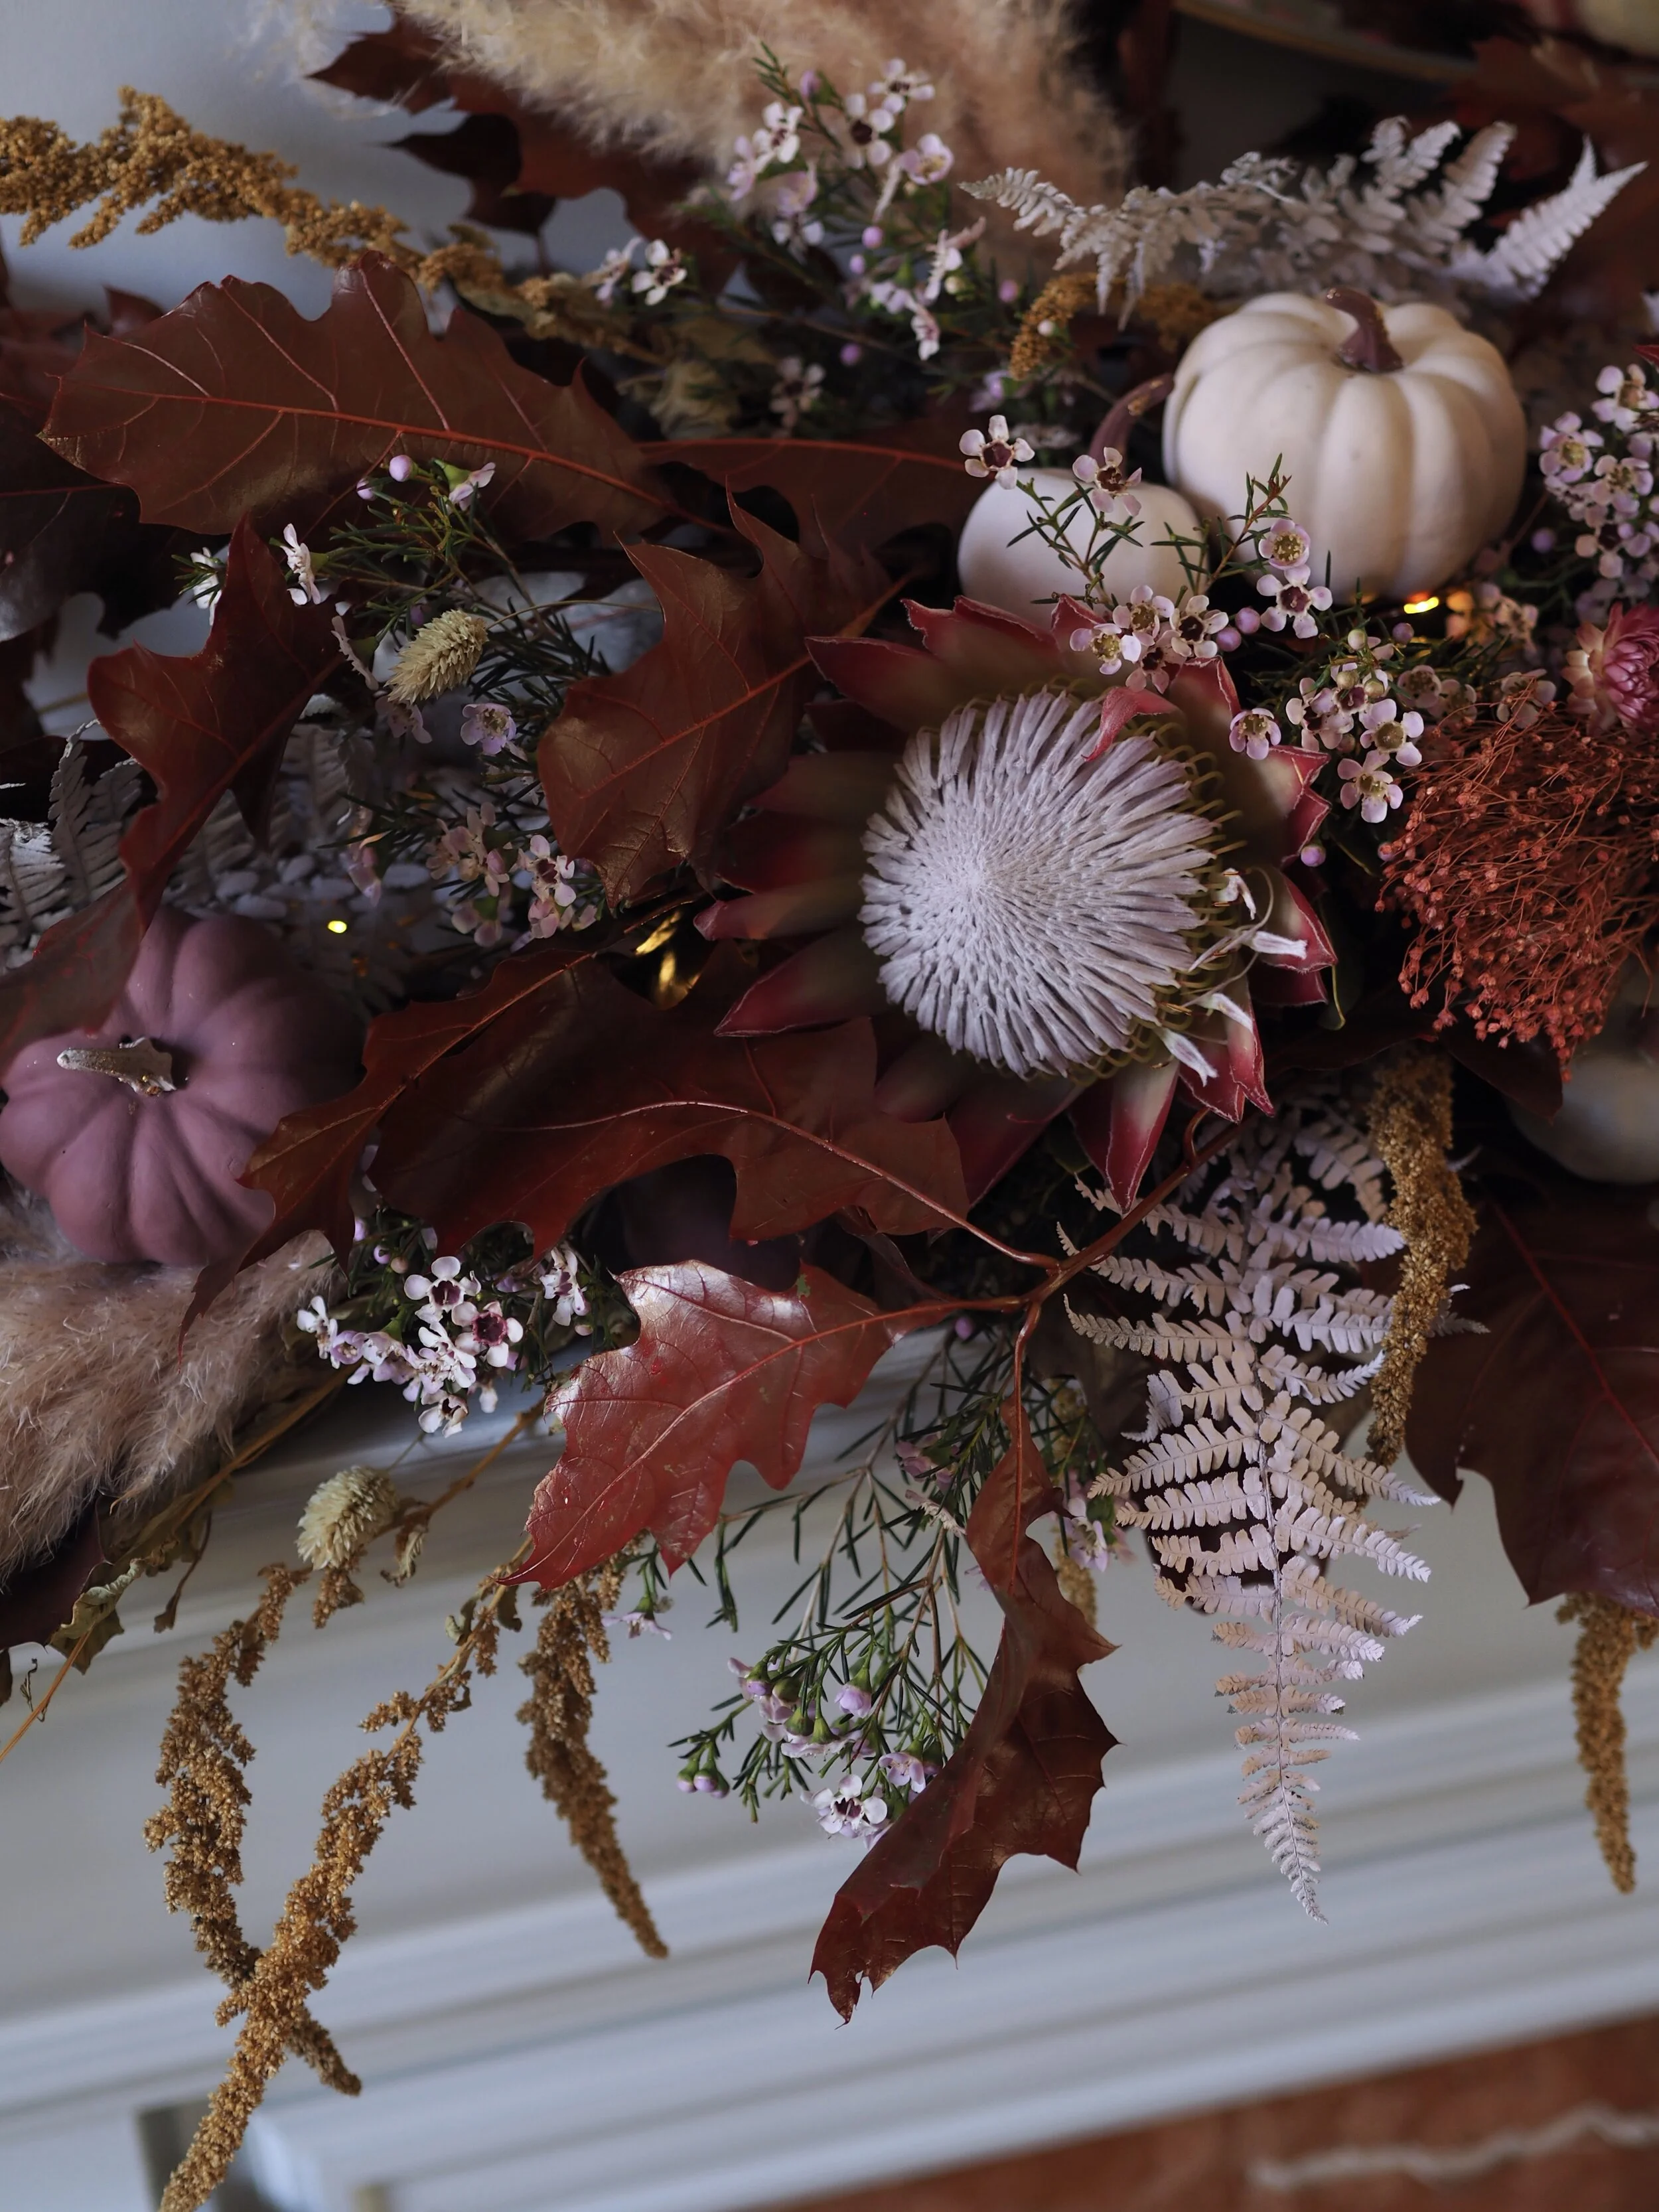
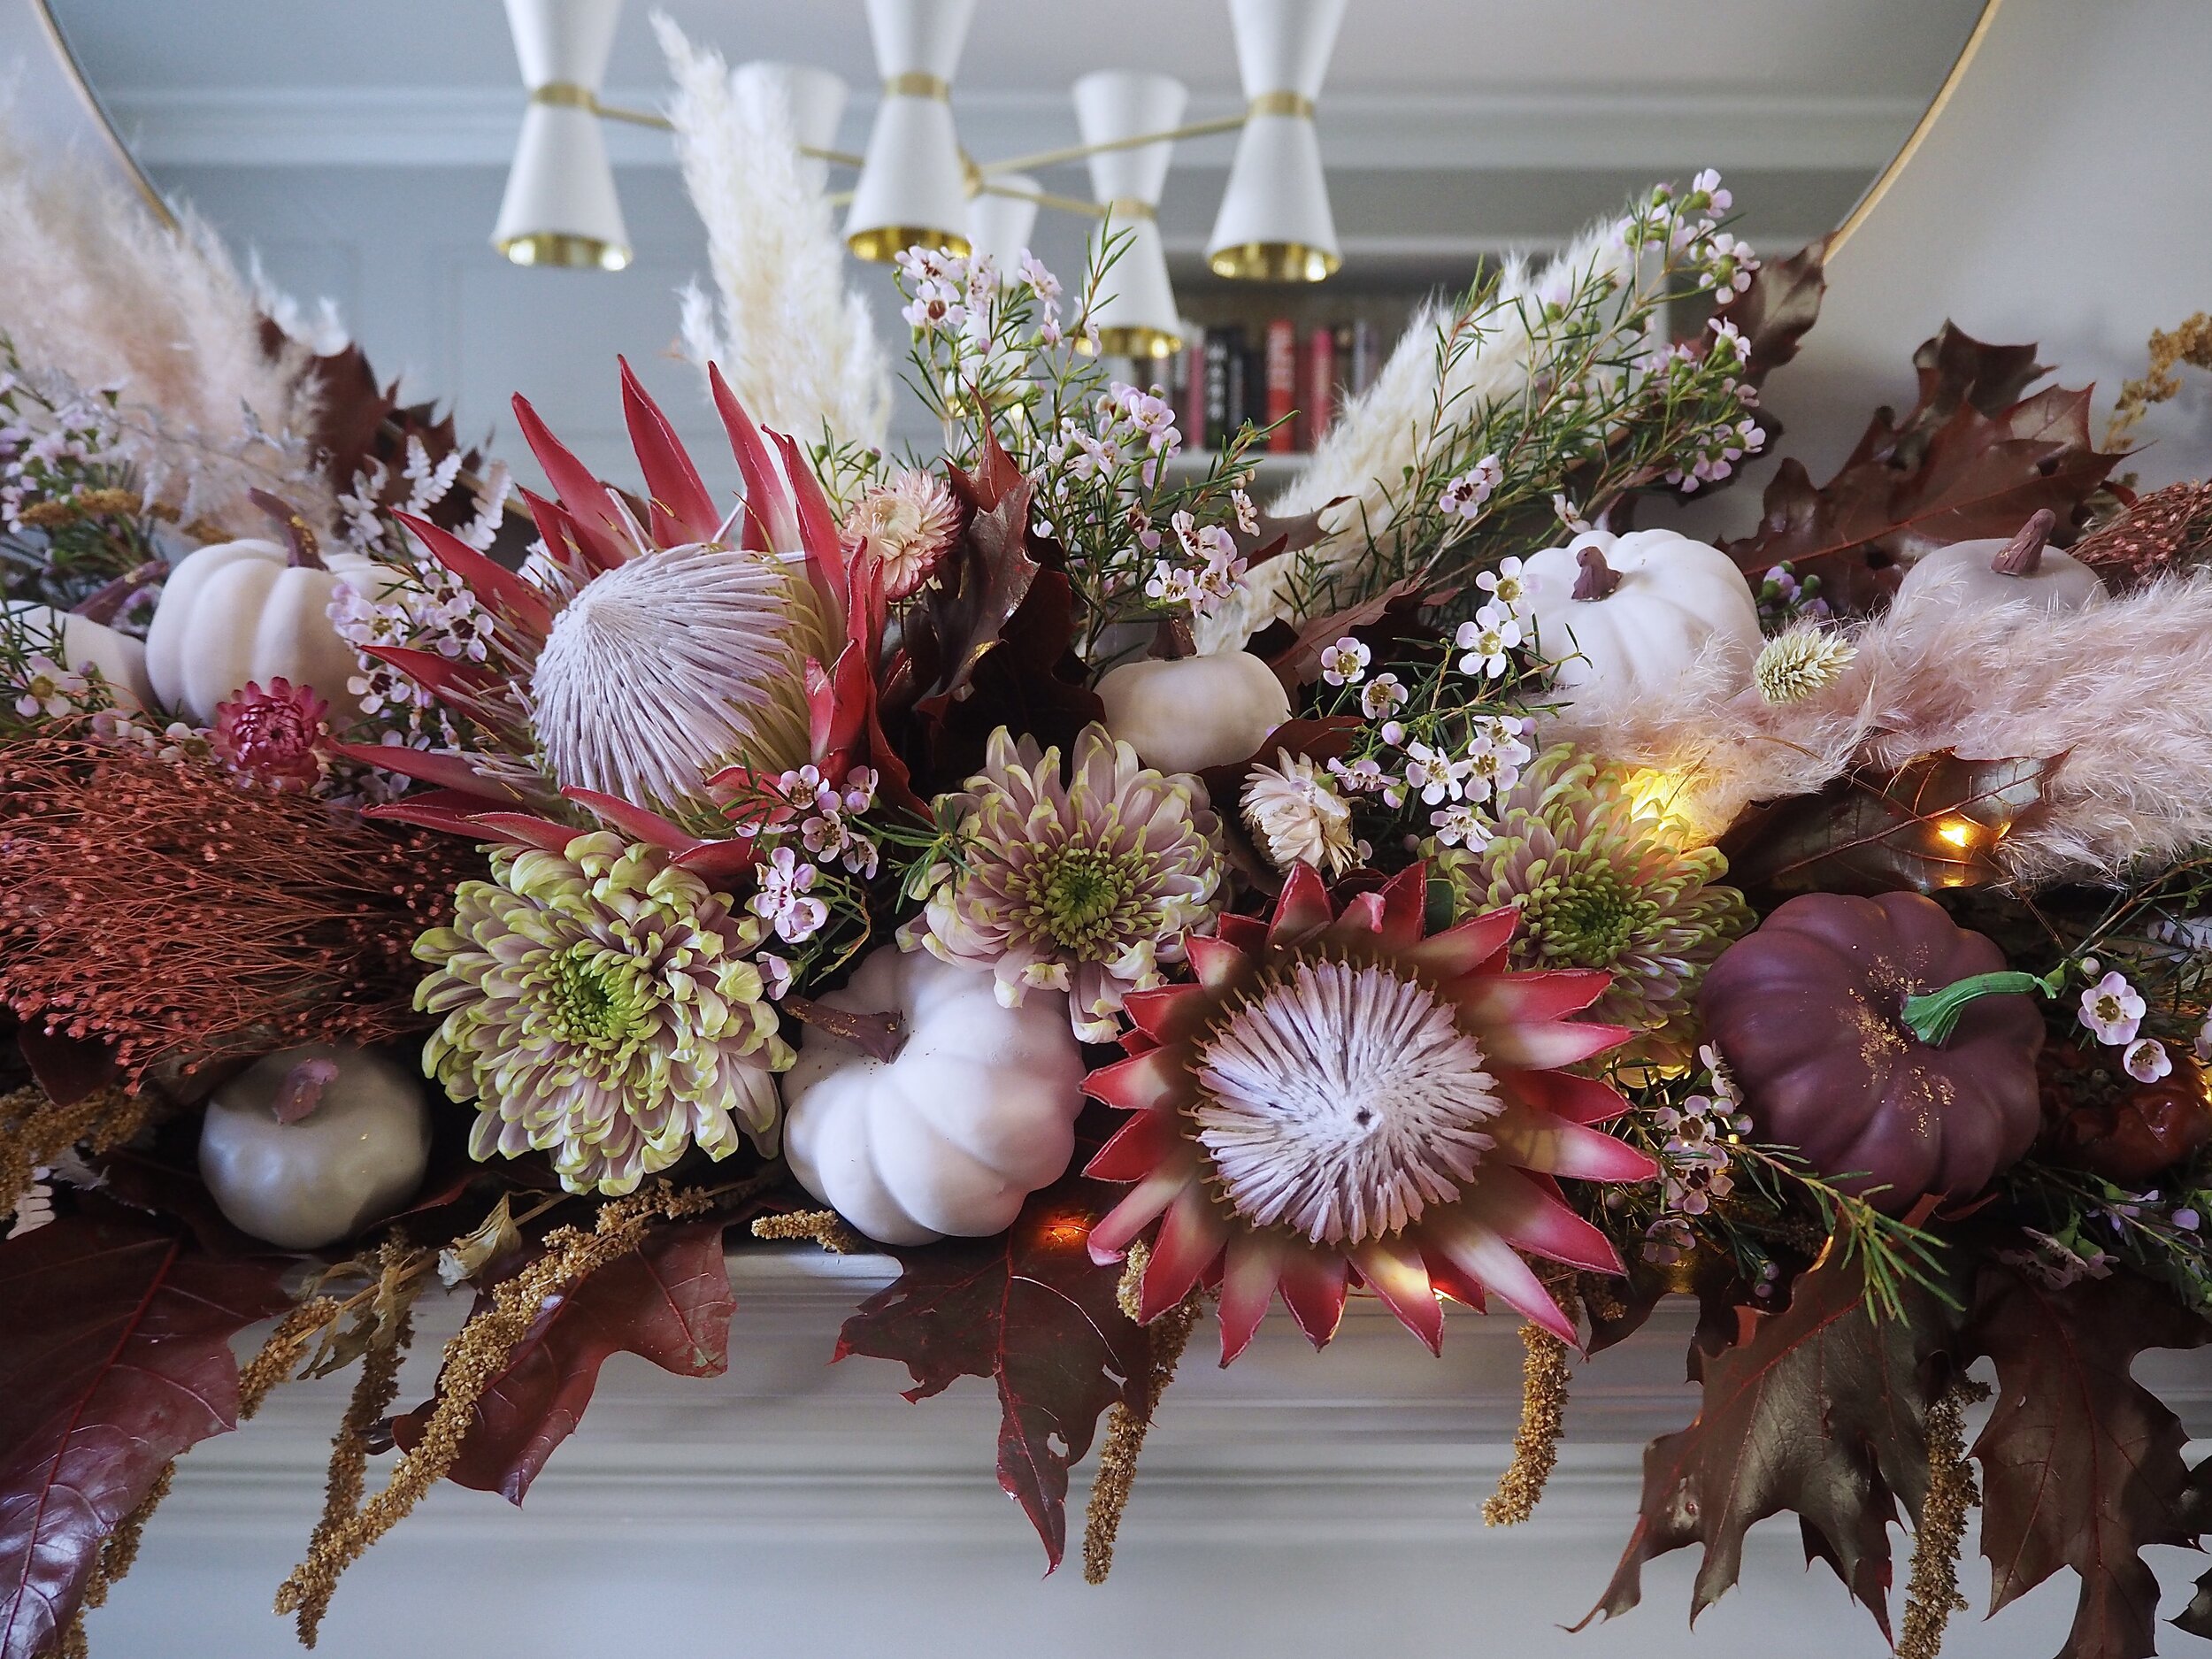
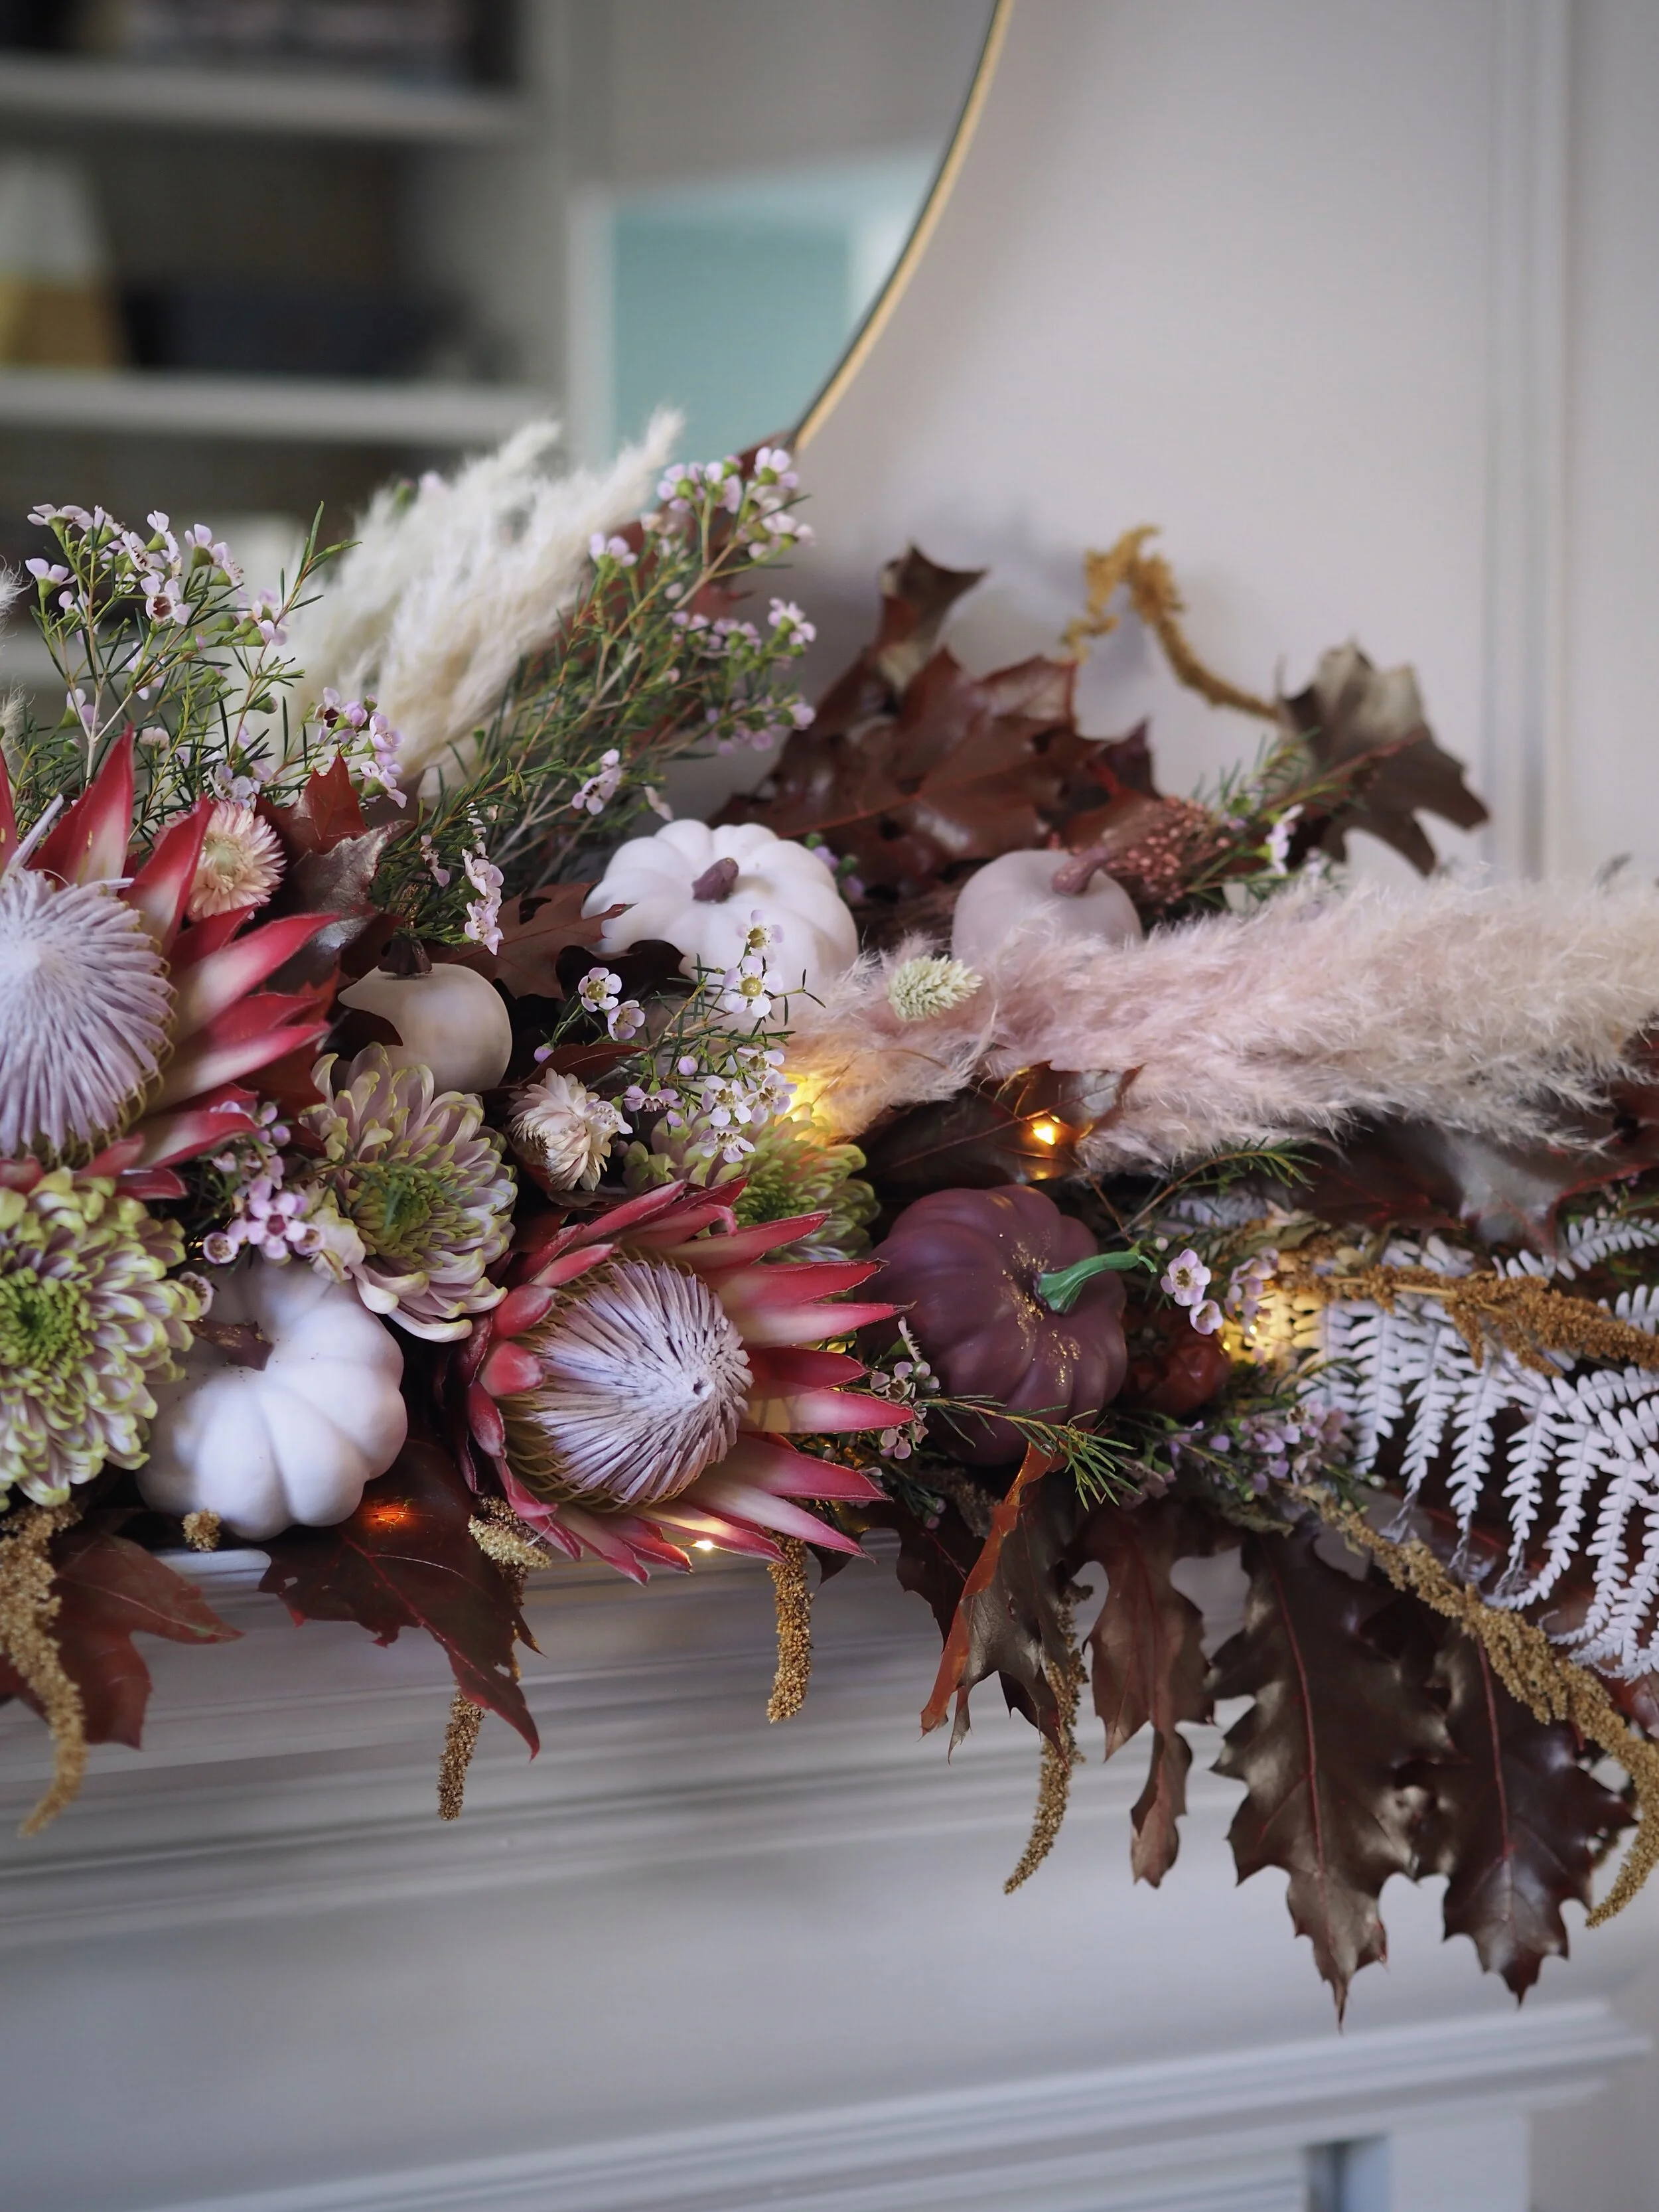
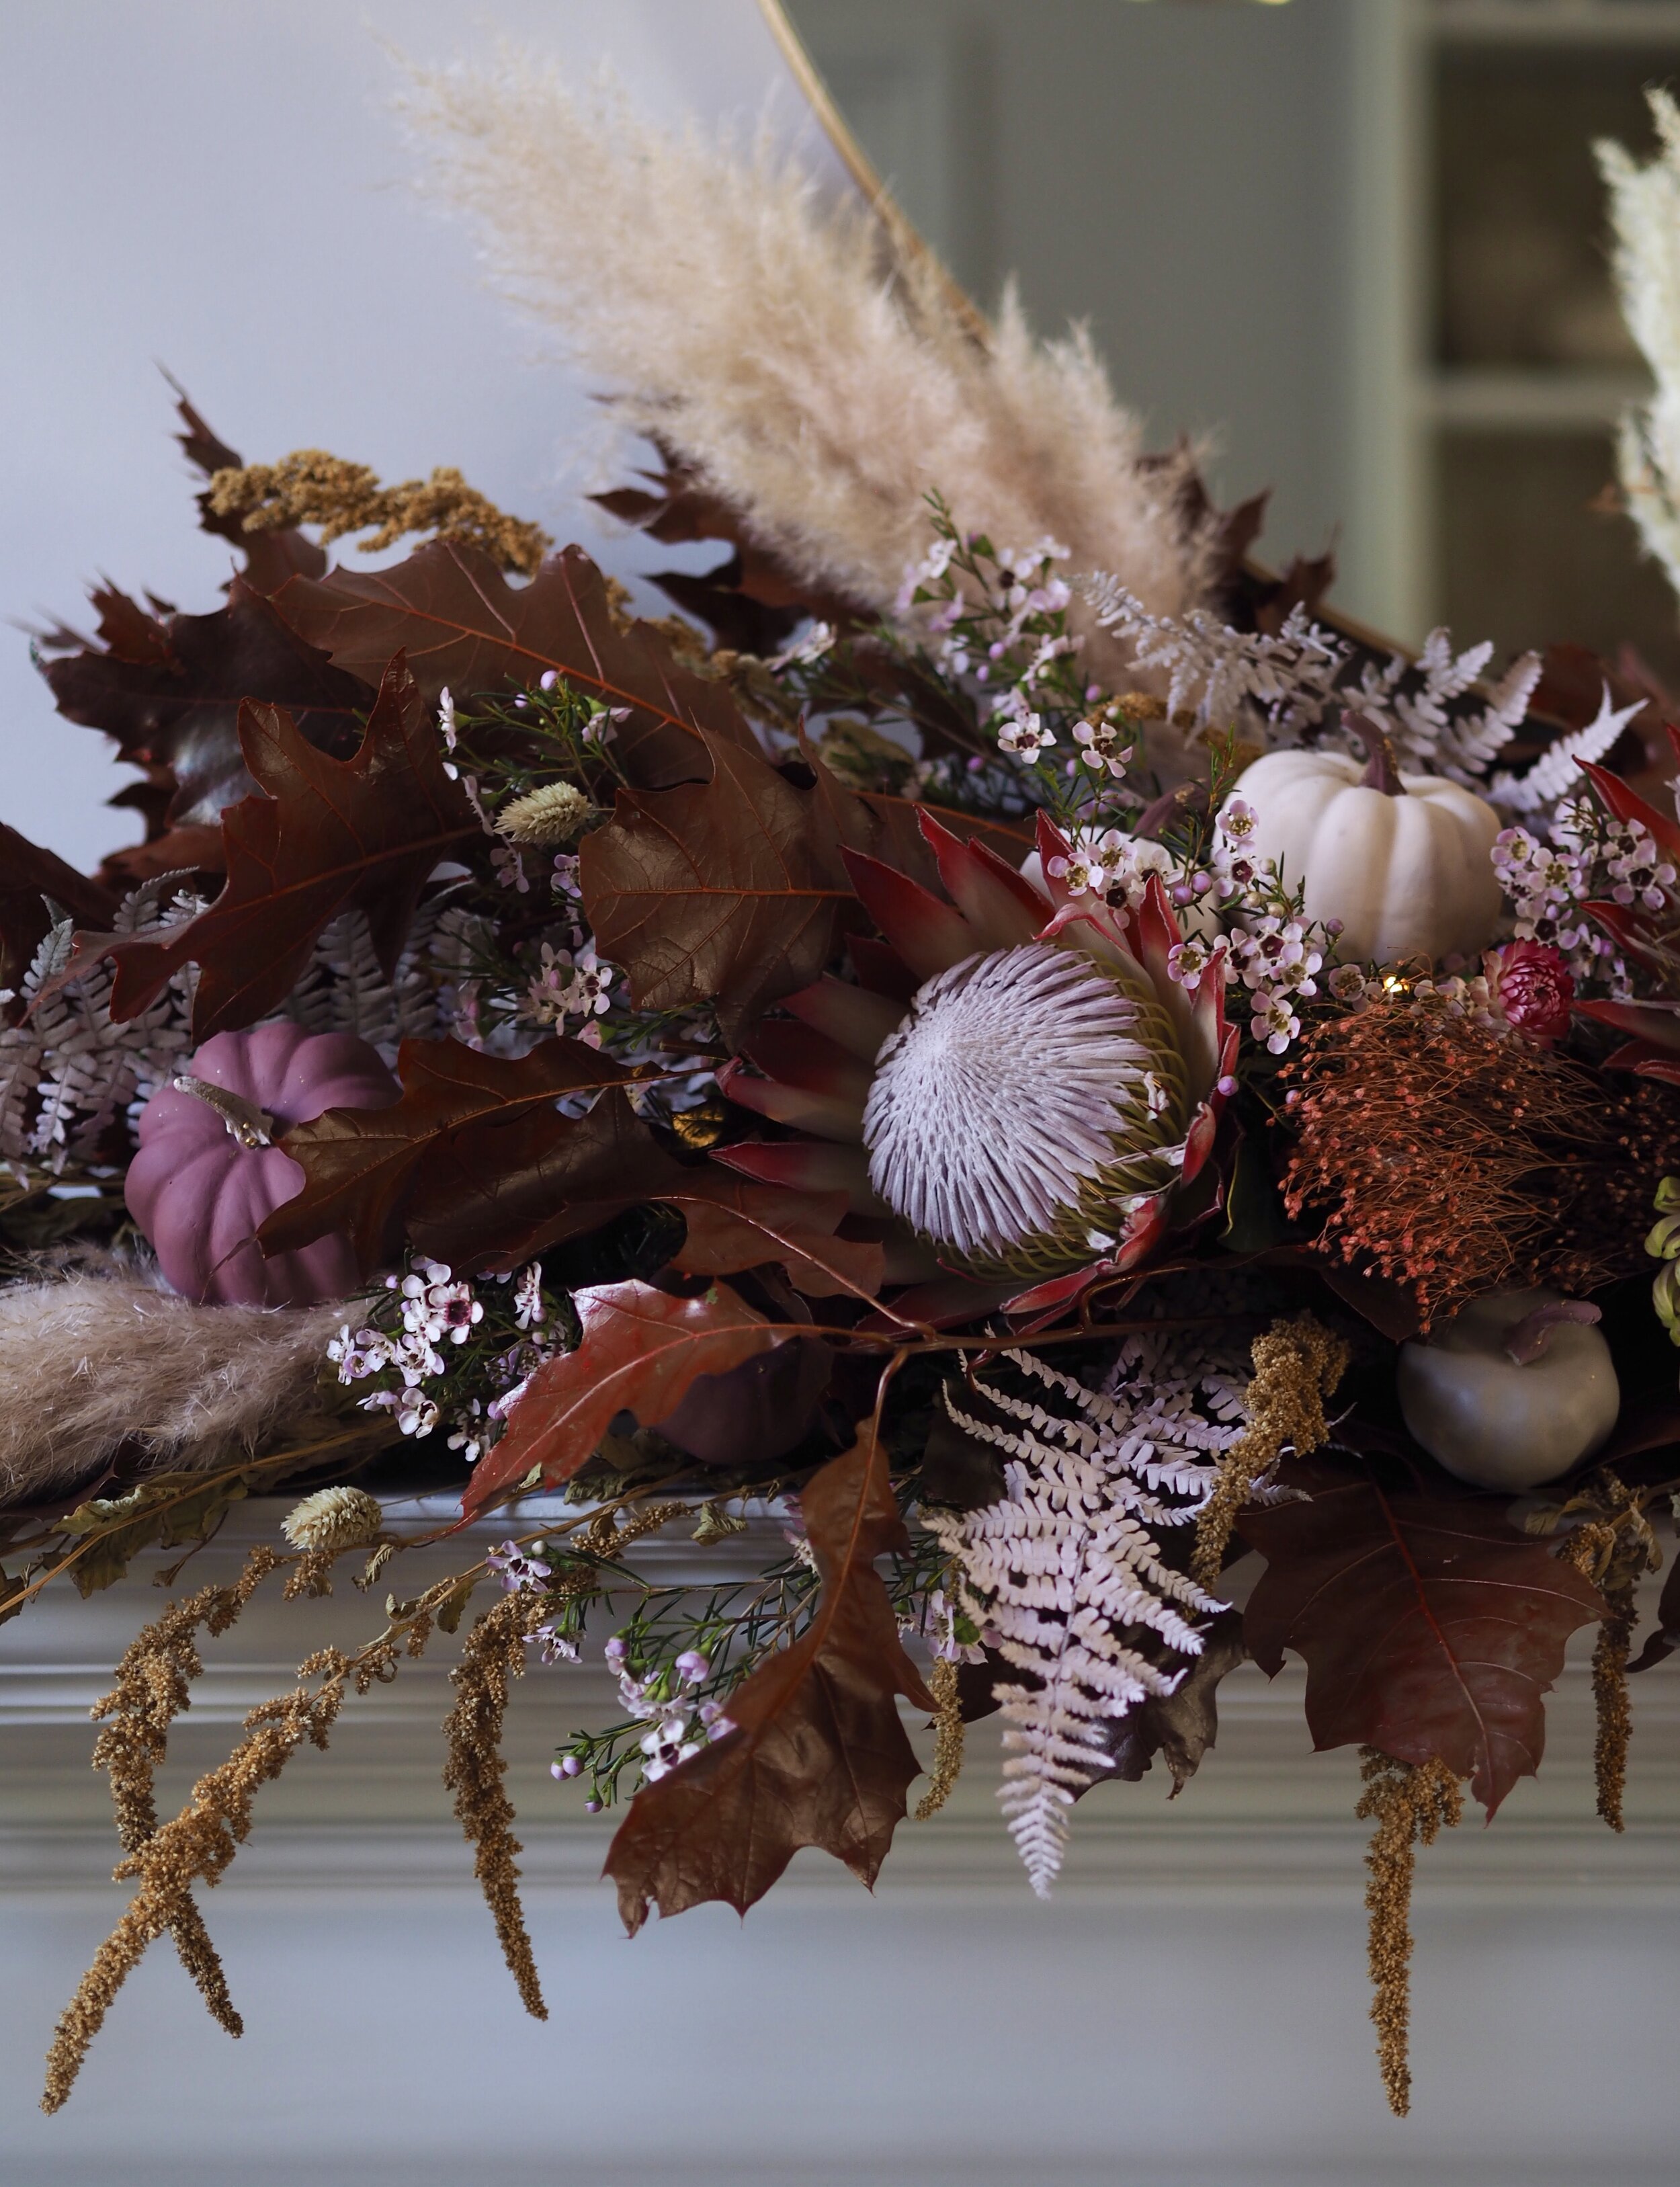
Autumn is all about the natural browns, deep reds and burnt oranges, so in order for this garland to reflect the season, it had to embrace these colours. To keep it contemporary, I also included a lot of pink, which really complements these deeper tones. This garland is a mix of foliage, fresh and dried flowers, so there are a lot of varying textures and layers for visual interest.
YOU WILL NEED:
To create this garland I used the following:
A 50cm piece of floral oasis in accompanying tray.
Foliage: I used a large bunch of oak leaves purchased from Columbia Road Flower Market which cost me £5. You can also use garden cuttings!
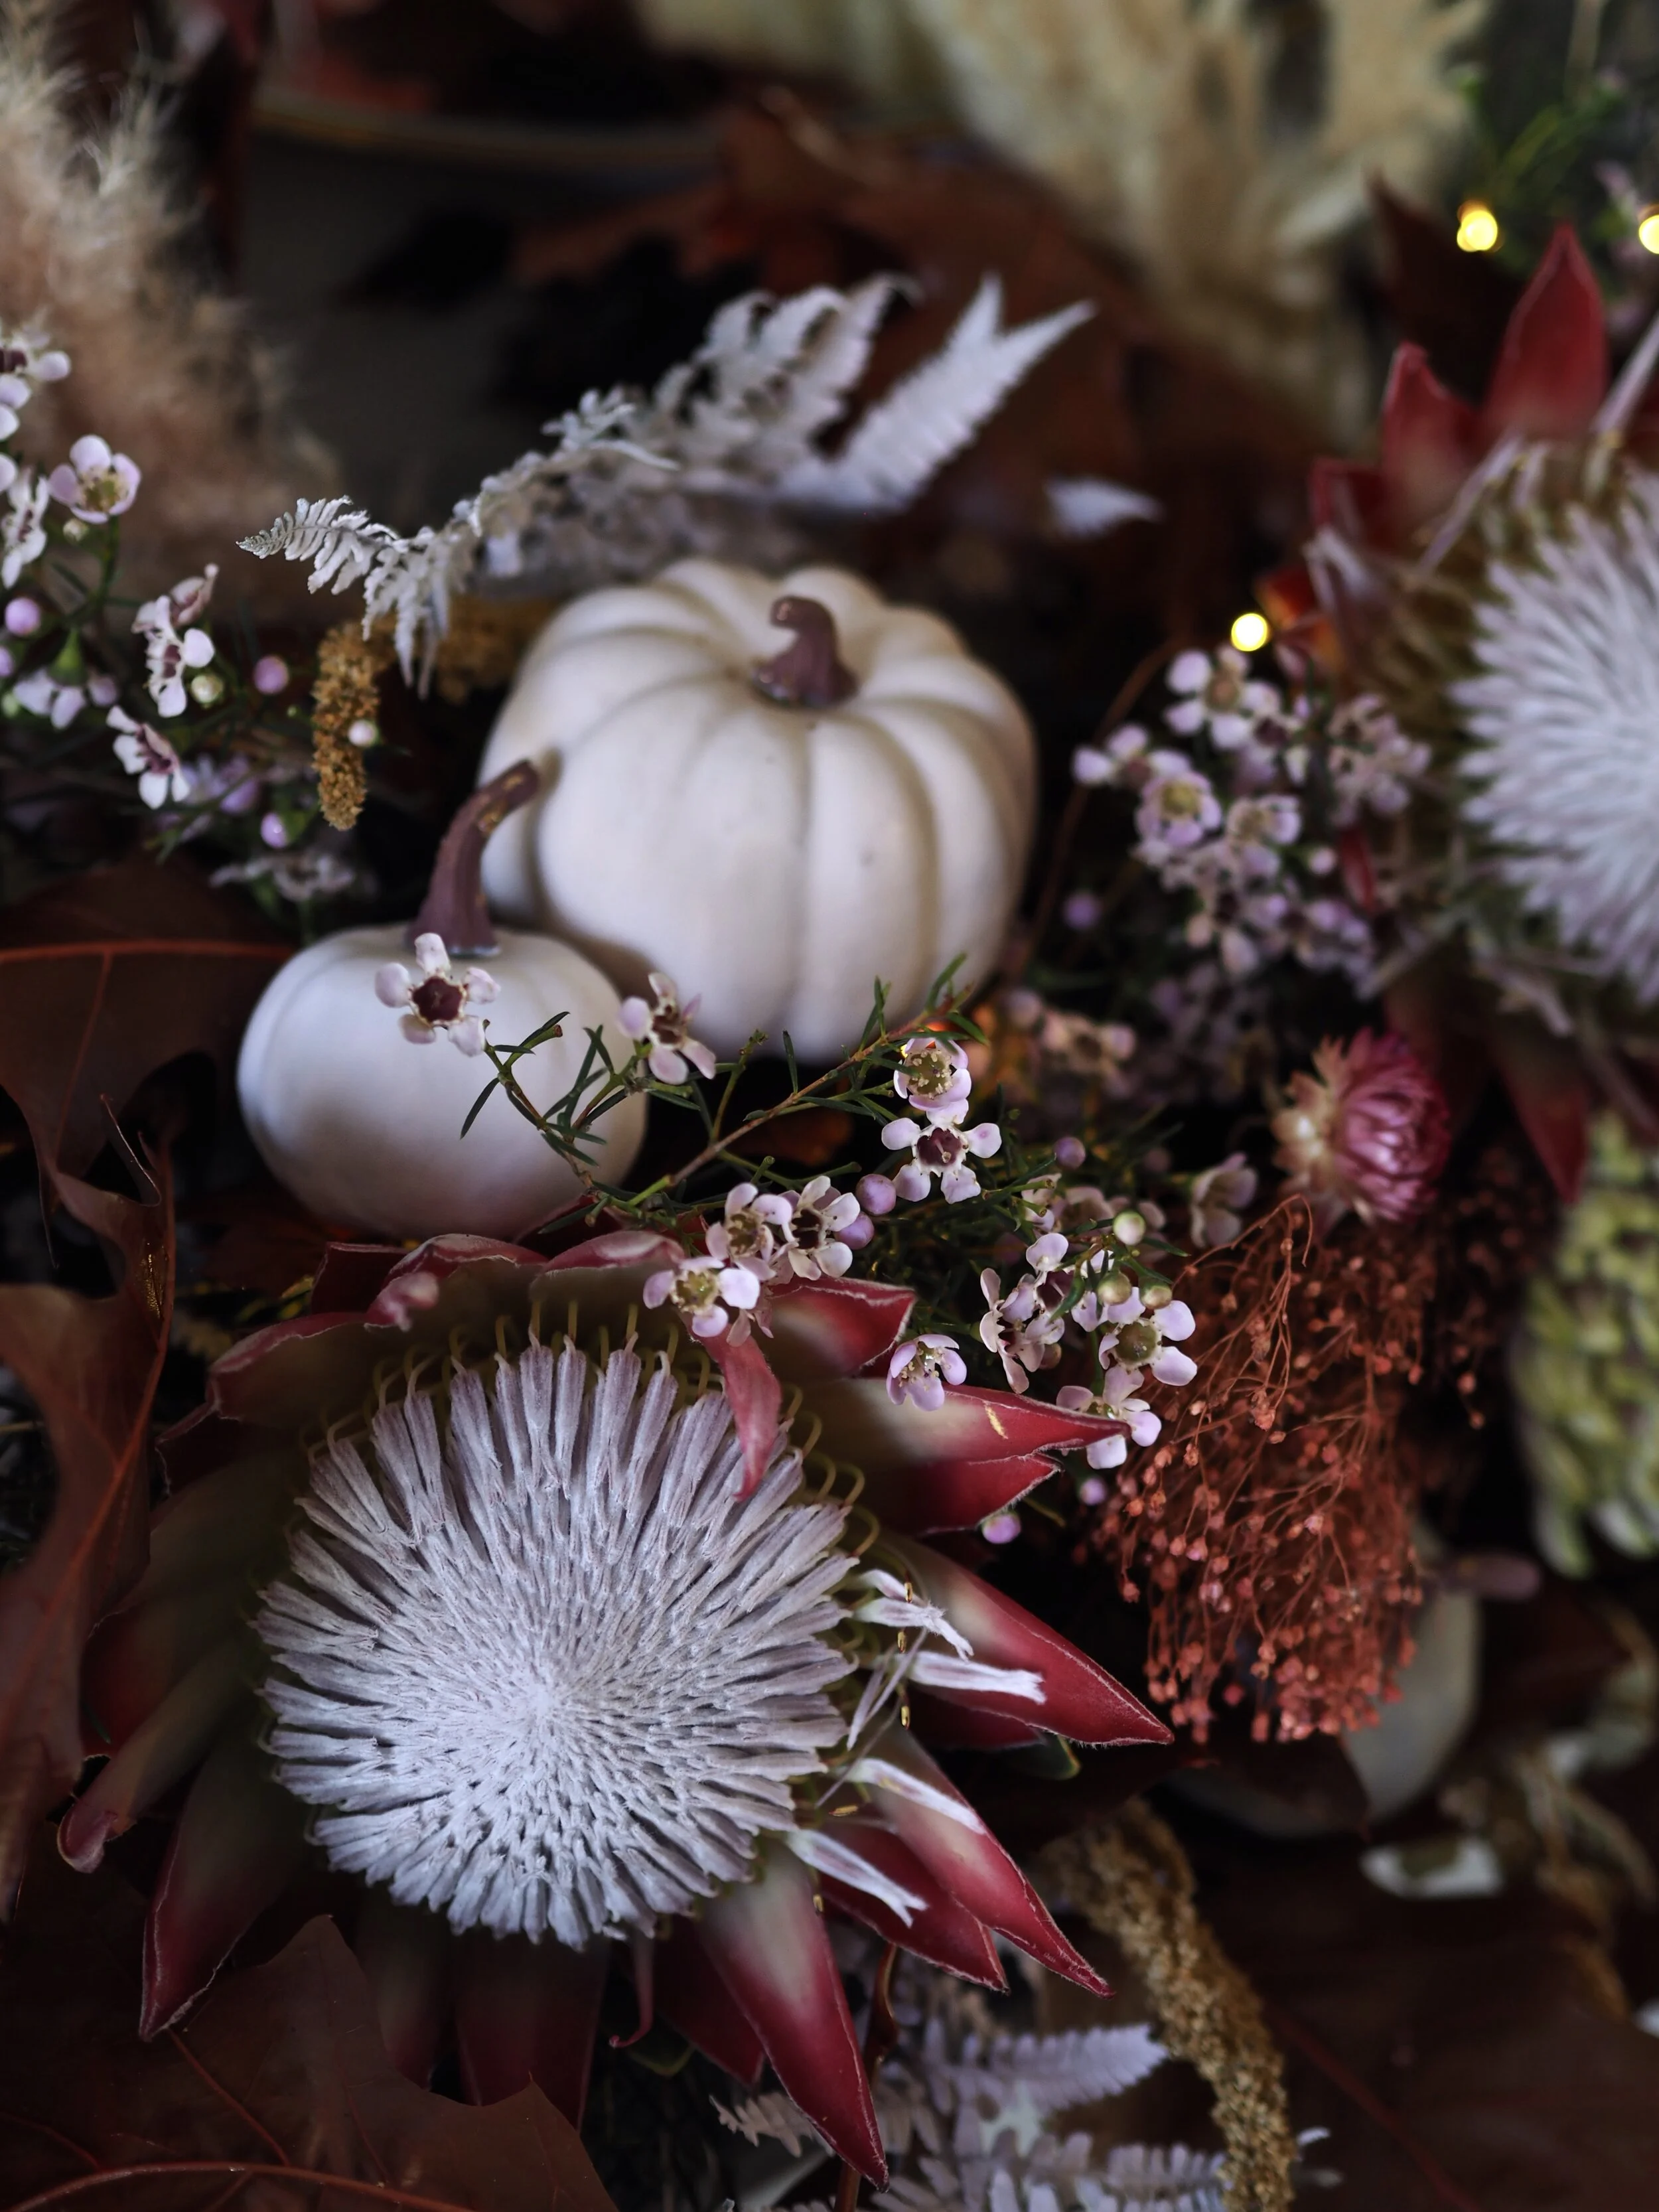
Fresh Flowers: I used 1 x bunch of pink wax flowers, 3 x protea heads, 3 x dahlia heads. All were purchased from Columbia Road Flower market. I also cut a few fern leaves from my garden and sprayed them in pale pink chalk paint.
Dried Flowers: I used a bunch of dried orange Amaranthus, 4 x pink Pampas Grass stems, dried broom in coral and some natural Phalaris. I buy my dried flowers from local floral wholesalers, but you can also buy dried flowers online.
Copper wire LED string lights.
Artificial pumpkins that I painted in leftover tester pot paint and added a touch of gold glitter to the top! I securely attached them to the floral display using double-sided tape.
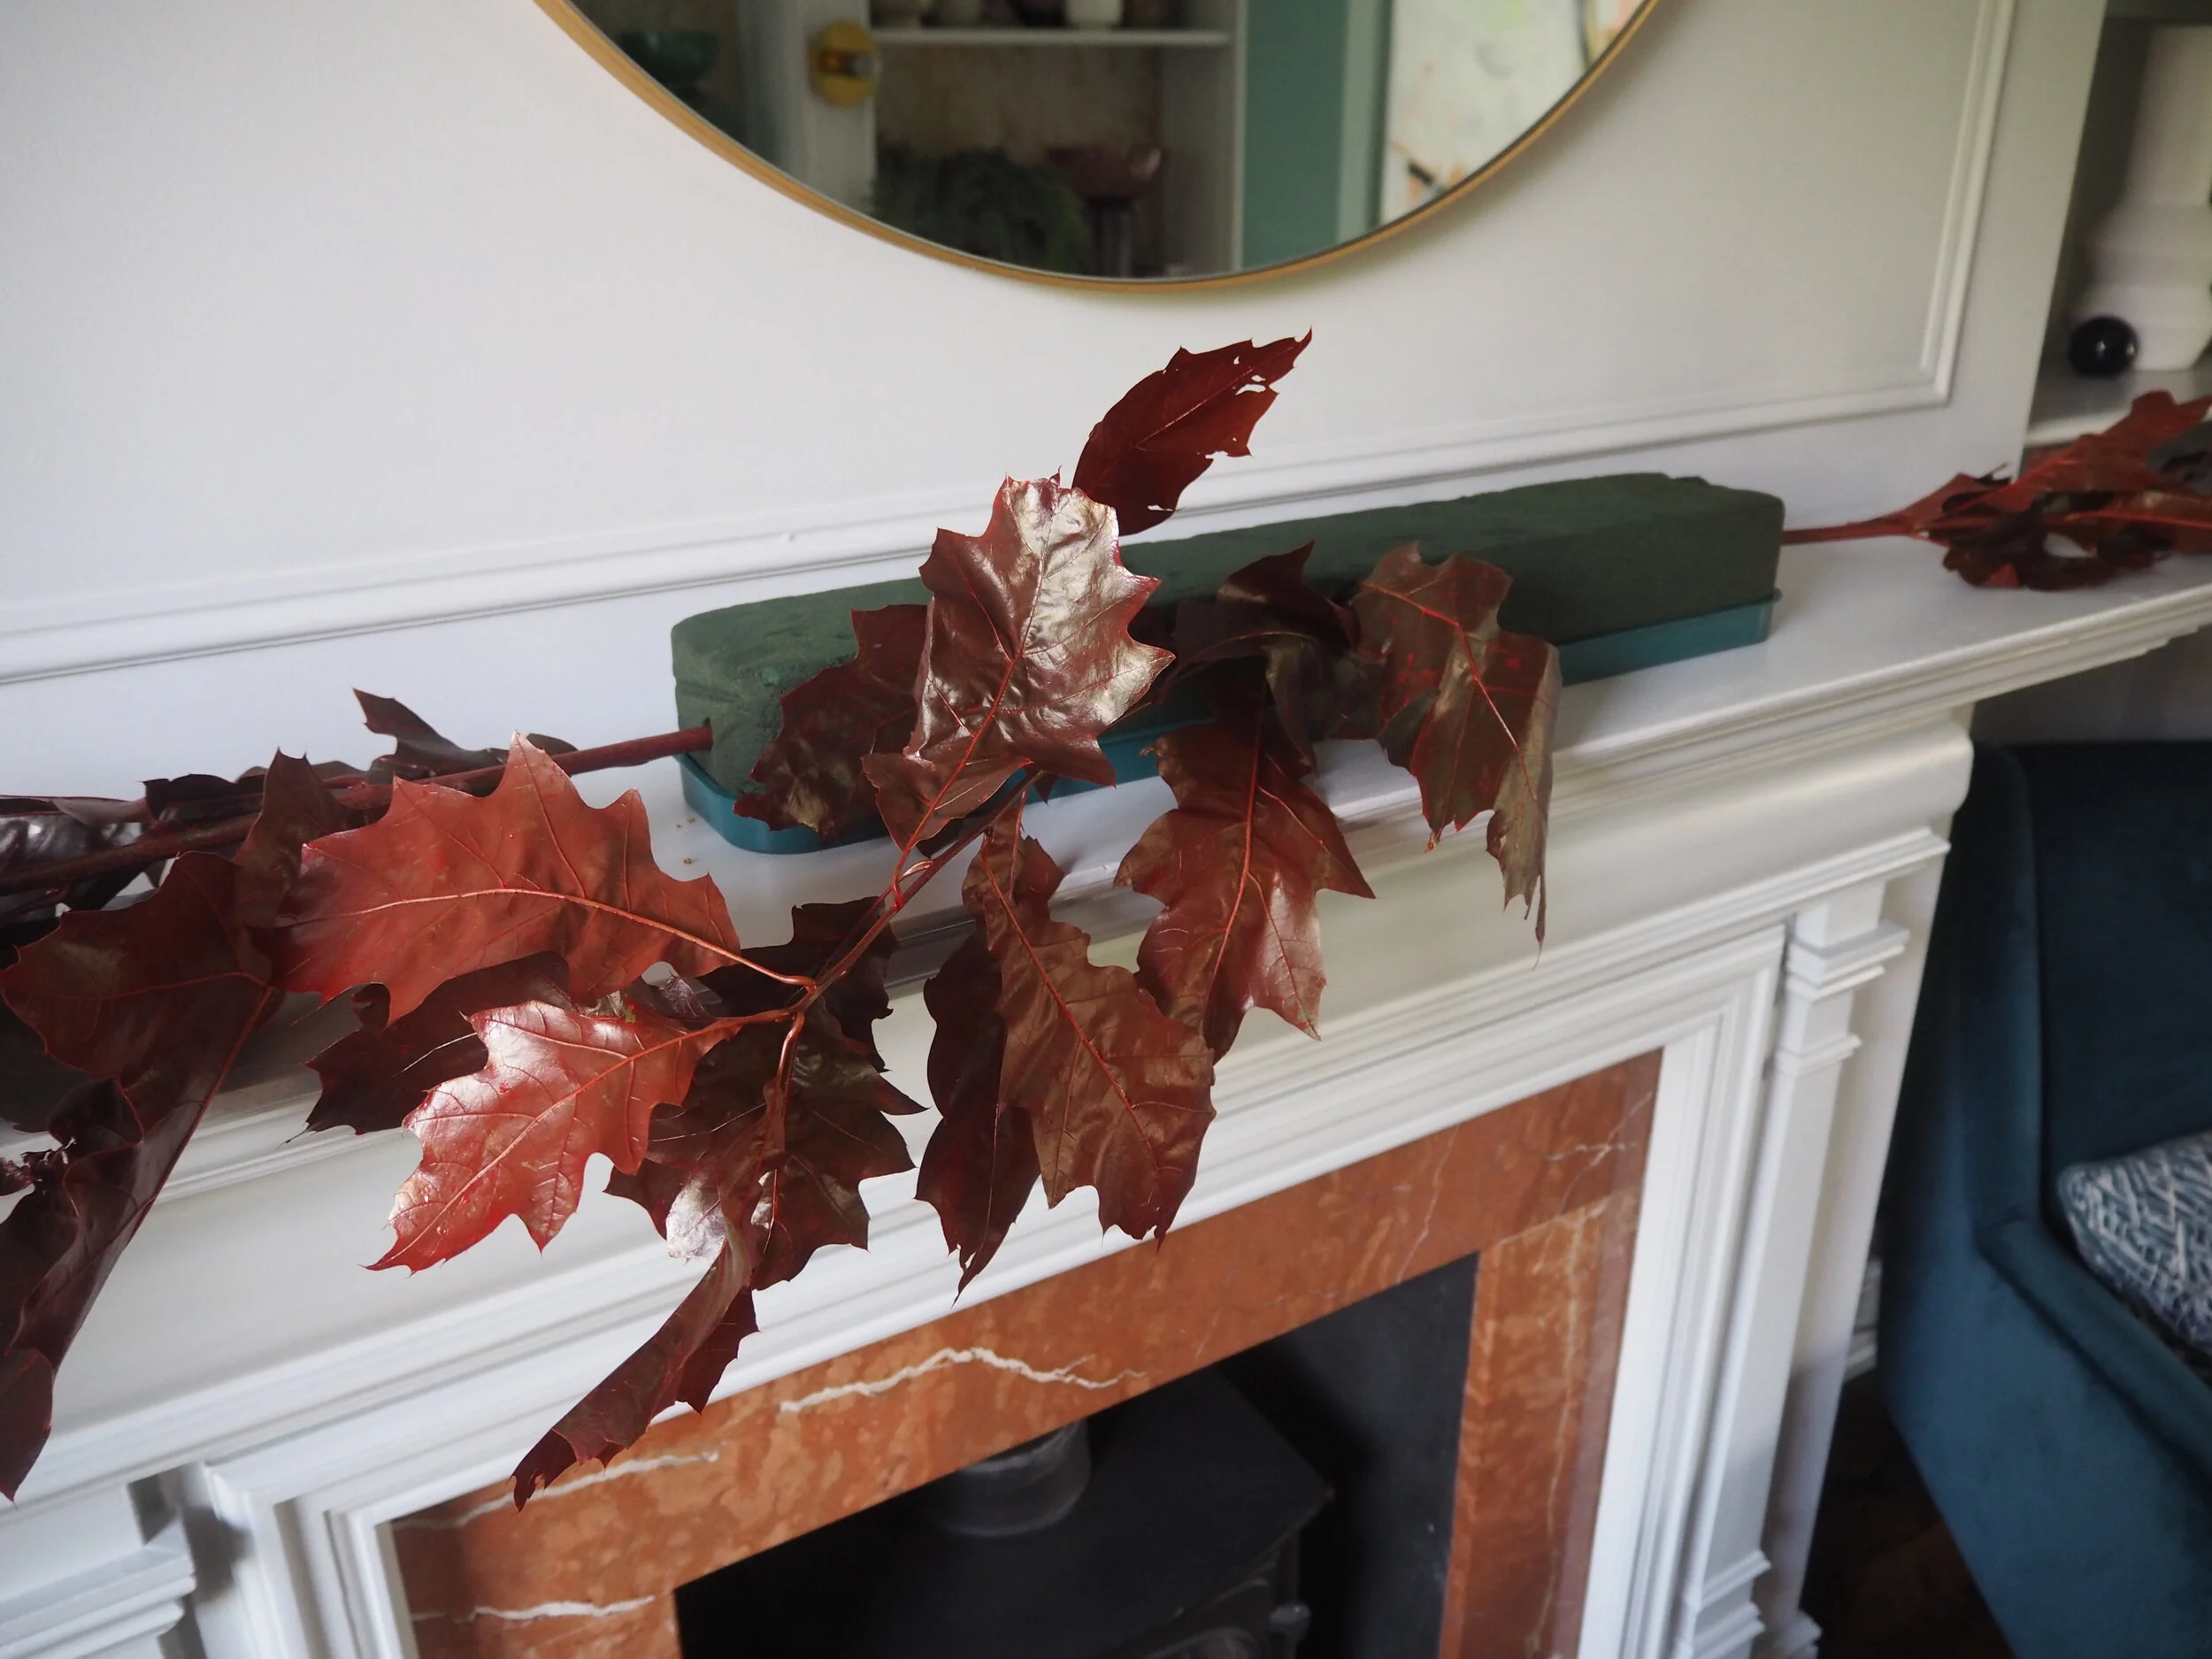
Start by using your foliage to create a base layer for your more decorative flowers and pumpkins.
Fill a sink or a bath with water, place your floral foam face down on top of the water and wait for it to sink. Do not be tempted to try and plunge the foam down into the water, as this will fill your foam with air and your fresh flowers and foliage won’t last long! Once your foam has completely descended into the water, remove it and place it tray side down onto a towel so that you dry off the plastic before placing it on your mantel or table.
Starting with your foliage, cut the stem ends at a 45° angle and place them into your foam. I always start with the sides first, so that I can grasp the width of the garland that I am going to create. I then build up the front and the top of the display, making sure either side looks symmetrical.
Try and make sure that your foliage base looks symmetrical in both width and height.
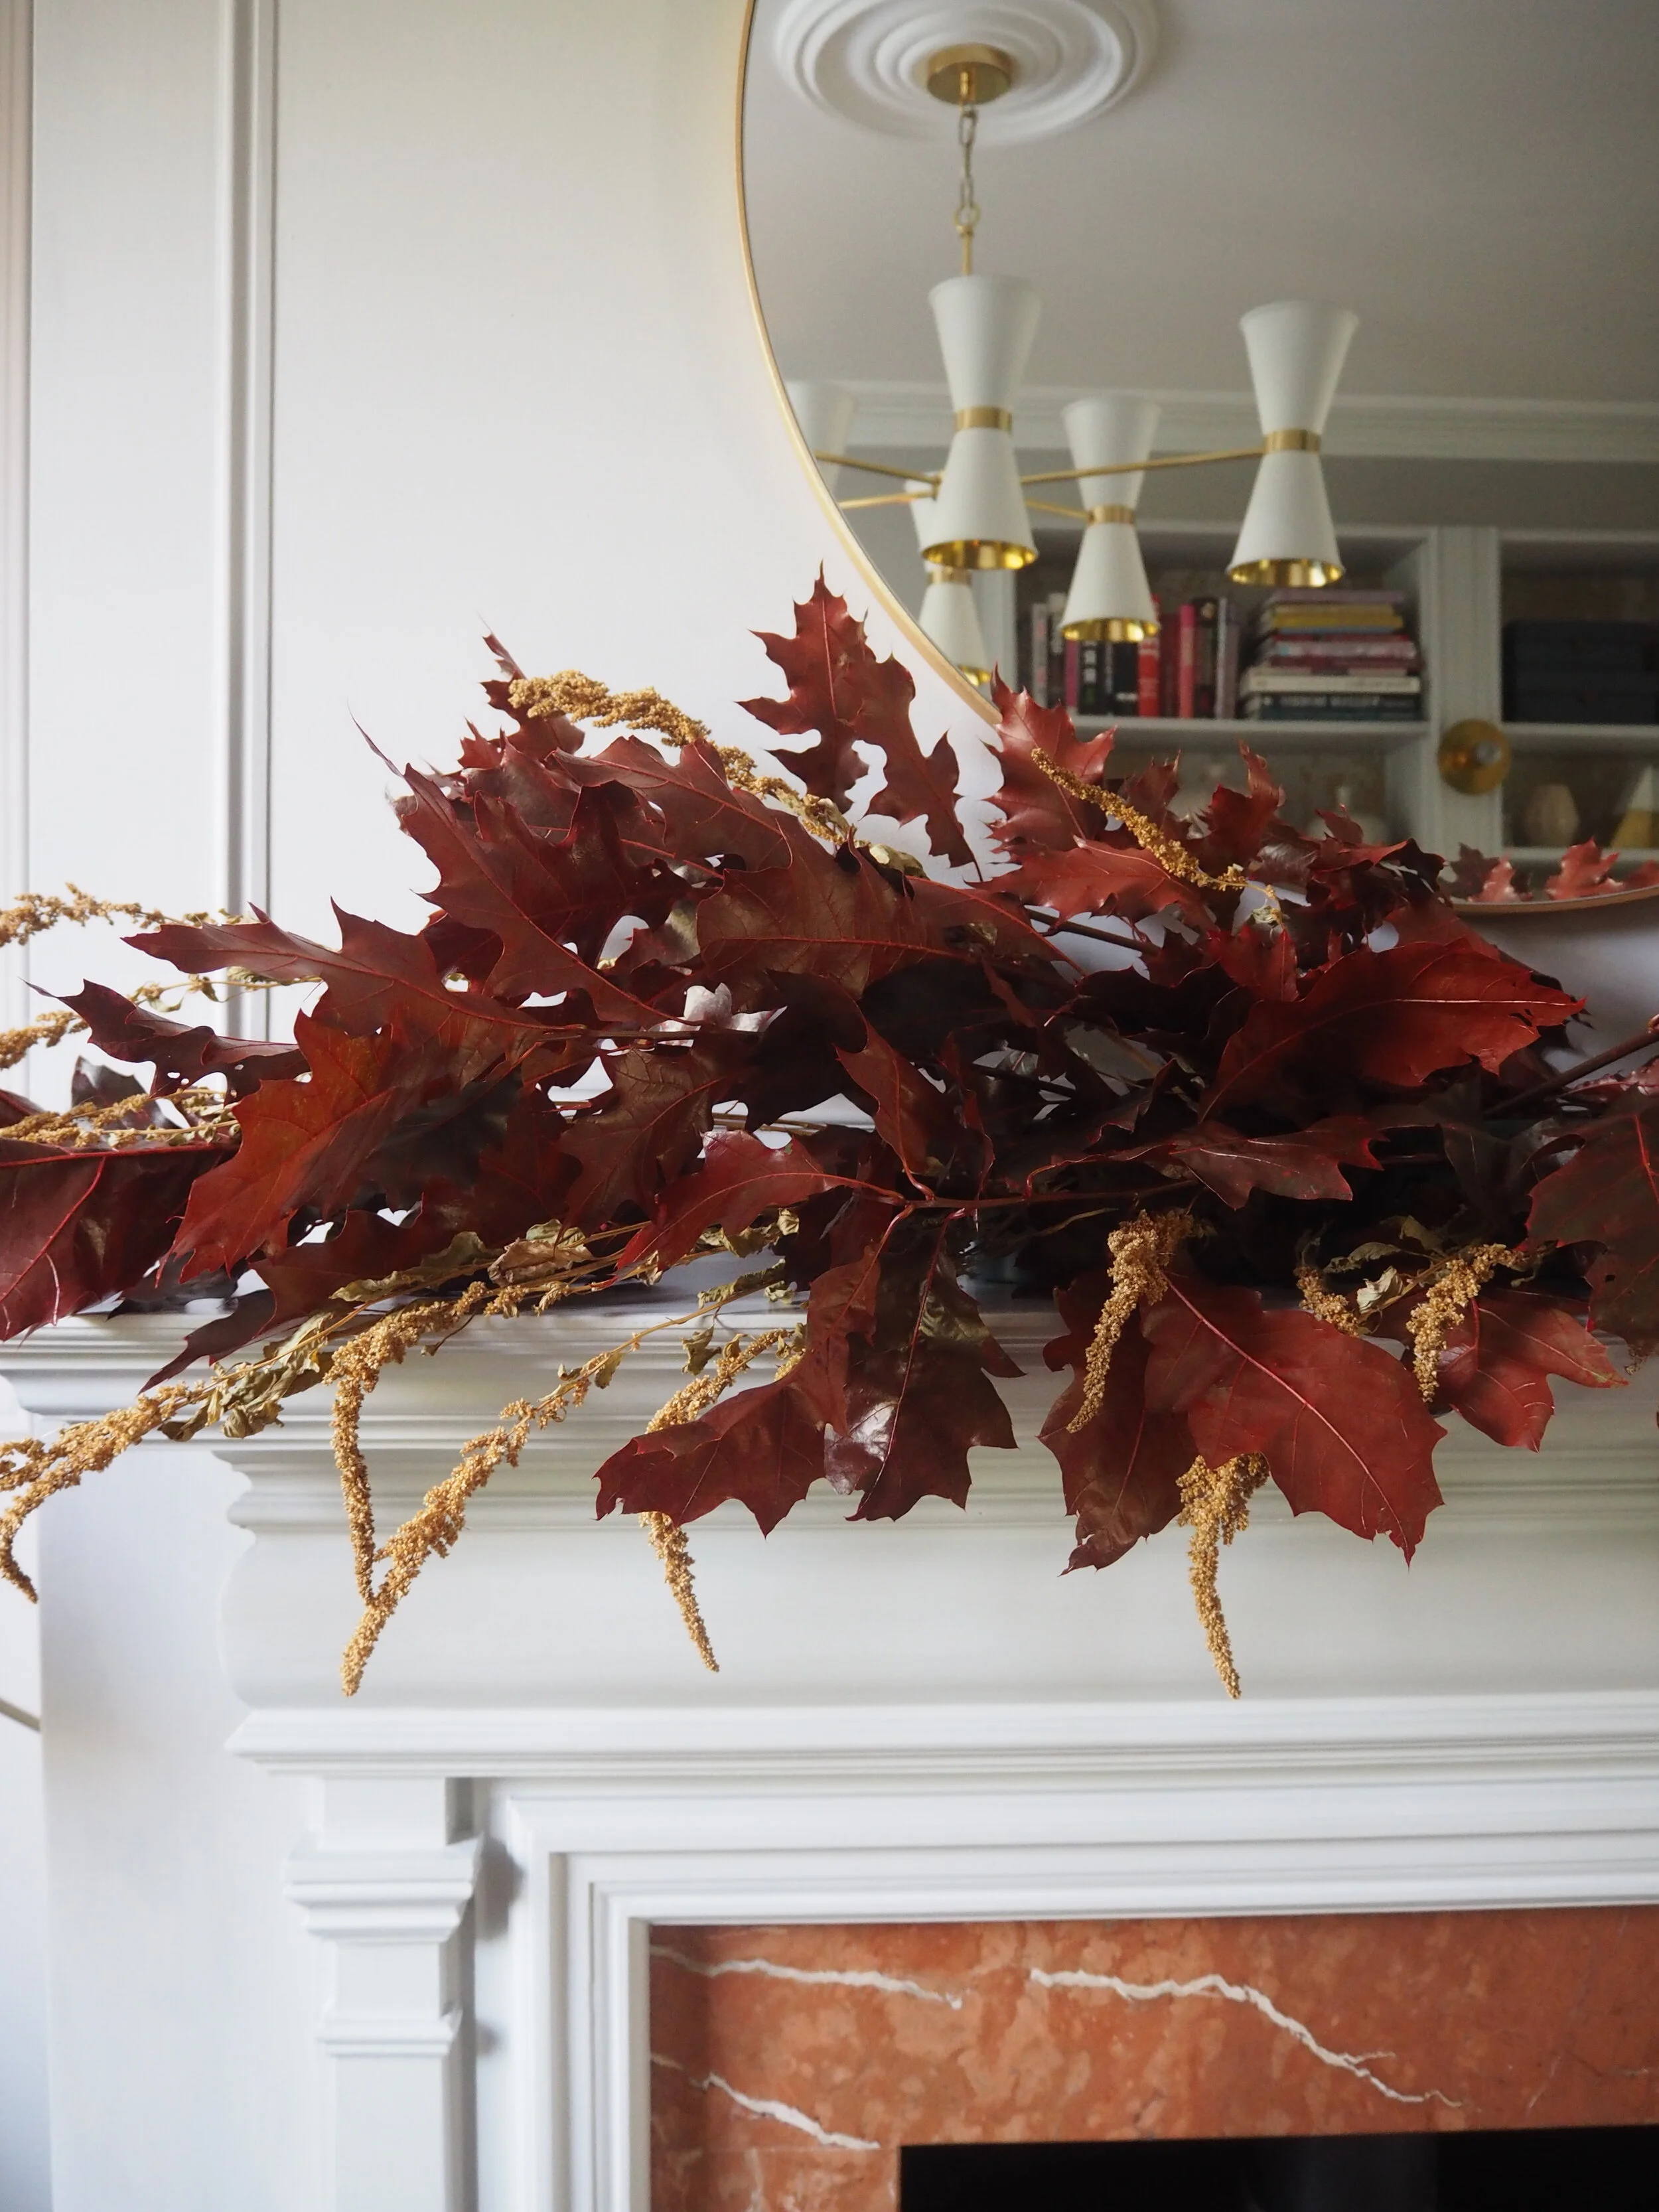
The natural hanging structure of the Amaranthus means that it will drape nicely along the mantle edge. Once you have a foliage base to work with which hides most of the floral foam, start adding in the dried Amaranthus along the bottom of the display. I chose Amaranthus in an orange colourway as it has a nice ghoulish look to it - perfect for Halloween! Push the dried stems into the oasis block; when you want to remove the display, simply cut away any damp areas of the stem and the dried florals can be reused.
Use your draping Amaranthus at the base of the design so that it hangs down, then add a few sporadic stems at the top to keep it cohesive.
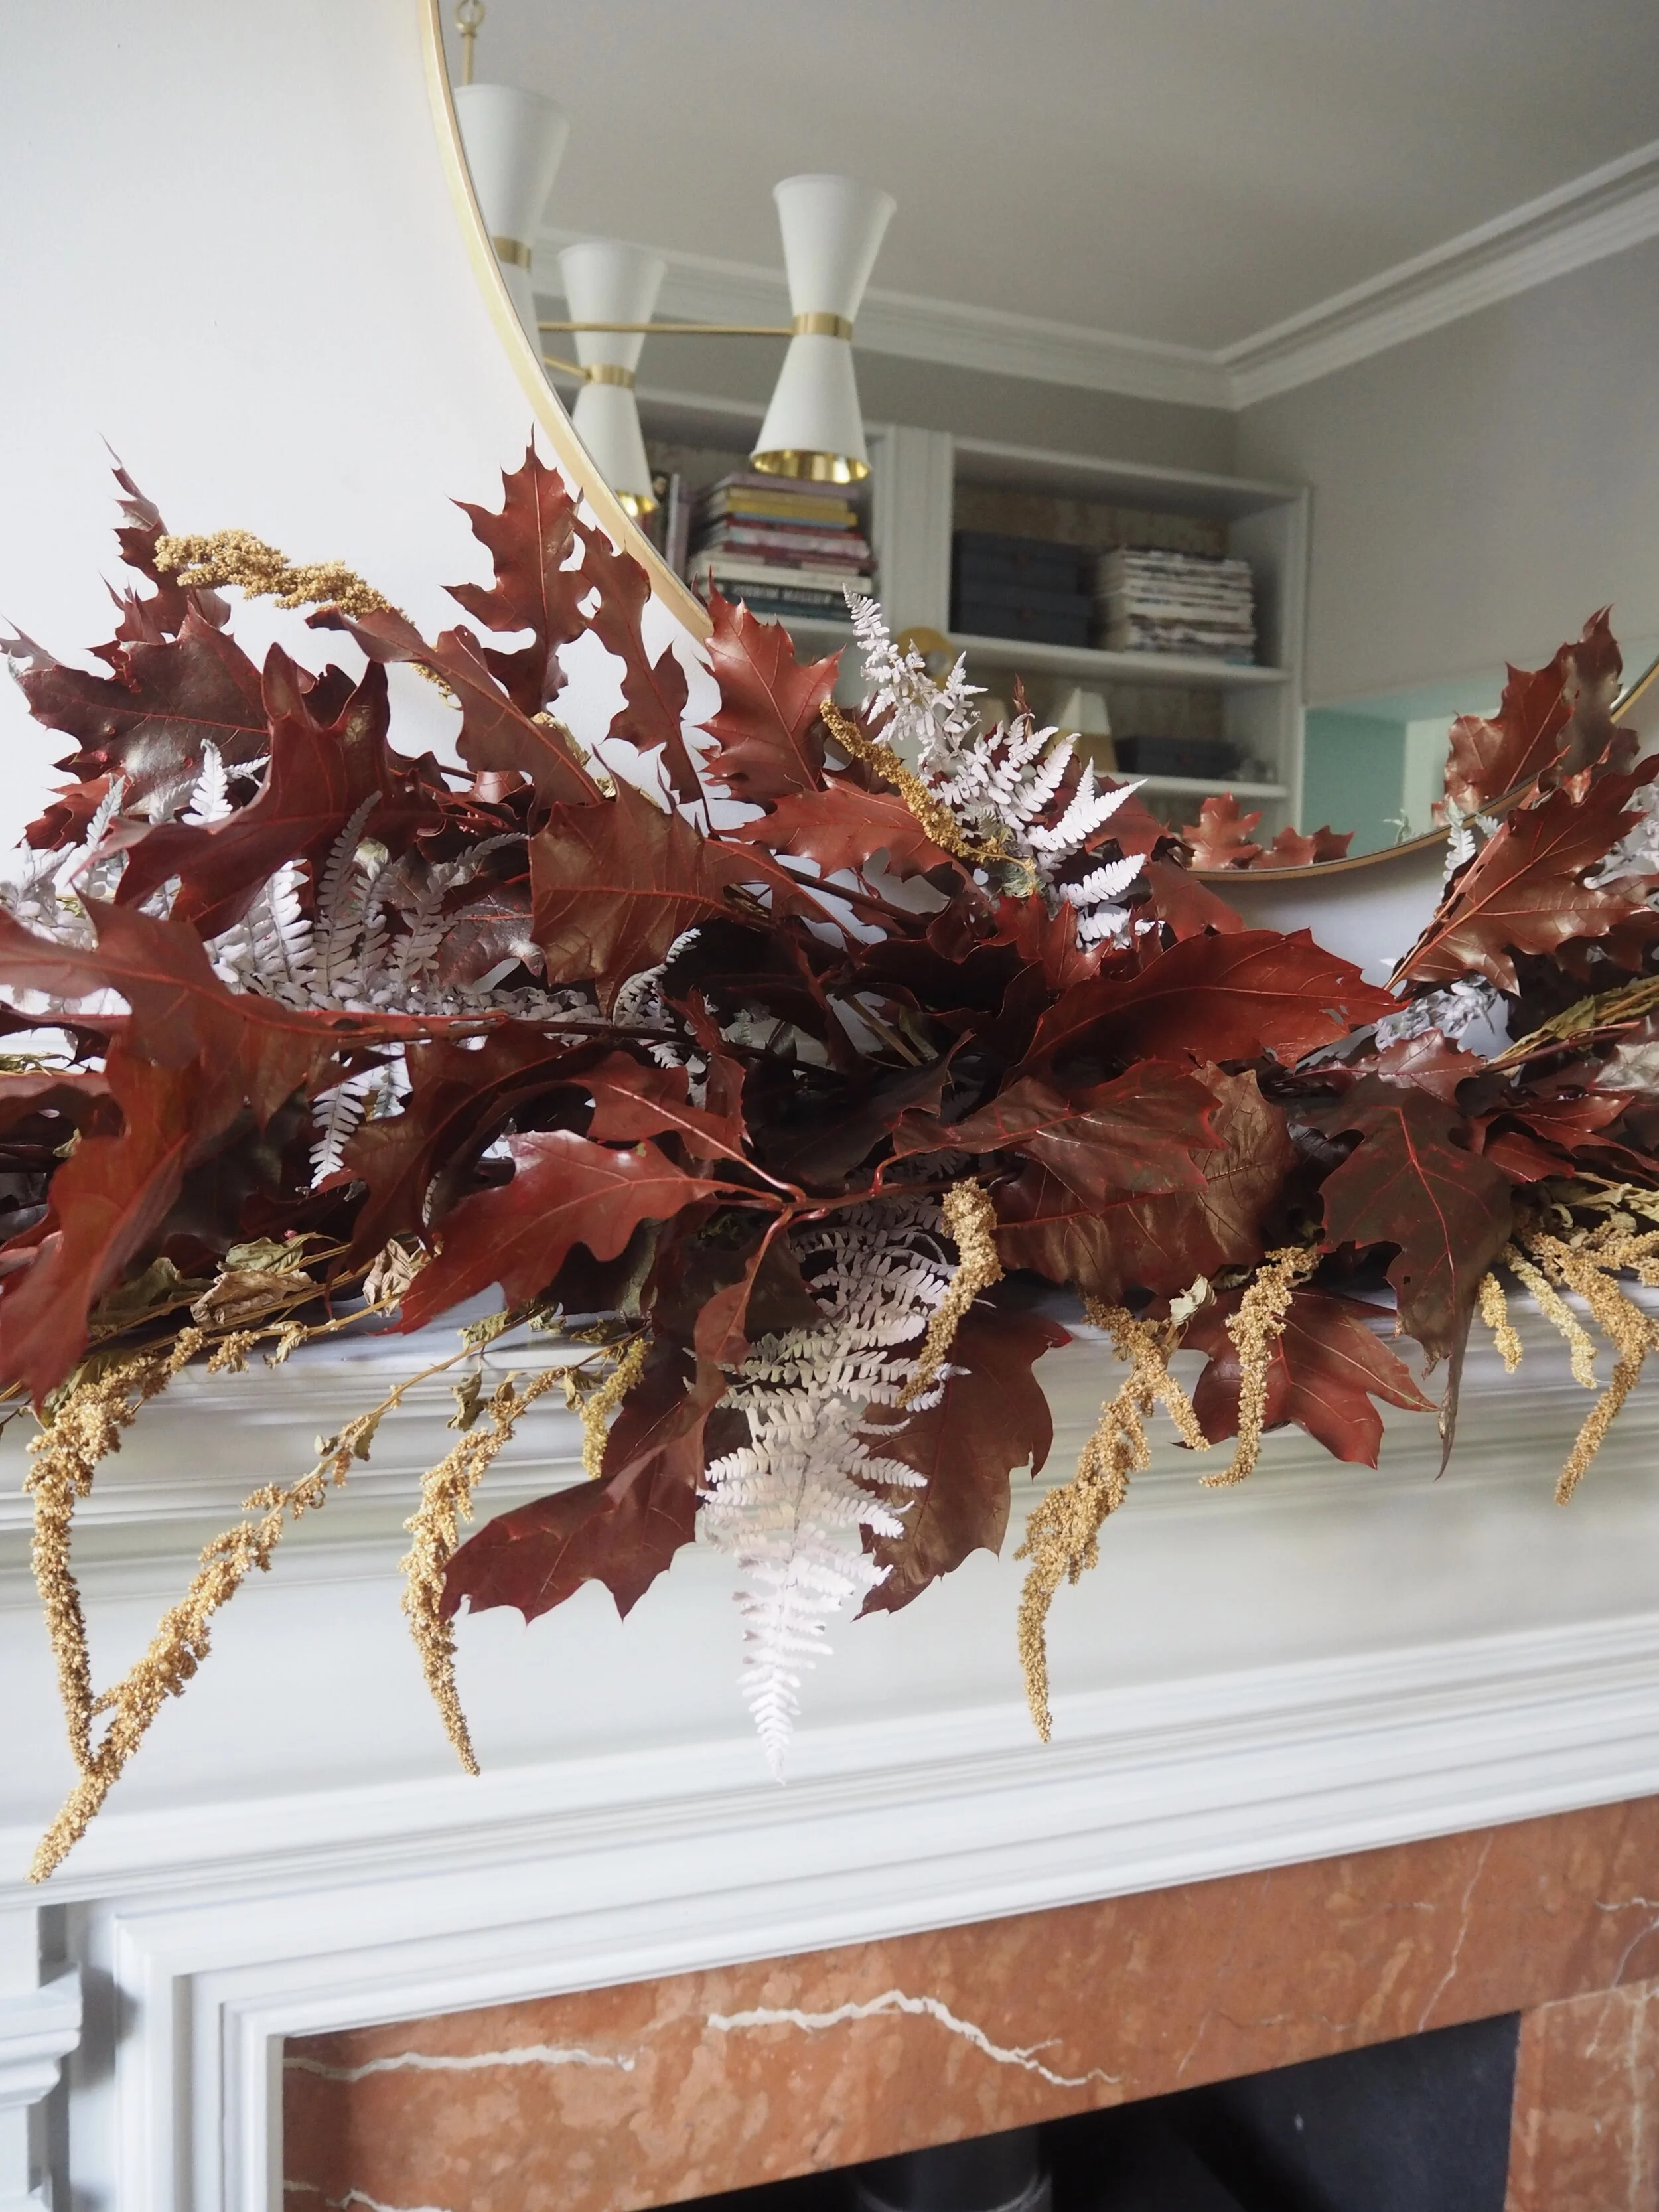
Next, I added in the pink fern leaves to start mixing up the colours. Equally spread them throughout the display so that they aren’t too close together.
Tuck in your fern leaves so they are equally spread out throughout the garland.
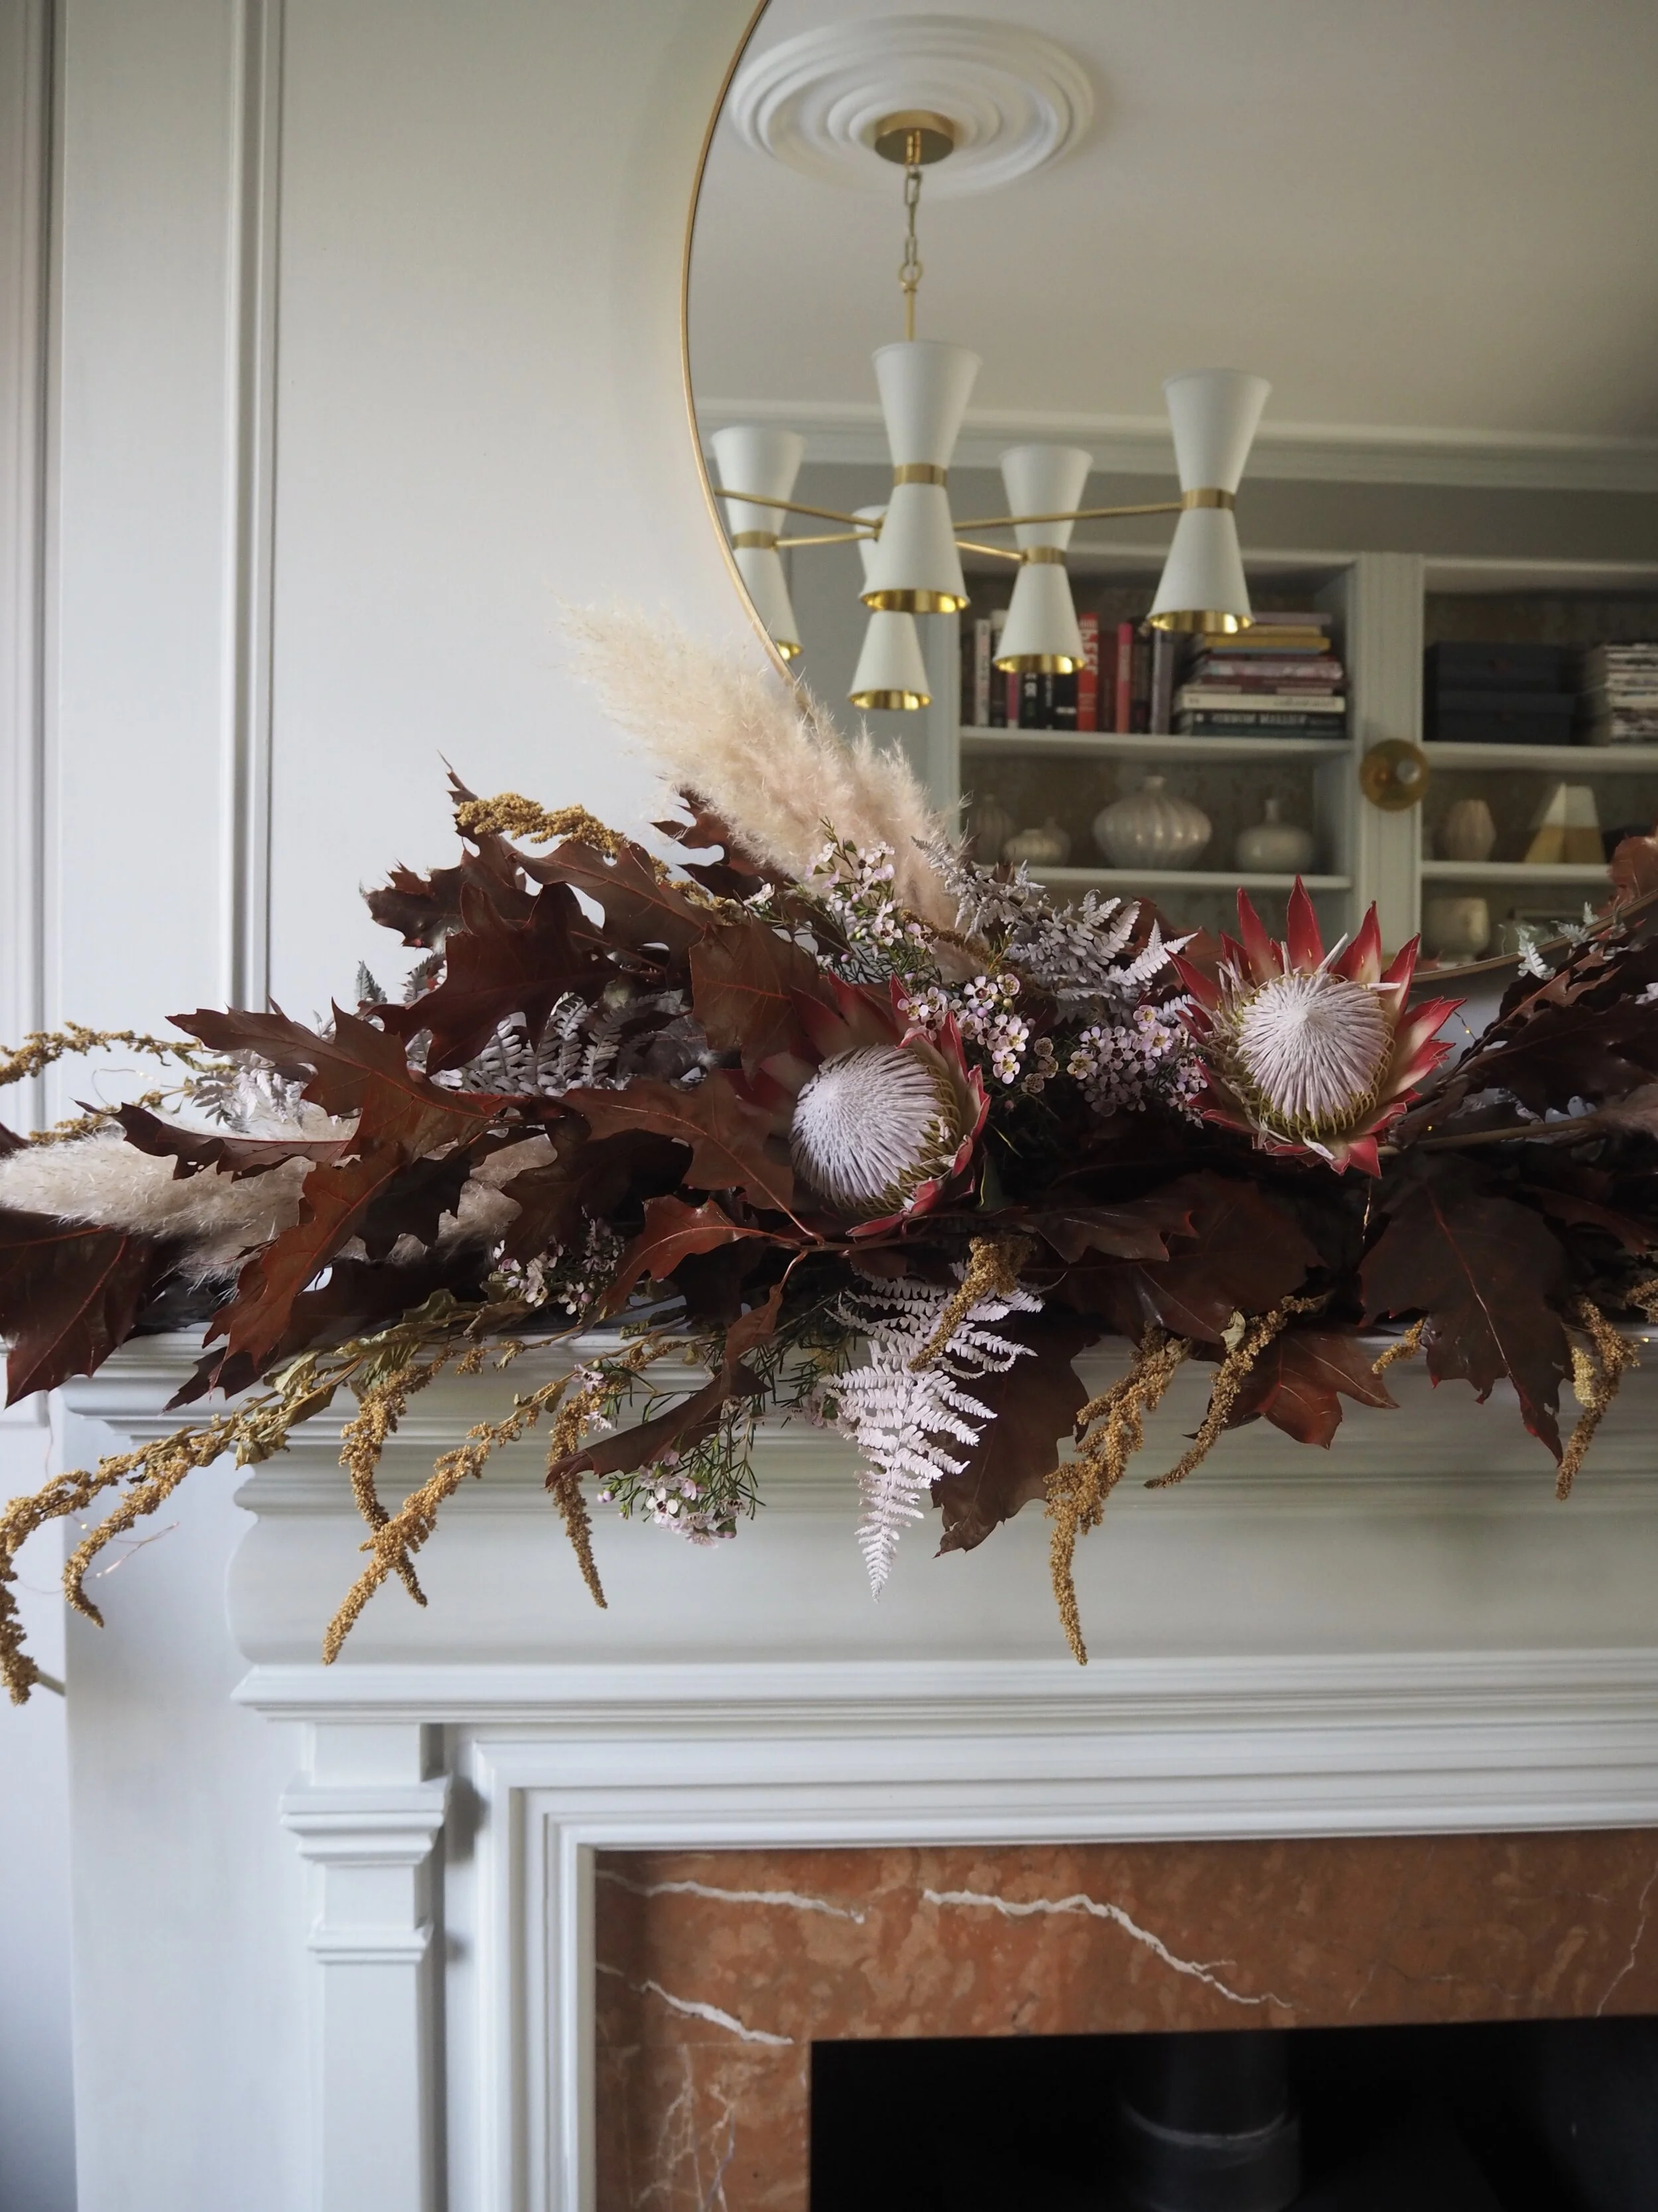
It is at this point that you should start adding in the larger, more decorative flowers that are to take ‘centre stage’ in the garland. This is so you can work out their placement and get an overall idea of how everything is coming together.
Start adding in a few of your largest, most decorative florals, building up around them.
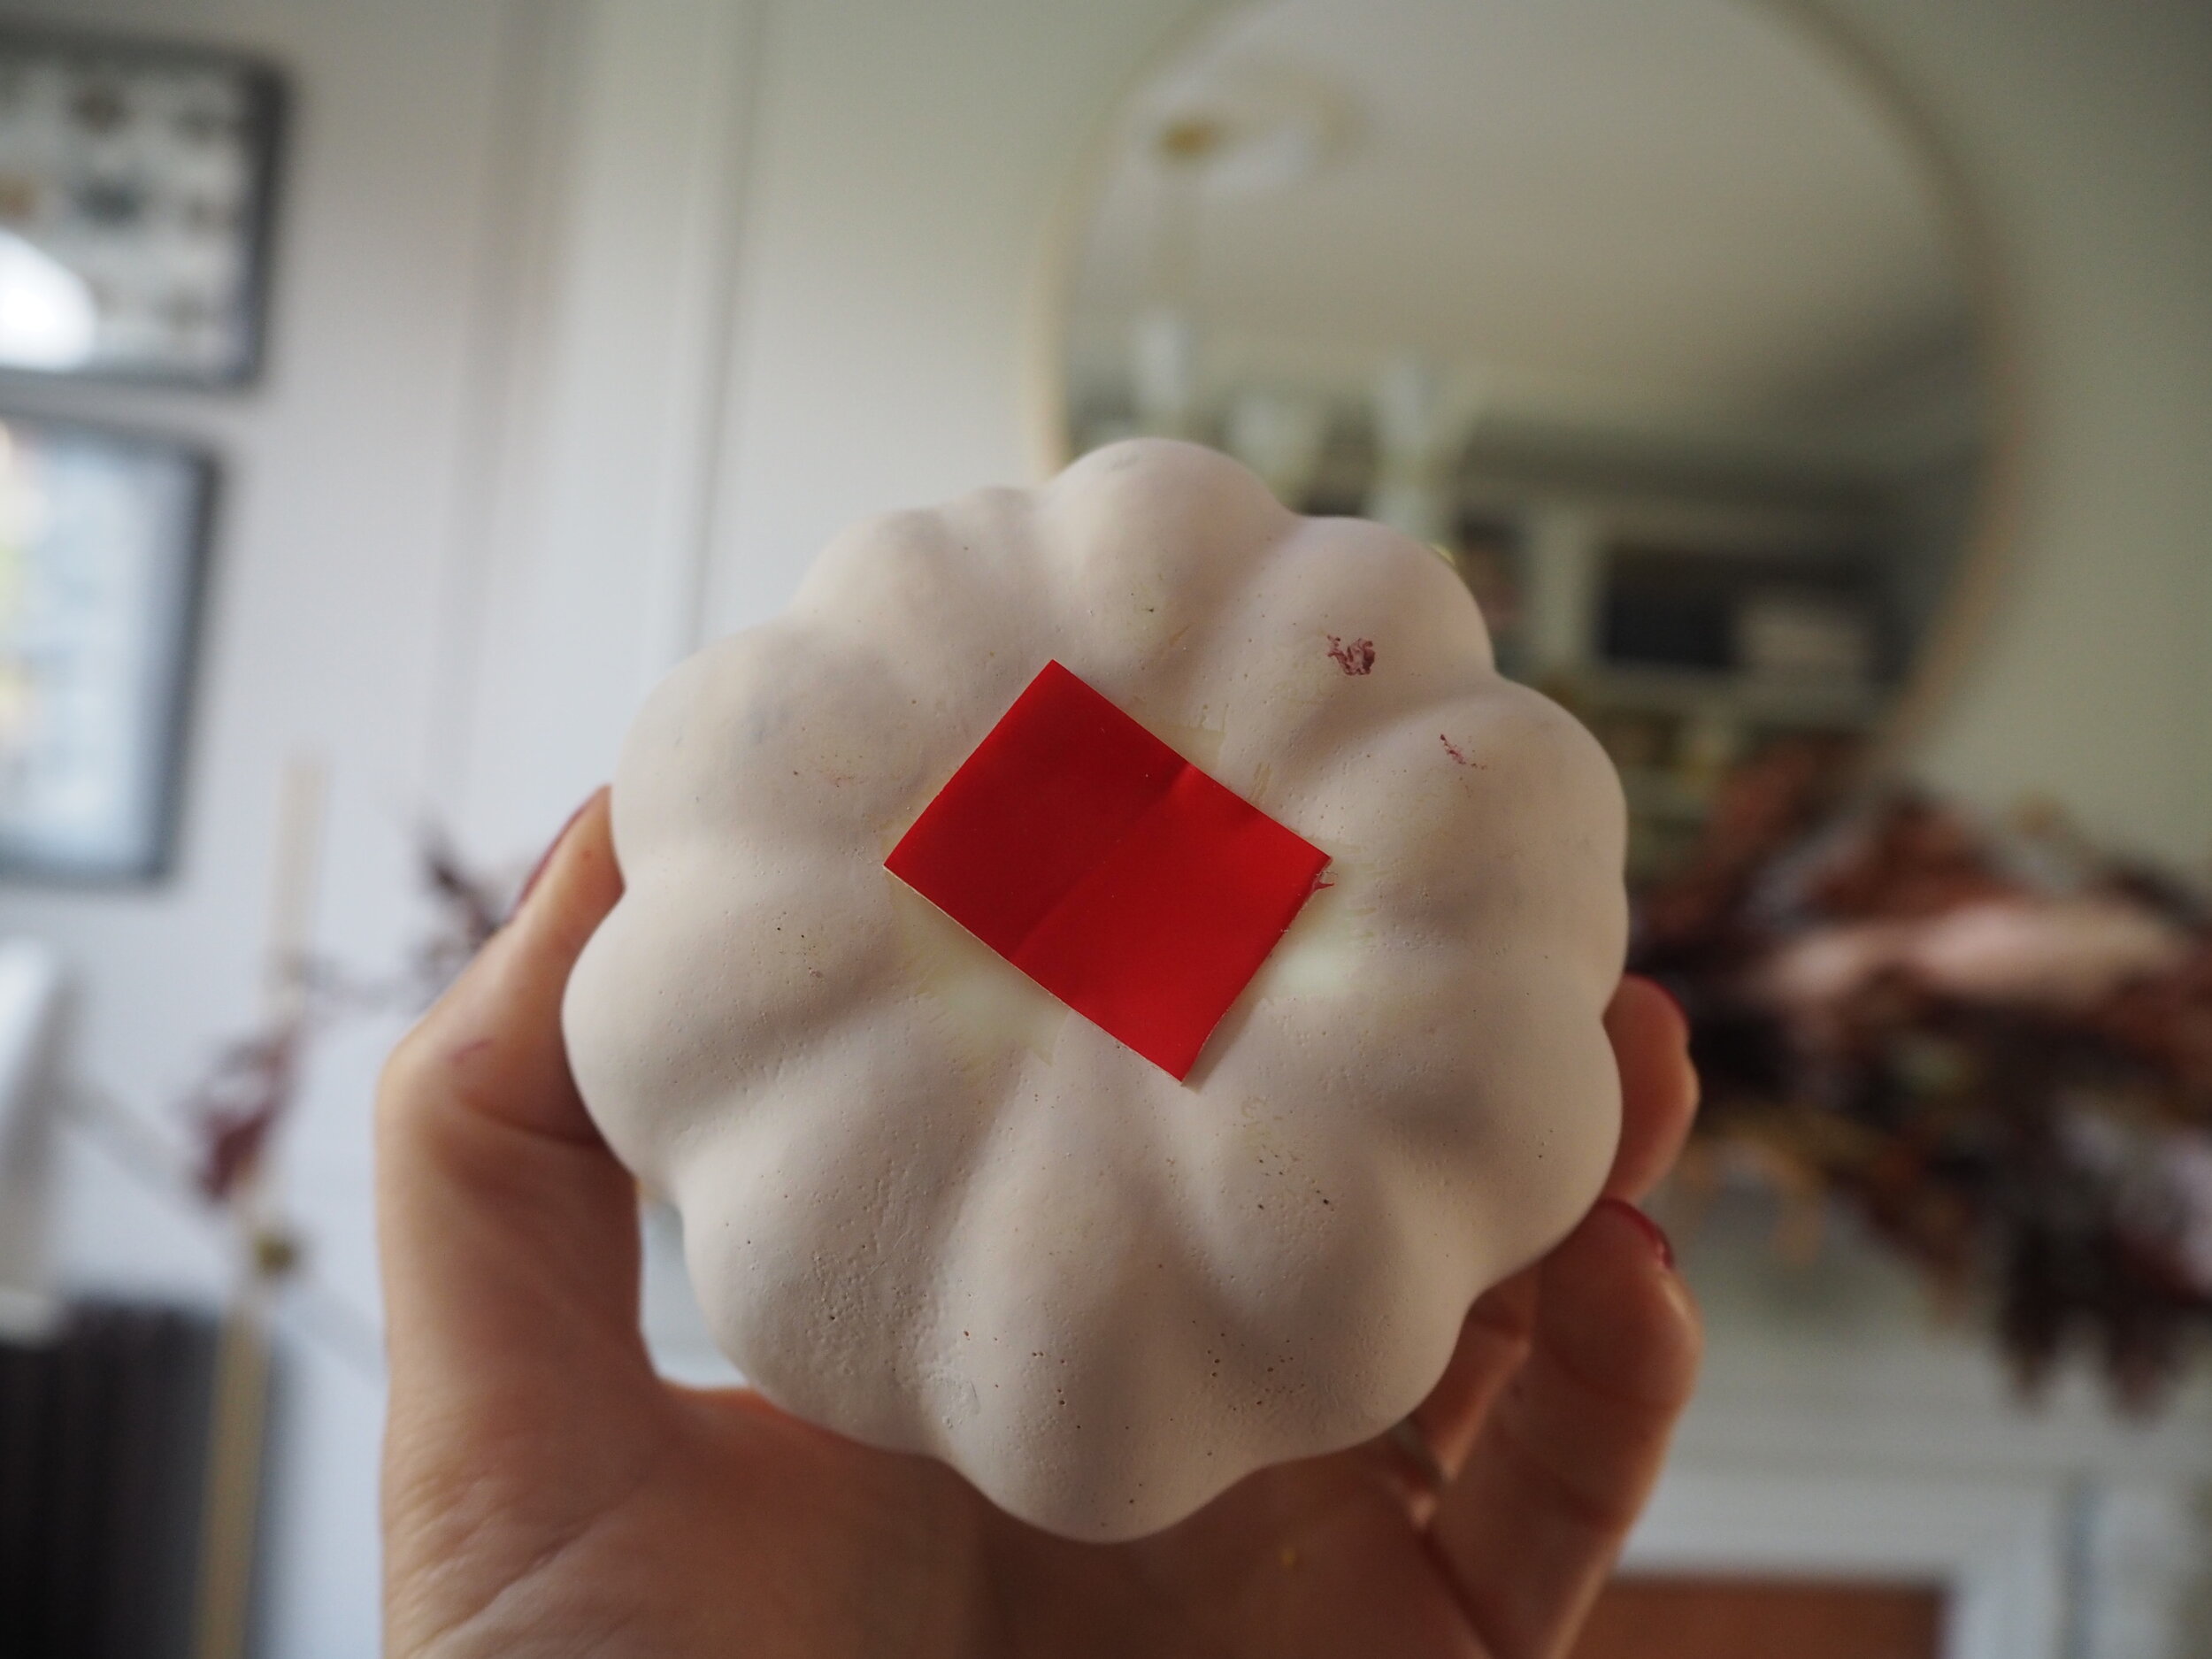
Once most of the florals are added in, start to position the painted pumpkins. To secure them and stop them from rolling off the mantel, I stuck some double-sided tape to the base. This meant I could stick the pumpkins on top of the oak leaves and secure them exactly where I wanted.
I added double-sided tape to the base of my pumpkins, which meant I could attach them to leaves and they wouldn’t roll out of the design.
Once the display is finished, thread some small copper wire LED lights into the garland so that it looks extra special during the evening!

